Have we finally found a compact laser engraver that doesn’t feel like a science project at our kitchen table?


The Short Story Before the Long One
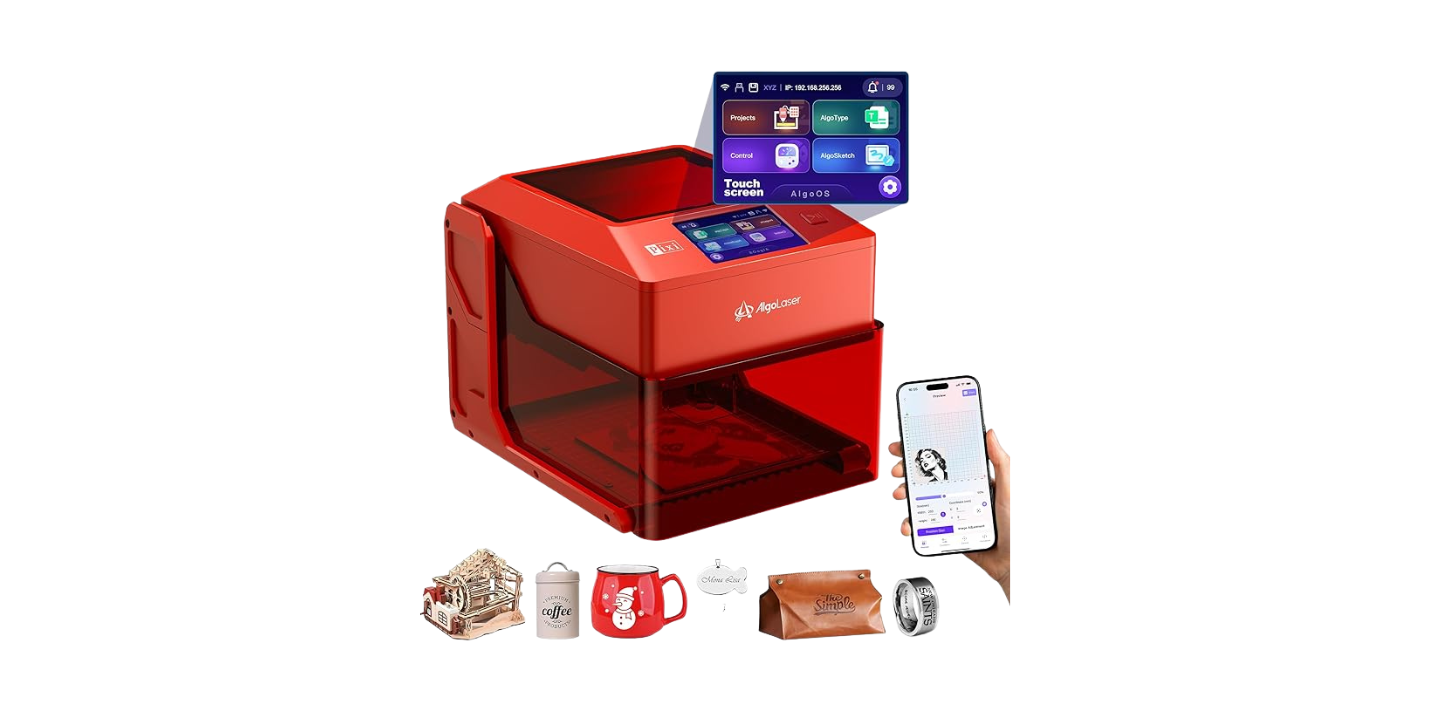
We’re going to talk about the xTool F2 5W IR & 15W Diode Dual Laser Engraver, Built-in 50MP Camera, 6000mm/s Ultra Fast, 3D Embossing, Color Marking on Metal, On-Site & Small-Batch Ready, Portable Desktop Laser Engraving Machine, the longest name we’ve said out loud since our last attempt at ordering in a French bakery. For once, the mouthful is earned. It’s small, self-contained, and powerful in ways that make us question why we ever tolerated timing belts and open frames near our pets.
This unit pairs a 5W IR laser for metals and plastics with a 15W diode for woods, leathers, and thick cuts. It adds a 50MP camera that actually aligns with a straight face. And it moves at up to 6000mm/s, which is fast enough to make us feel we should be wearing goggles just to watch (we did).

xTool F2 5W IR & 15W Diode Dual Laser Engraver, Built-in 50MP Camera, 6000mm/s Ultra Fast, 3D Embossing, Color Marking on Metal, On-Site & Small-Batch Ready, Portable Desktop Laser Engraving Machine
$1419
Why This Machine Changed How We Work
We’ve tested enough engravers to know what actually matters: accuracy we can trust, repeatable speed, and an interface that leaves our sanity intact. The xTool F2 gives us that trifecta. The camera’s previews are sharp. The alignment is within 0.1 mm on small parts. And those 6000mm/s passes aren’t just a marketing phrase—they translate into quick jobs and smooth batch runs with the Slide Extension.
When we need color on metal, the 5W IR hits dark, deep, and sometimes downright iridescent. When we need to carve wooden reliefs for that “we hand-chiseled this in a monastery” effect, the 15W diode is the workhorse. The unit feels engineered for on-site customization—fully enclosed, leak-proof, and portable at 4.6 kg—with a fan that doesn’t sound like it’s auditioning for a leaf blower.
What We Noticed Right Away
The first time we lifted it, we blinked. It’s compact, almost cute, like a lunchbox sent to space camp. The enclosure looks tight and finished, the kind of design that quietly suggests we might actually be trusted inside stores or workshops without frightening the HVAC.
Then we opened the software, peered through the 50MP camera, and discovered the sort of visual alignment we’ve secretly wanted since our first misprinted coaster. The interface makes a decent assistant: presets for common materials, camera-based placement, and controls we don’t resent.
Who This Is For (And Who Should Keep Scrolling)
We’d recommend this to:
- Small-business owners offering on-site personalization or pop-ups.
- Etsy makers and side hustlers who want small-batch production without the chaos.
- Hobbyists and studios who want metal color marking and 3D wood embossing in one shell.
- Anyone who values a contained, safe, and tidy setup.
We’d hesitate if you:
- Need a large working area without moving the piece—this machine is compact by design.
- Primarily cut clear acrylic (diode doesn’t cut transparent materials effectively).
- Want to engrave massive items without repositioning or the Slide Extension.
Dual-Laser Versatility: The 5W IR and the 15W Diode
Let’s talk about the dual lasers, because this is where the F2 earns its keep. The IR module (around 1064 nm) is what we bring out when metal is involved. It creates dark, crisp, and yes, colorful marks on stainless steel, titanium, and certain anodized metals. Logos on stainless business cards? Serial numbers on tools? Custom jewelry? It shines.
The 15W diode is our workhorse for organic materials. Think wood, leather, and some acrylics (opaque, not clear). It engraves deeply, cuts cleanly on thinner stock, and with multiple passes, it can produce surprisingly rich 3D embossing that catches the light like topography in miniature. It’s where we’ve carved relief patterns on coasters and lids that our relatives swear are purchased. We don’t correct them; we’re only human.
The 5W IR Laser in Practice
We used the IR burn to add color-shift marks on stainless steel. With controlled power and speed, we achieved dark black on stainless—and with some tweaks, blues and bronzy golds. Titanium responded with richer colors, as it tends to. On coated metals, we could strip or mark depending on settings; on anodized aluminum, the mark was clean and legible, ideal for QR codes and tiny text.
The key is temperature control. Color depends on oxidization layers forming at specific thresholds, which is nerdy and delightful in its own way. This is where the F2’s motion accuracy (0.00199 inches, roughly 0.05 mm) and stable scanning come in handy. Consistency equals color predictability.
The 15W Diode Laser in Practice
On wood, it’s a gem. Pine tans too eagerly (as usual), but hardwoods like maple or walnut engrave with finer contrast and less soot. With 3D embossing mode—multiple passes that vary depth—we created topographic city maps, floral reliefs, and lettering that looks pressed rather than printed. Leather picked up burnished edges with minimal char when we kept the air assist angle right.
Cutting? Thin plywood and solid woods up to a few millimeters go through with patience and clean passes. Thick stock is doable, but we plan for more passes and adequate ventilation—wood smoke has never made a candle brand for a reason.
The 50MP Camera: More Than a Gimmick
We’ve learned to distrust cameras in laser engravers. Too many promise accurate alignment then show us a warpy cartoon of our workspace. The 50MP camera here finally lets us drag and drop artwork onto the actual material with confidence. Our small pieces—key fobs, jewelry blanks, business cards—align within about 0.1 mm. That means no more wasted stock, no more trying to guess where the “Y-axis gremlins” put our design.
When we ran a sheet of random wood offcuts, we previewed, dropped different designs on each scrap, and let the machine do its job while we enjoyed a smug beverage. It’s not often we feel the universe rewarding us for preparation.
Speed and Throughput: The 6000mm/s Factor
Speed numbers are often the fireworks of spec sheets—they’re dazzling, and then you see the cleanup. Here, the 6000mm/s speed does manifest in real-world gains. We’re not engraving at full power at that speed all the time, obviously, but it makes raster jobs snappy. We engraved a metal card with a logo and text in about three seconds using IR, which felt like technology had finally decided to be on our side.
Where speed truly matters is batch processing. Add the Slide Extension, line up a row of coasters or phone cases, and watch the F2 repeat with the kind of consistency that makes production work feel less like an assembly line and more like a magic trick. Combined with material presets, we nearly forgot to be anxious about matching orders.
Precision: Motion and Alignment
Two stats buttress everything here: 0.1 mm alignment accuracy on small pieces thanks to the camera, and 0.00199-inch motion accuracy. In plain English, your lines land where you expect them to. This matters when you’re engraving jewelry or trying to put a 1 mm border around a logo on a stainless card. It also matters for long runs—misalignment over time kills productivity as thoroughly as coffee spilled on leather.
We tested small text on anodized aluminum at 5 pt and could read it without squinting like we were engaging in a Victorian parlor game. Curves were smooth; diagonals showed no jitter; hatch patterns filled evenly without obvious banding.
Setup: Five Minutes That Won’t Make You Scream
Out of the box, the F2 is fully assembled. We plugged it in, connected it to a laptop, and let the software walk us through. The camera calibration process is not the purgatory it usually becomes—it took minutes, not a weekend. Focus procedures felt intuitive, and the material presets gave us a starting point that didn’t require sacrificing a whole set of coasters to superstition.
We also appreciate that the file imports are flexible. SVGs behaved; bitmaps at high resolution maintained detail without chewing through time unnecessarily. And when we did want high density, the machine was up for it.

Safety and Indoor Use: Enclosed and Considerate
The enclosure feels tight and honest. No light leaks, no suspicious gaps that have us side-eyeing the curtains. The built-in fan draws fumes out efficiently, and with the optional purifier, we were comfortable running it in a shared workshop without stress. It’s not a free pass to ignore ventilation—nothing with burning wood is—but it’s good gear for indoor use.
We also never had to deal with flaring sparks or smell that drifted into the next room for an hour. The leak-proof claim tracks; we didn’t see wisps of smoke slipping out to make a case for opening a window in winter.
Portability: A Real On-Site Customization Machine
At 4.6 kg, we can actually carry it to a market or a fair without negotiating with our lower back. The footprint is compact enough for a folding table, and the enclosed design looks professional. We set it up at a pop-up event and personalized stainless key tags and leather card wallets without the performance anxiety of using an industrial machine in public.
The camera convinced passersby—people love seeing their item on a screen with their name hovering over it. It’s like proof of magic, minus the need for a top hat.
Projects We Ran and How They Turned Out
We put the xTool F2 through a mix of materials we actually use, along with those impulse buys we hide in drawers.
- Stainless steel business cards (IR): Deep black logos and text, 3–10 seconds each depending on coverage. On larger logos, slight hue shifts with speed tweaks created a subtle color effect.
- Titanium tags (IR): Vivid blues and purples with careful power/speed control. Color stayed consistent; surface finish remained smooth.
- Anodized aluminum tags (IR): Crisp white-ish marks with high readability. Perfect for QR codes; scans were instantaneous.
- Walnut coasters (Diode): Richly engraved with 3D relief; edges required minimal sanding. No obvious banding; grain detail was preserved.
- Leather wallets (Diode): Dark, clean marks with a slight burnish. Masking tape helped reduce edge smoke; air assist kept things neat.
- Acrylic (opaque, Diode): Clean cuts on 2–3 mm with multiple passes. Gloss stayed glossy; edges smooth with a small polish.
- Glass (IR with ceramic marking compound): Clear marks that resisted wear. The IR doesn’t intrinsically engrave glass, but with compound, it’s reliable.
- Phone cases (varied): TPU and leather worked well; plastics varied. IR 1064 nm for certain plastics produced sharp marks.
We also used the RA3 rotary accessory for tumblers and small cylindrical items. Stainless tumblers looked polished; our alignment along curvature was consistent enough to wrap a pattern with only a hairline seam. If you plan to do cups at events, this pairing feels essential.
Materials and Starting Points
We don’t pretend to own the definitive cookbook for settings—materials vary more wildly than houseplants. But here’s a practical starting table we refined through testing. Adjust to taste, always test on a scrap, and keep a notebook like a romantic.
| Material | Best Laser | Typical Use | Starting Settings (Speed/Power/Passes) | Notes |
|---|---|---|---|---|
| Stainless Steel | 5W IR | Deep black text, color marking | 1500–3000mm/s, 60–90% power, 1–2 passes | For color, modulate speed; slower for blues, faster for golds |
| Titanium | 5W IR | Color gradients, logos | 1000–2500mm/s, 50–85% power, 1–2 passes | Stable, vivid colors with incremental speed trials |
| Anodized Aluminum | 5W IR | High-contrast marks, QR codes | 3000–6000mm/s, 30–60% power, 1 pass | Readable at very small sizes |
| Tool Steel (bare) | 5W IR | IDs, logos | 1200–2500mm/s, 70–100% power, 1–3 passes | For deep marks, multiple passes |
| Walnut/Maple | 15W Diode | Engraving, 3D relief | 3000–4000mm/s, 40–70% power, 1–6 passes | Mask or air assist to reduce soot |
| Plywood (3 mm) | 15W Diode | Cutting, signage | 400–800mm/s, 80–100% power, 3–6 passes | Varies by glue content, go slower for cleaner edges |
| Leather (veg-tan) | 15W Diode | Logos, personalization | 3000–4500mm/s, 30–60% power, 1–2 passes | Light pass first; test for darkening vs charring |
| Acrylic (opaque) | 15W Diode | Cutting/engraving | 600–1200mm/s, 70–100% power, 2–5 passes | Do not use for clear; edges can polish slightly |
| Glass (with compound) | 5W IR | Marking | 1000–2000mm/s, 60–90% power, 1–2 passes | Use marking compound for adhesion and durability |
| Phone Cases (TPU/leather) | 15W Diode or 5W IR | Personalization | 2000–4000mm/s, 30–50% power, 1–2 passes | Plastics vary; test small first |
These aren’t gospel—think of them as an amiable nudge in the right direction. The F2’s presets cover many of these, and the camera makes it feel low-risk to try again if we want to tweak alignment or deepen a mark.
Batch Processing and the Slide Extension
We thought the Slide Extension would be nice-to-have, but it turned out to be the star of any batch job. Arrange a run of coasters or phone cases, set up the workflow once, and let the machine shift along. If you’ve ever spent an hour nudging items by hand, you’ll understand the joy of seeing the F2 glide through a row like a neat-freak librarian scanning barcodes.
Combined with the camera, the Slide Extension reduces human error to the point where we smugly labeled an entire wedding order and didn’t swear once. We’re not promising it fixes your love life, but it might make your evenings more productive.
Software Experience: Predictable Without Feeling Boring
The control software feels modern and sane. Camera preview overlays are sharp. Vector imports behave. Bitmap dithering looks tidy rather than like a pixel storm. Material presets are sensible, and we could save our own without ritual sacrifice.
Arranging multiple artworks on one bed was simple, and the job estimates felt honest. We loved being able to nudge a design by a fraction of a millimeter using the live camera feed; it made us feel like surgeons except nobody needed a copay.
Reality Checks: What It Doesn’t Do
No machine is perfect, and we’d rather be forthright than pretend otherwise.
- The working area is compact. For large works, plan on repositioning, or use the Slide Extension strategically.
- Diode lasers don’t cut clear acrylic well. If you need crystal-clear acrylic cutting, a CO2 laser is the better match.
- Some metals require fine-tuning for perfect color stability. There’s an art to it; tests pay off.
- While 6000mm/s is impressive, your productive speeds depend on depth and material. Speed helps a lot on raster passes; deep cuts are still pass-driven.
- Accessories like RA3 and the Slide Extension add cost. If you need cups or batch runs at scale, they’re worthwhile, but budget accordingly.
Build Quality: Feels More Premium Than Its Footprint
We expected “lightweight” to mean “flimsy”; it doesn’t. The enclosure panels sit flush, the hinges feel comfortable, and the lens area has enough protection without making us feel like we’re at a museum exhibit. The motion system is tight and quiet for the speed involved, and there’s no sense of mechanical drama during long passes.
Buttons feel clicky, ports are where we’d want them, and cable routing doesn’t offend our sensibilities. We didn’t feel the need to print little helpers to fix silly design missteps—this is rarer than it should be.
Maintenance: A Gentle Routine Beats Repairs
We settled into a simple ritual:
- Wipe the lens regularly with proper optics cloth (and no, our shirt corner is not a proper optics cloth).
- Keep the fan intake clear and the path to the purifier unobstructed.
- Vacuum crumbs after wood jobs; soot has a way of travelling, like glitter’s bitter cousin.
- Check focus before any major run; store profiles for frequent materials.
Consumables are minimal; if you’re cutting wood often, you might want a spare lens in a drawer like a comfort amulet. Firmware updates were painless, and we didn’t encounter bugs that made us nostalgic for the stability of stone tablets.

Accessory Ecosystem: The RA3 and Friends
The RA3 rotary is the accessory we believe transforms this from a smart desktop engraver into an on-site powerhouse. Tumblers, bottles, and bracelets become an easy upsell. The Slide Extension pushes throughput from hopeful to confident. Between those two, our small-batch production costs dropped simply because our time stopped evaporating.
Air assist, jigs, and basic fixtures help too. We 3D-printed a few item holders, but most of our setup relied on the camera and presets, which kept our workflow nimble.
Comparisons: Where It Stands in the Field
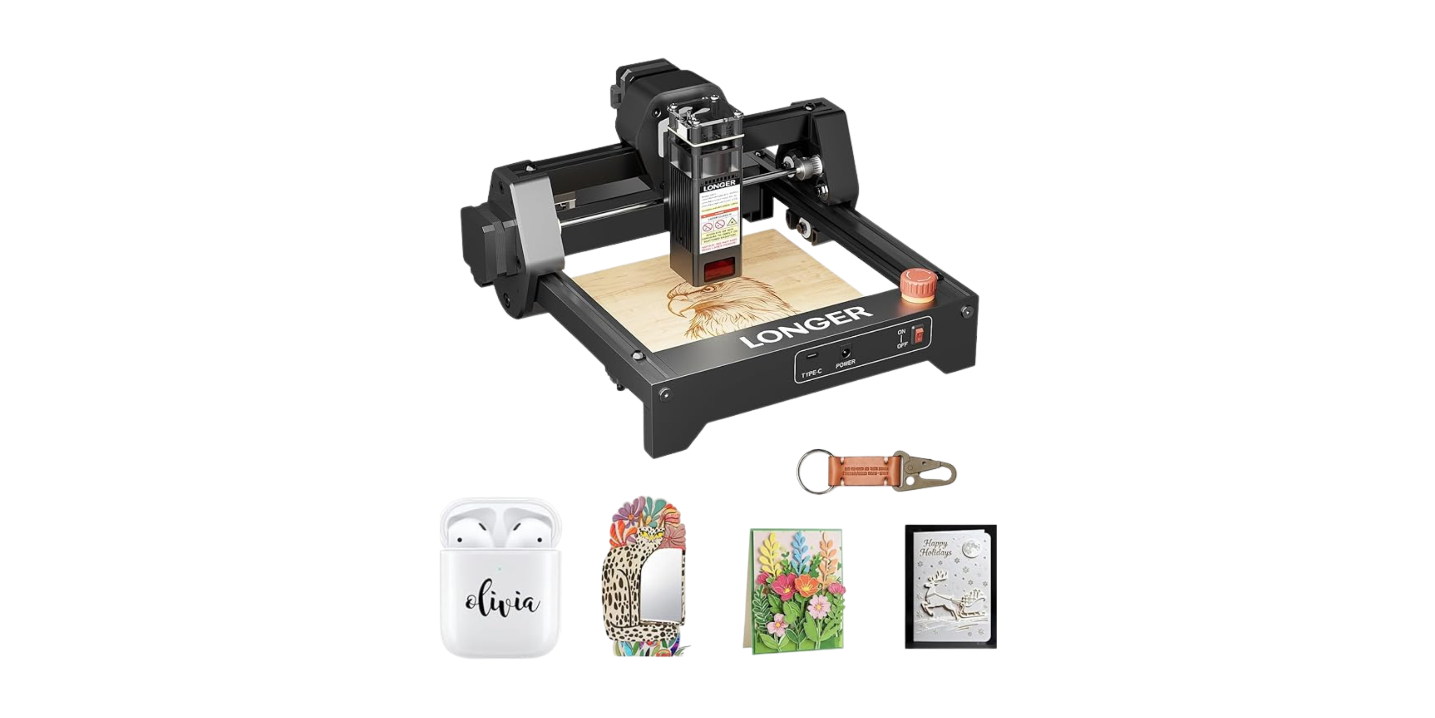
Compared to open-frame diode engravers, the F2’s enclosure alone is an instant upgrade for safety and cleanliness. The 50MP camera raises the bar for reliable placement, and speed-wise, it outruns most hobby-class units.
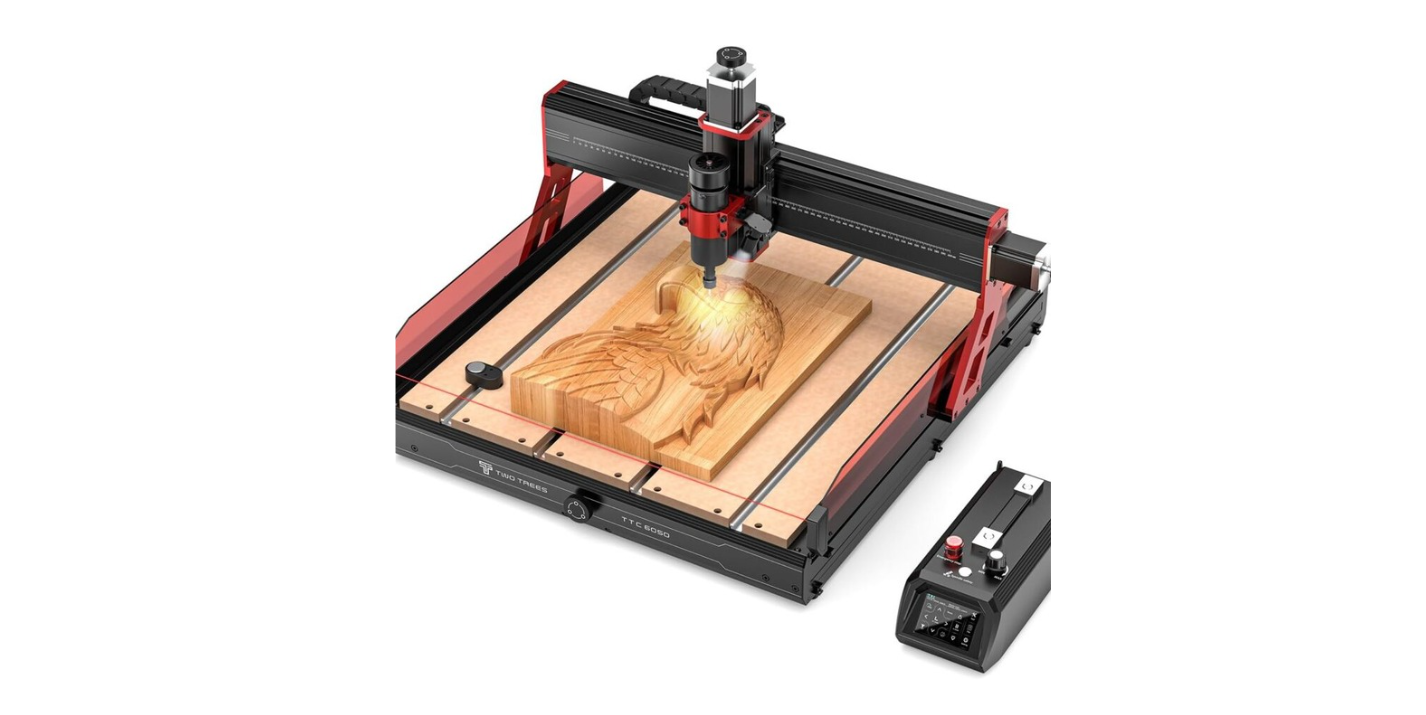
Against CO2 machines, it’s a different story. CO2 excels at cutting clear acrylic and offers larger work areas at similar price brackets—but lacks native metal color marking without coatings. The F2’s 5W IR is the boss for metal marking and small on-site jobs. If we had to pick one for a traveling personalization business, we’d choose the F2 for portability, safety, and the metals capability.
Other IR-capable units often trade off ease-of-use for raw power, or vice versa. The F2 feels balanced. It’s not trying to win arm-wrestling contests; it’s trying to save us time and materials. It succeeds.
The Learning Curve: Manageable and Painless
If you’re new to lasers, this is one of the friendlier starting points. The preset library and camera placement slay the two dragons that usually scare beginners: settings and alignment. The enclosed design also means fewer lectures about safety to anyone wandering by our workspace.
If you’re experienced, you’ll like that it still gives you control. We didn’t feel boxed in. We edited power curves, adjusted passes, and tweaked hatch fillings without looking for a secret handshake.
Performance Notes: Deep Cuts, Fine Lines, Color Discipline
Engraving fine text on metal felt poised and legible. Relief carving on hardwoods retained detail where cheap engravers soften edges. The IR module’s color control is the slow art you might savor—tiny speed and power changes create blooming hues. It’s a reminder that even with fast hardware, beauty sometimes prefers small gestures.
For deep cuts, patience remains a virtue. Even with 15W, multiple passes with air assist produce cleaner edges and less char. We accept that as the tax for precision.
Practical Use Cases We Love
- Personalized gifts at pop-ups: metal tags, leather wallets, and coasters while customers watch.
- Boutique branding: QR codes on metal plates, wood packaging inserts with embossed logos.
- Jewelry studios: stainless or titanium charms with color accents; tiny text that remains crisp.
- Maker classrooms: safe enclosure for supervised demos, visual alignment that helps teach design-to-object thinking.
- Micro-manufacturing: batch-run phone cases, plaques, and product labels without babysitting.
What Surprised Us (In the Best Way)
We anticipated liking the dual lasers. We did not anticipate falling in love with the camera like it had just recited us poetry. The preview accuracy changed our daily rhythm. We stopped overcompensating with measuring tape. We trusted the machine to hit the mark. It did.
Also, the noise profile is gentler than expected. We can hold a conversation while it runs, which is good because small businesses thrive on conversations, and we enjoy hearing ourselves plan the next thing.
Value: Where the Money Goes
It’s not the cheapest engraver, nor should it be. The value here is in time saved and ruined-material avoidance. Fast passes, accurate previews, safe enclosure—each subtracts friction. For on-site sellers, one or two decent events can make the case financially. For studios, the dual lasers mean fewer machines sitting around like expensive furniture.
Add the Slide Extension and RA3 if your work justifies them. Think in terms of throughput and upsell capability. The pair turned our one-offs into repeatable product lines.
Tips and Tricks We Wish Someone Had Told Us
- Use the camera to create quick jigs. Drop a shape on the screen, align your blank to it, and lock repeatability without physical fixtures.
- For IR color on stainless, run a speed ladder test with 5–10 incremental values. Label them. The winning band will become your secret sauce.
- Mask wood with painter’s tape for cleaner edges; peel to reveal minimal soot. Air assist helps too.
- For leather, prefer light passes and build depth—one heavy pass can distort texture.
- Calibrate focus before batch jobs; a tiny shift can show up as banding on larger rasters.
- Keep a settings logbook. Boring? Yes. Essential? Yes. We twinned ours with photos to avoid future confusion.
- Use the purifier at pop-ups; it’s less about theatrics and more about making the day pleasant for everyone within nose range.
Quality Control in Batches
The F2’s repeatability let us set up a simple three-step QC ritual during multi-item runs:
- First-off inspection with loupe or macro photo.
- Mid-run check for focus drift and soot buildup.
- Final wipe and consistency check against the first piece.
Batches came out consistent enough that we began promising delivery times with the kind of confidence we normally reserve for weather predictions when there are no clouds.
Safety Habits Worth Keeping
- Goggles on when the enclosure is open. We treat this as non-negotiable even though the design is enclosed.
- Never leave cutting unattended, particularly wood. House rules exist for a reason.
- Ventilate well, purifier or not; sensitive noses differ.
- Keep flammables far from the exhaust. We learned this once when tissue paper attempted a brief and glorious career as a sparkler.
Frequently Asked Questions
Can we really mark full color on stainless and titanium?
Yes—multi-hue colors are achievable with the 5W IR on stainless and titanium. It’s a function of speed and power controlling oxide thickness. Expect a brief calibration session per material and finish. The results are satisfying and durable when dialed in.
How accurate is the camera for small items?
In our tests, alignment stayed within about 0.1 mm on small pieces. That’s tight enough for jewelry, business cards, and tags. It’s one of the best execution of camera alignment we’ve used at this size.
Is the 6000mm/s speed just marketing?
It’s a real scanning speed and shows up most on raster jobs. Deep engraving or cutting still takes multiple passes and slower speeds. But for marking and light engraving, the speed shortens job times noticeably.
Will it cut clear acrylic?
No, not effectively with the diode. Opaque acrylic cuts and engraves well; clear typically needs a CO2 laser for clean cutting.
How portable is it for events?
Very. At about 4.6 kg with a compact footprint and enclosed design, it’s travel-friendly. The built-in fan plus optional purifier makes indoor use viable. We carried it, set it up, and started personalizing within minutes.
Do we need the RA3 and Slide Extension?
Need is a strong word; want is accurate if you do cylindrical items or batches. The RA3 makes tumblers and bracelets a real product line. The Slide Extension turns one-offs into comfortable small-batch runs.
What about maintenance?
Keep optics clean, check focus, vacuum debris, and service filters. The routine is light if you keep on top of it. No exotic replacements required in our experience.
Can beginners use this without getting overwhelmed?
Yes. The presets, camera alignment, and enclosed design make it beginner-friendly while still offering control for advanced users. It’s a good “first serious” machine.
The Intangible: Confidence
There’s a luxury in not worrying about alignment or smoke or a belt snag halfway through a job. The xTool F2 lends us that quiet confidence. It lets us think about design, not triage. And when the stakes are a customer standing nearby, that calm matters.
We used to run tests twice “just in case.” With this unit, we still test—every material deserves respect—but we aren’t haunted by the thought that the machine might reinterpret our intentions. Consistency turns creativity into a business.
Final Verdict
We came to the xTool F2 5W IR & 15W Diode Dual Laser Engraver, Built-in 50MP Camera, 6000mm/s Ultra Fast, 3D Embossing, Color Marking on Metal, On-Site & Small-Batch Ready, Portable Desktop Laser Engraving Machine hoping for convenience and left with a new favorite tool. The dual lasers make it genuinely versatile across 300+ materials. The 50MP camera, paired with 0.1 mm alignment accuracy, saves both stock and sanity. The speed, up to 6000mm/s, translates into faster workflows rather than just numbers on a spec sheet. Its enclosed, leak-proof build and light weight make it an honest on-site customization machine.
Is it perfect? No. The work area is compact, and clear acrylic still calls for CO2. But if our work lives in the realm of metals, woods, leathers, and batchable goods, we can’t think of a more capable, friendly, and portable partner. It brings precision to small things, and small things are where most of the delight lives.
If you want a machine that behaves like a colleague instead of a petulant intern, this is the one we’d recommend. We plan to keep ours busy, which is the highest compliment we can pay any tool.
Disclosure: As an Amazon Associate, I earn from qualifying purchases.