?Have you ever wished you could brand your life’s small victories onto wood, leather, or the plastic remains of your failed kitchen gadgets?
You will find that portable laser engravers make that wish half plausible and half terrifying. In the hands of a careful person, they’re marvelous: a way to personalize gifts, prototype parts, or make a company logo look as though it has always belonged to a lamp. In the hands of the rest of us, they are a glorified, precise way to ruin a dozen things in quick succession while learning about smoke inhalation and the sad, chirping sound of a misaligned diode.
Below, you’ll get a detailed, friendly guide to the real advantages and limitations of portable laser engravers. You’ll get practical advice, safety warnings, buying tips, project ideas, and a frank table of what these machines can and cannot do. If you’re the kind of person who likes tools that promise immediate gratification, let me assure you: you’ll be tempted. If you’re also the kind of person who promises not to engrave your partner’s name on the dog, this guide will help you keep your dignity intact.

What is a portable laser engraver?
A portable laser engraver is a smaller, often handheld or compact desktop machine that uses a focused laser beam to remove material or change surface properties to create marks, text, or images. You’ll find them in hobbyist workshops, craft fairs, and in the back seats of cars as people drive to custom events.
They come in a variety of forms: handheld wands, compact benchtop units, and hybrid models that try to be both mobile and precise. While they do many things well, they also bring limitations you’ll want to understand before you burn holes in anything valuable.
Types of portable laser engravers
Knowing the type will help you set expectations for power, precision, and materials. Here are the common categories:
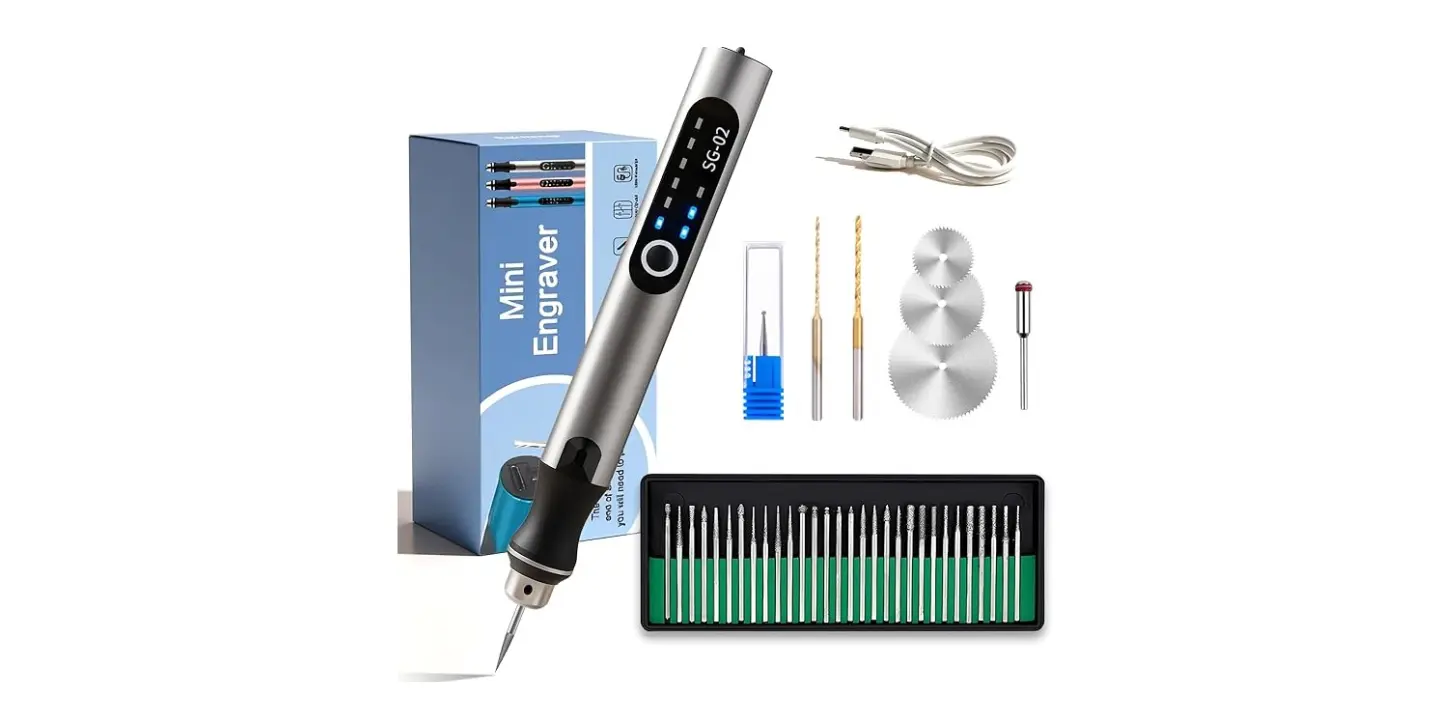
- Handheld diode lasers: Often battery-powered or USB-assisted, these are the most genuinely portable. They’re light, easy to use, and good for quick marking on wood, leather, or coated surfaces.
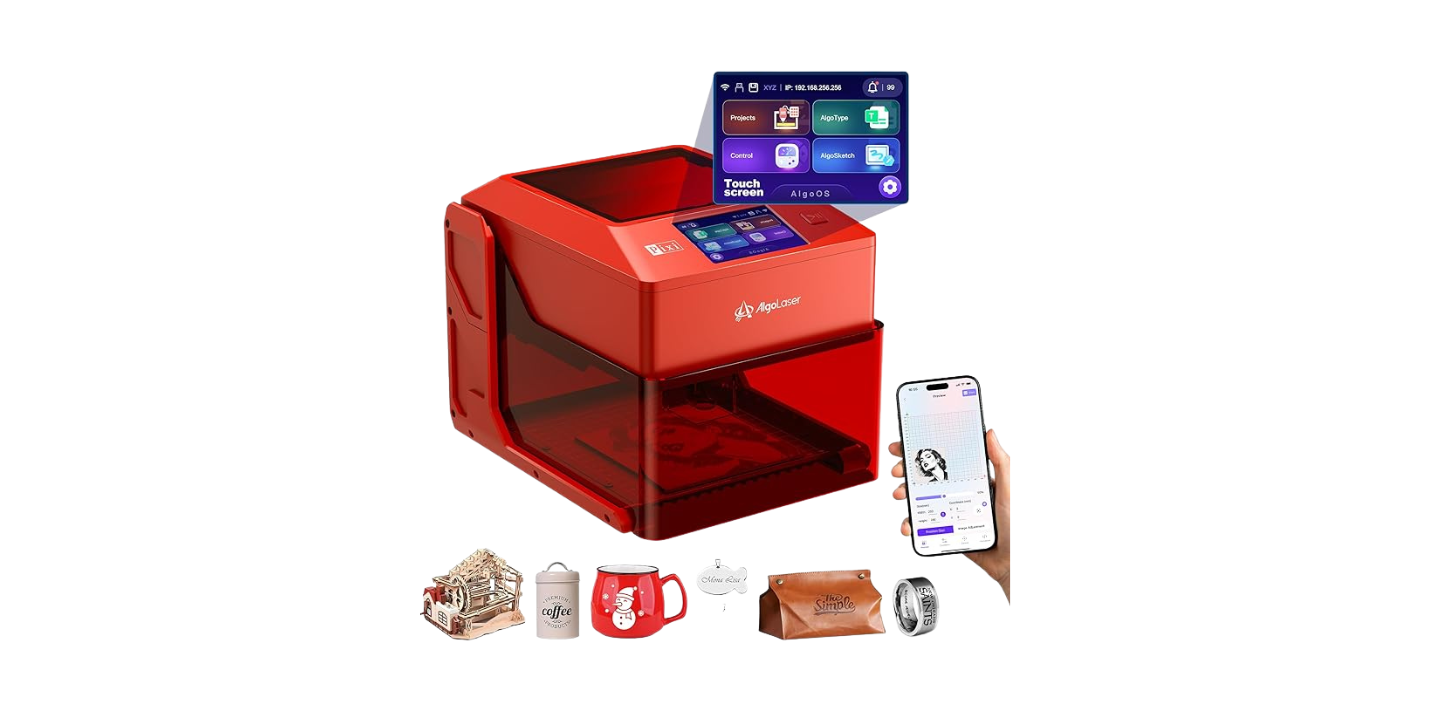
- Mini desktop diode modules: These sit on a small platform and provide more control than a wand. They’re still compact and usually plug into a computer or controller.
- Compact CO2 units: Less common as truly portable devices due to larger tubes and power supplies, some small CO2 machines squeeze into a portable footprint. They excel at cutting and working with organic materials.
- Fiber or laser-engraving markers: Rarely truly portable, but some small desktop fiber markers exist for metal marking.
Each type has trade-offs in power, material compatibility, and safety. Handheld diode lasers are what you’ll most likely buy if portability is your primary need.
How a laser engraver actually works
The machine concentrates light into a focused beam that heats and either vaporizes, chars, or changes the chemical structure of the surface. You’ll change the look of a material by adjusting power, speed, focus, and the number of passes.
You won’t need to understand quantum mechanics to use one, but knowing that lasers remove material rather than “paint” it will save you a little existential comfort. If you’re using it on a coated metal, for example, you’re often removing the coating rather than changing the metal beneath.
The real advantages of portable laser engravers
You’ve seen viral videos of someone engraving an avocado pit or a wedding ring. Those moments are not the whole story. Here are the genuine, practical advantages you’ll notice once you stop being seduced by social media.
Portability and convenience
You can carry these machines to markets, craft fairs, or client sites. For small businesses and freelancers, that mobility is gold.
You’ll like not having to lug a full-sized machine or set up a workshop just to engrave a sample. If you plan to personalize items at events, the compact size means you can do on-the-spot work without becoming the sweaty center of a DIY disaster.
Cost-effectiveness for small projects
Portable engravers often cost far less than full-sized systems. This means you can start engraving without mortgaging your house or selling a kidney.
For hobbyists, artists, and small businesses, the lower initial cost and smaller operational footprint make it easier to justify experimentation. The consumables are often cheaper, too—wood scraps, leather offcuts, and plastic remnants are inexpensive and forgiving.
Quick setup and ease of use
Many portable units are plug-and-play with intuitive software, so you’ll go from box to engraved object in a surprisingly short time.
If you’re the sort of person who panics at complicated manuals, this is a plus. But remember: “intuitive” doesn’t mean “safe.” Read the safety instructions or you might get an unforgettable lesson on how quickly a wooden coaster can transform into charcoal.
Versatility for creative projects
You can personalize gifts, prototype parts, etch jewelry, and brand signage with the same device.
If you want to make a matching set of personalized coasters as an ambitious holiday gift, a portable laser does that with minimal setup. You’ll be proud of yourself for at least a week, until you realize you missed a typo on half the batch.
Field marking and on-site work
For industrial use—such as marking serial numbers or service dates—you can work right on-site with portable models.
This capability is invaluable if you’re cataloging equipment or marking items that can’t be easily moved. It’s a quiet, efficient way to leave permanent—or semi-permanent—information on a surface without the inconvenience of removing the object.
Lower power consumption
Compared to larger CO2 or fiber machines, portable diode lasers draw less power and can sometimes run from batteries or USB power.
This means you can use them in locations without a dedicated power supply. If you imagine yourself engraving in a park or at a roadside pop-up market, smaller machines make that feasible.
Advantages summarized: a quick table
You’ll appreciate a quick comparison to keep everything straight when you’re choosing a model.
| Advantage | Why it matters |
|---|---|
| Portability | Take the tool to the work, not the work to the tool |
| Lower cost | Easier entry point for hobbyists and small businesses |
| Quick setup | Fast from unboxing to engraving |
| Versatility | Useful across crafts, small production, and field work |
| Lower power draw | Can sometimes run from batteries or small generators |
The real limitations of portable laser engravers
If advantages were all that mattered, everyone would own one and life would be a nonstop engraving party. There are real, practical limits you’ll have to manage. Some are technical; some are legal and safety-related. Most are frustrating in a way that will make you say, “Ah yes, of course.”
Lower power and reduced cutting ability
Portable units typically use lower-powered diode lasers, which dramatically reduces their ability to cut thick materials.
You’ll find that while engraving wood and leather works well, cutting through even thin acrylic or heavy wood will be slow or impossible. If you want to cut thick plexiglass, you’ll probably need a larger CO2 machine.
Smaller work area
The compact size means you’ll be limited to small projects or need to reorient objects mid-job, which can create alignment issues.
If you dream of engraving oversized signs, this will be an early disappointment. Even good alignment accessories only go so far; large surface work is simply not what these machines were built for.
Precision and stability trade-offs
Handheld models sacrifice the rock-solid stability of a benchtop machine. Your hand will tremble, and the results will show it.
You’ll struggle with very fine, high-resolution work. Mini desktop units improve this, but true, repeatable precision often requires larger rigs with better motion control.
Material limitations and surface finish
Not all materials respond well to low-power lasers. Metals often need a marking compound or specialized laser to show a clear mark. Plastics can melt and deform rather than engrave neatly.
You’ll also need to test coatings, composite materials, and anything that might release toxic fumes. Some plastics, like PVC, emit harmful chlorine gas when lasered; avoid them entirely unless you have professional ventilation and proper disposal plans.
Safety and ventilation concerns
Even small lasers can create smoke and fumes, and some materials create hazardous gases. Portable use in a closed space is risky without proper ventilation and filtration.
If you imagine carrying out dinner table etching while guests cheer, reconsider. You’ll either invest in a fume extractor or accept that your projects will smell like a factory and may make people a little ill.
Durability and maintenance
Smaller machines often use cheaper optics, lenses, and mechanics. Over time, parts may wear out or need recalibration.
You’ll need to clean lenses, replace diodes, and occasionally realign mirrors. If you’re not mechanically inclined, these maintenance tasks will be surprising and slightly humiliating.
Legal and regulatory limits
Laser devices are regulated. The higher the laser class, the more restrictions and safety measures you must observe. Using the wrong device in public or at a craft fair can get you in trouble.
You’ll need to check local regulations for laser use, especially in public venues or for commercial applications. This is one of those adult responsibilities you didn’t expect when you bought a tool that promised instant gratification.
Limitations summarized: a quick table
You’ll want this summary when picking a machine or planning a project.
| Limitation | Practical effect |
|---|---|
| Low power | Limited cutting; slower operations |
| Small bed/area | Not suitable for large projects |
| Less precision (handheld) | Harder to achieve fine details |
| Material restrictions | Some materials can’t be engraved safely |
| Fumes & ventilation | Must manage smoke and hazardous gases |
| Maintenance | Optics and components may require frequent upkeep |
| Legal restrictions | Some settings and uses may be restricted |

Materials you can and cannot engrave
You’ll need a practical guide to materials because the right substrate matters more than you expect.
Materials that generally work well
- Wood (soft and hardwood): Engraves beautifully with a warm, charred look.
- Leather: Leaves dark, crisp marks; avoid unsuited synthetic leathers that can melt.
- Paper and cardboard: Excellent for fine work but watch for burning.
- Anodized aluminum: Diode lasers can remove the anodized layer on some alloys.
- Coated metals (with marking compound): You can mark many metals if you use a chemical coating or paste designed for lower-power lasers.
- Ceramic and stone (surface etching): Works for surface frosting but won’t cut.
You’ll find wood and leather to be the friendliest materials. They forgive mistakes and look artisanal even when imperfect.
Materials to approach with caution
- Acrylic and some plastics: Can melt instead of engrave; risk of bubbling.
- Painted surfaces: Can produce toxic fumes when burned.
- Foam and rubber: Fuming can be hazardous; results vary.
- Glass: Requires techniques to avoid cracking; best results come from specialized holders or coatings.
You’ll need to test a small sample before committing to a full project to avoid surprises.
Materials to avoid entirely
- PVC and vinyl: Release chlorine gas when burned—dangerous and potentially deadly.
- Anything with heavy metals or unknown composites: Avoid unless you’ve verified safety.
You’ll do well to put these on a “never touch” list unless you’ve got professional gear and exceptional bravado.
Materials compatibility table
This compact table will help when you’re planning a project and need a quick yes/no/maybe.
| Material | Engrave | Cut | Notes |
|---|---|---|---|
| Wood | Yes | Thin only | Great for deep marks on multiple passes |
| Leather | Yes | Thin only | Natural leather best; avoid PVC-coated types |
| Acrylic | Maybe | Maybe | Melts easily; better with CO2 lasers |
| Anodized aluminum | Yes (coated) | No | Diode can remove coating, not the metal |
| Raw aluminum/steel | Maybe (with marking compound) | No | Fiber lasers needed for direct marking |
| Glass | Maybe (surface) | No | Use frosting techniques; risk of cracking |
| PVC/vinyl | No | No | Produces chlorine gas—avoid |
| Paper/cardboard | Yes | Maybe | Catches fire if power too high |
| Foam | Maybe | Maybe | Toxic fumes possible |
Practical buying guide — what to look for
You’ll be tempted by flashy specs and hashtags. Here’s what matters for real-world use.
Key specifications to consider
- Laser power (W): Determines cutting ability and speed. Higher power = more capability.
- Resolution (DPI) or dots per inch: Affects fine detail. More DPI = finer detail.
- Engraving area: Choose according to typical project size.
- Supported materials: Make sure the machine supports what you plan to use.
- Cooling and ventilation: Look for integrated or third-party solutions.
- Software compatibility: Ensure the software fits your workflow—vector, raster, and file formats.
- Safety features: Enclosures, emergency stops, interlocks, and shielding matter more than you’ll initially think.
- Portability features: Weight, battery options, and ease of transport.
You’ll get the best longevity and results by balancing power and portability rather than chasing the smallest, loudest-looking device.
Checklist when buying
- Does it meet all safety standards in your country?
- Can it handle the materials you plan to work with?
- Is spare part availability reasonable?
- Does it come with clear documentation and user community support?
- Do you have ventilation plans?
- What is the warranty and support like?
You’ll save frustration by avoiding impulse purchases that look cool but can’t perform.
Setup, operation, and best practices
You’ll want a smooth process from idea to finished product. Follow these practical steps.
Basic setup steps
- Unpack and read the manual (yes, actually read it).
- Choose a safe, well-ventilated workspace.
- Install and test any software with included demo files.
- Run a power and focus test on scrap material.
- Use low power and slow speed on your first real attempt.
You’ll thank yourself later for being cautious the first time you engrave something.
Focusing and alignment tips
- Always focus on the surface you’re engraving; out-of-focus beams create burnt and fuzzy results.
- Use jig or clamps for stability on desktop units.
- For handheld tools, practice on scrap items until your hand and the tool form a cooperative relationship.
You’ll learn to respect focus like you respect a well-made cup of coffee: it makes everything better.
Ventilation and fume management
- Use a fume extractor when operating indoors.
- Work near a window with a fan if you’re improvising, but don’t assume that’s enough.
- Never engrave coated or unknown plastics without verification.
You’ll save your lungs and the friendship of anyone sitting in the next room by controlling fumes.
Maintenance routines
- Wipe lenses gently and check alignment monthly if used often.
- Clean debris from the work area after each session.
- Replace consumables like belts, diodes, or filters according to manufacturer recommendations.
You’ll prolong the life of your device by treating it like a pet that doesn’t complain but still expects feeding.
Safety essentials — a practical primer
You can’t skip this section. Lasers and fumes are not props in a comedy routine. They’re serious.
Personal protective equipment (PPE)
- Laser safety glasses rated for your laser’s wavelength.
- Respirator or appropriate masks when working with plastics or coatings.
- Heat-resistant gloves for handling hot parts.
You’ll look a bit cautious—good. Your eyes are worth more than your reputation for being carefree about safety.
Operational safety rules
- Never point a laser at people or animals.
- Keep bystanders at a safe distance or behind barriers.
- Use an emergency stop and familiarize yourself with it.
- Don’t leave the machine running unattended.
You’ll avoid a thousand small tragedies by following basic safety measures.
Ventilation and fire prevention
- Keep a fire extinguisher nearby (Class B/C recommended).
- Monitor the first few minutes of a new material; many fires start from unexpected behavior.
- Ensure the area is free of combustibles like paper towels or oily rags.
You’ll appreciate having a plan if something goes wrong, and so will your fire department.
Project ideas suited to portable laser engravers
You’ll want inspiration. Here are realistic projects where portable engravers shine.
- Personalized wooden coasters and cutting boards.
- Leather wallets, bracelets, and keychains.
- Small signage for boutiques or stalls.
- On-site serial marking for field equipment.
- Custom rubber stamps (with appropriate materials).
- Etched ornaments and small gifts for holidays.
- Prototype templates and small production runs for artists.
You’ll find that starting with small, quick projects builds your skill and confidence before you attempt anything grand.
Troubleshooting common problems
When things go wrong, you’ll want quick fixes rather than despair.
Faint or incomplete marks
- Increase power slightly or slow the speed.
- Clean the lens and refocus.
- Ensure the material is compatible.
You’ll likely find a simple setting tweak solves most faint marking issues.
Burny, black, or overly charred results
- Reduce power or increase speed.
- Make multiple passes at lower power instead of a single, aggressive pass.
- Use air assist to blow smoke away from the work surface if available.
You’ll learn that gentleness often yields a more pleasing aesthetic.
Misaligned or wobbly lines (handheld)
- Use a jig or clamp for better stability.
- Consider upgrading to a mini desktop unit for repeatability.
- Practice steady hand techniques and use support for your elbow.
You’ll develop a sense of the machine’s temperament with practice.
Is a portable laser engraver right for you?
You’ll need to think about your use case more than your desire to own a cool gadget.
If you’re a hobbyist who likes small projects, personalization, or on-site marking, a portable engraver is a marvelous tool. If you’re planning to cut thick materials, need high-volume production, or must engrave metals repeatedly and deeply, a larger, more powerful system will serve you better.
You’ll also need to accept the responsibilities: ventilation, safety gear, and learning some technical nuance. The reward is creative freedom and an ability to make things that look like they were made on purpose.
Final thoughts and a little confession
You’ll find that owning a portable laser engraver is a lot like adopting a small, slightly mysterious pet. It’ll make strange smells, require occasional cleaning, and sometimes behave unpredictably. But it will also make you wildly proud when you engrave something that came out exactly as you imagined it.
If you buy one, start small. Test on scraps, read warnings as if they were written by someone who has set a kitchen on fire with a hobby tool (because they probably have), and invest in ventilation and safety gear early. Above all, be patient. The satisfaction of making something perfect is worth the fumbling and the occasional mild catastrophe.
If you ever engrave your partner’s mug with a heartfelt quotation only to find the spelling is wrong, remember: you can always claim it’s artistic. That’s what you’ll do, at least, until they point out the typo and you both laugh—awkwardly, but together.
If you want, I can help you compare a few models, make a buying checklist tailored to your needs, or suggest your first ten projects to try with a portable laser engraver. Which would you prefer?