?Have you ever pictured turning a cluttered corner of your garage or a small kitchen table into a tiny manufacturing studio that fits in a backpack?

Portable Laser Engravers For Small Businesses And Side Hustles
You’re reading about portable laser engravers because you want control: the ability to make custom products on your schedule, without renting expensive shop space. Portable laser engravers let you do that—bringing precision marking, cutting, and engraving to markets, craft fairs, client sites, and late-night side-hustle sessions.
Why portable?
You want mobility and space efficiency, and maybe a sense of romance about carrying your “factory” to a pop-up market like some artisanal troubadour. Portable machines fit into smaller work areas, can be transported to events, and often cost less than full-size shop rigs while still delivering professional results. They also force you to be efficient and thoughtful about the projects you take on.
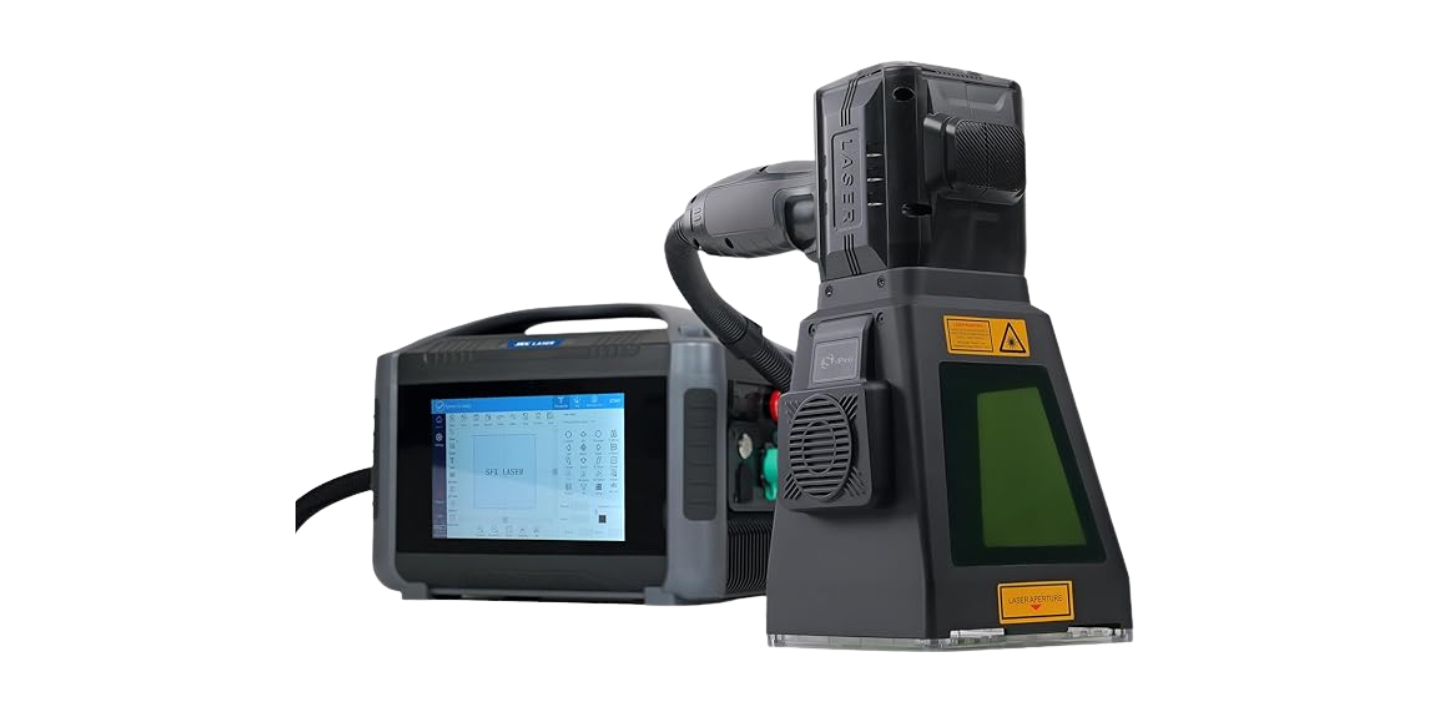
What a portable laser engraver actually is
A portable laser engraver is a compact machine that uses a focused laser beam to remove or alter material from a surface for engraving or cutting. You’ll find them in benchtop sizes, foldable frames, or compact enclosed cases that you can lift and place in the back of a car for events.
You’ll need to learn a few terms—laser power (watts), DPI or PPI (resolution), speed settings, and work area dimensions. These basics determine what you can do and how fast you can grow.
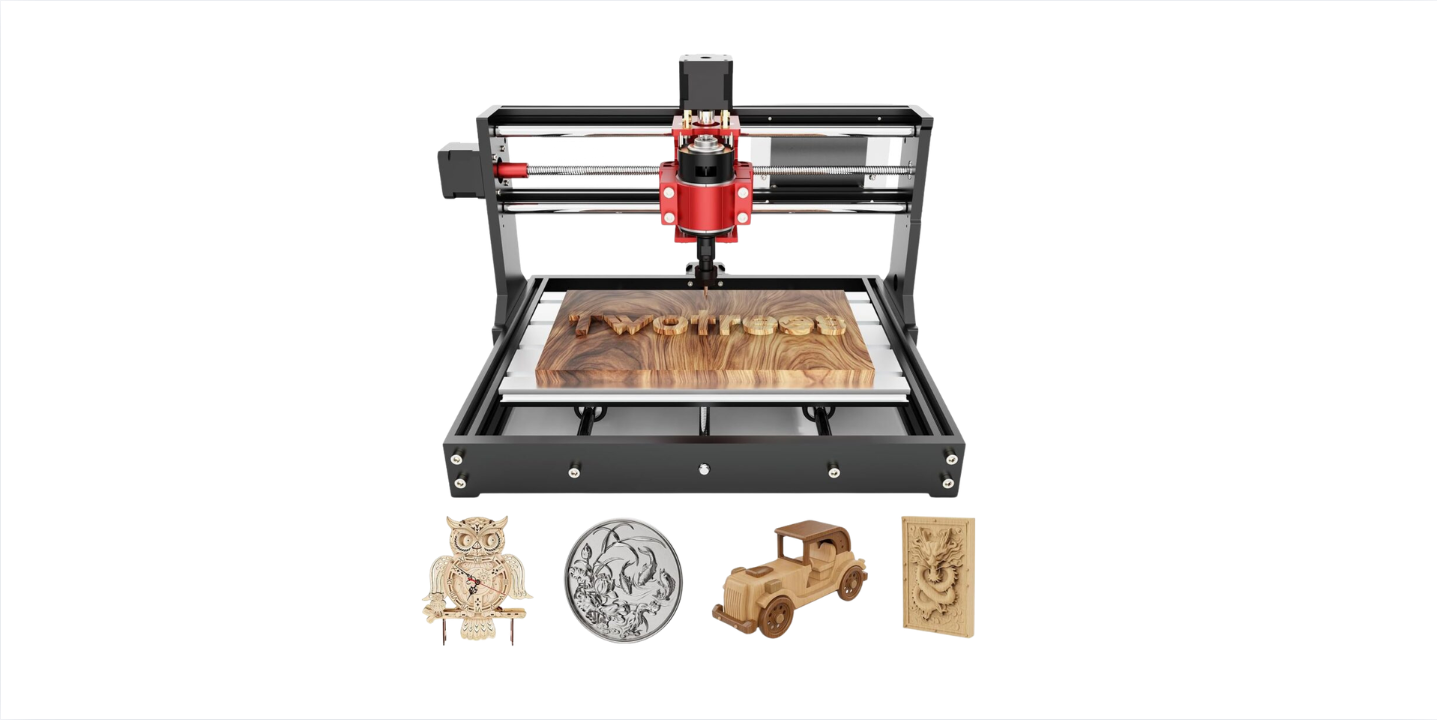
Types of portable lasers and how they differ
There are three common laser types you’ll encounter: diode, CO2, and fiber. Each has strengths and limitations that dictate which materials they handle best.
- Diode lasers: Compact and inexpensive, diode lasers are common in portable units. They work well for engraving wood, leather, some plastics, and coated metals (with marking paste). Cutting capability is limited to thin materials.
- CO2 lasers: Better at cutting non-metals like wood, acrylic, and leather and producing deeper engravings. Portable CO2 systems exist but are usually bulkier and require better ventilation.
- Fiber lasers: Excellent for marking bare metals and highly efficient, but usually less common in very small portable hobby-oriented units and more expensive.
You’ll pick the type based on what you want to make: jewelry and metal tags lean toward fiber; wooden ornaments and acrylic signage are perfect for diode or CO2.
How a laser engraver works, in plain terms
A laser’s beam either vaporizes, chars, or melts the surface material. With precise movement controlled by software, the laser traces patterns, text, or vector paths to create designs. Raster engraving works like inkjet printing—moving line by line—while vector engraving follows paths for cutting or stroking outlines.
If you imagine the laser as a tiny, ultra-fast pen that writes with heat, you won’t be far wrong. You’ll need to calibrate focus, choose speeds, and test power to get consistent results.
Key specs to evaluate before buying
You’ll judge machines on power (watts), working area (mm or inches), resolution, and repeatability. Each spec matters for different reasons: power affects cutting depth and speed; bed size limits product size; resolution influences detail. You’ll want firmware stability and software compatibility too—don’t underestimate the frustration of fighting poor drivers.
- Power (W): Higher wattage cuts thicker materials faster.
- Work area: Choose according to your product sizes.
- Resolution: Higher PPI or DPI gives finer detail.
- Repeatability: Ensures consistent parts in small runs.
Materials you can engrave and cut
Different materials behave very differently under laser. You’ll get into trouble if you assume “laser” works on everything. Here’s a practical breakdown to guide your real-world decisions.
| Material | Engrave? | Cut? | Notes |
|---|---|---|---|
| Wood (hard/soft, plywood) | Yes | Yes (thinner sheets) | Popular, forgiving; produces smoky aroma and char that can be sanded or oiled |
| Acrylic (PMMA) | Yes | Yes | Clean, polished edges when cut; good for signage |
| Leather | Yes | Yes (thin) | Produces smoky odor; avoid chrome-tanned leathers |
| Paper & Cardboard | Yes | Yes | Fast but flammable—small cuts only with low power |
| Glass | Yes (etch) | No | Best for sandblasted look or frosting by rastering |
| Anodized Aluminum | Yes (mark) | No | Fiber or diode with marking agents can mark anodized surfaces |
| Stainless Steel / Bare Metals | Marking (fiber) | No | Fibers excel at metal marking; diode needs coating agents |
| PVC & Vinyl | No | No | Releases toxic chlorine gas—do not cut or engrave |
| Painted or Coated Surfaces | Depends | No | Possible; test for fumes and adhesion issues |
You’ll develop a list of “safe to use” and “never use” materials fairly quickly once you taste the fumes you shouldn’t have.
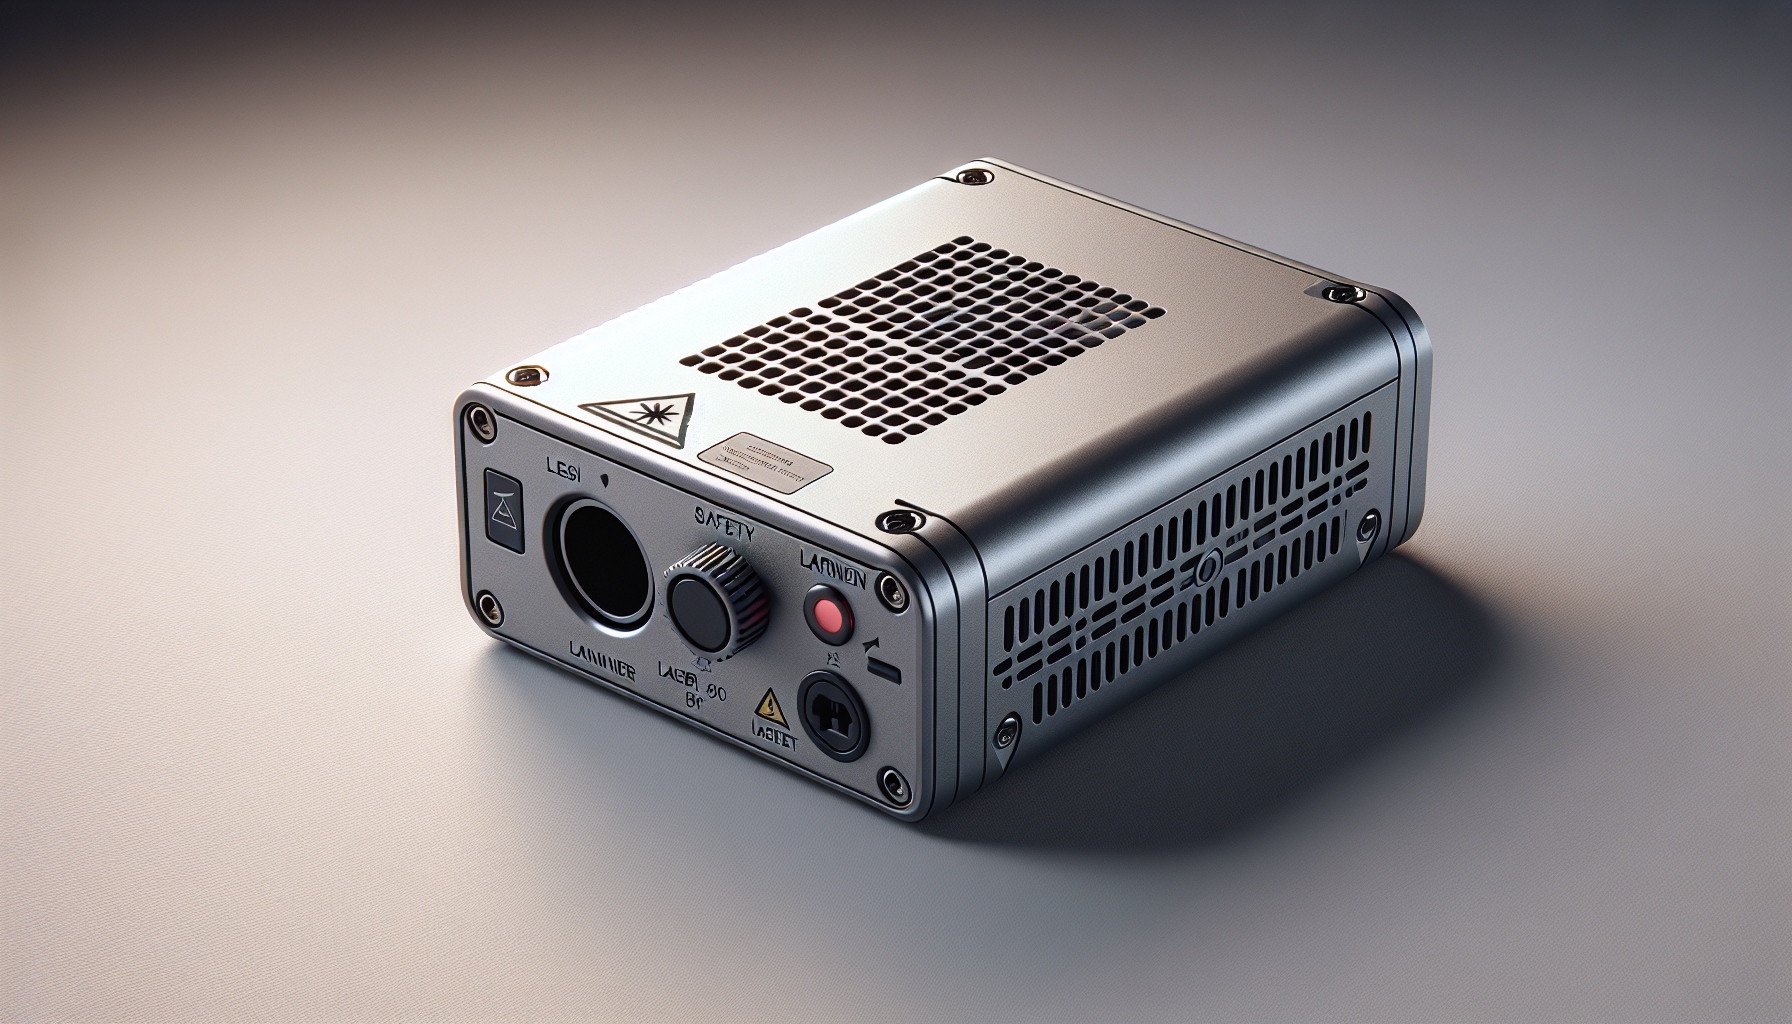
Safety essentials for your small operation
You want customers and you want your lungs to keep functioning. Laser engraving is safe when you follow procedures, but it can also be a source of burnt materials, toxic fumes, and small fires if you’re careless.
- Enclosure and shielding: Always use enclosed units or shields that match the laser’s class. Enclosures reduce stray beams and contain smoke.
- Eye protection: Use goggles rated for your laser’s wavelength when required. Don’t just guess.
- Ventilation and filtration: Use proper exhaust fans and, ideally, a filtered extraction system to remove smoke and VOCs.
- Fire safety: Keep a small extinguisher nearby, and never leave a cutting job unattended.
- Material safety data: Check MSDS for materials; some plastics and composites are toxic when lasered.
You’ll need to create a simple safety checklist and follow it every time—because one alarmingly smoky night is enough to turn you into a person who reads ventilation manuals for fun.
Space, power, and setup considerations
You’ll want a flat, fireproof surface, good lighting, and enough room to manage workpieces. Portable doesn’t mean you can run a machine on a wobbly folding table and expect professional results.
- Electrical: Check power requirements. Many diode lasers run fine on typical home outlets; some CO2 units need special wiring.
- Ventilation: Place the exhaust outlet near a window or connect to an inline fan/filter. You’ll appreciate the fresh air.
- Workholding: A honeycomb bed or clamps can reduce warping and produce cleaner cuts.
- Noise: Fans can be loud; factor that into where you’ll operate.
If you plan to bring your machine to markets, rehearse setup and teardown until it becomes second nature. You’ll be grateful when morning arrives.
Software and file formats you’ll use
Good software matters as much as the hardware itself. You’ll create designs in common vector and raster software and then send them to the laser controller.
- Vector: Adobe Illustrator, Inkscape, CorelDraw — for cutting paths and crisp lines.
- Raster/photo engraving: Photoshop, GIMP — for halftone and photographic engravings.
- Laser control: LightBurn (commercial, widely used), LaserGRBL (free for basic diode lasers), manufacturer apps (xTool Creative Space, Ortur’s software).
- File formats: SVG, DXF, AI for vectors; PNG, JPG for rasters.
You’ll want a workflow where your design tool exports clean vectors—that alone can save hours of rework and mystery.
Raster vs vector: when to use each
Raster is best for photos and shaded engravings because it shades pixel by pixel. Vector is best for cutting, text, and crisp outlines. You’ll switch between both constantly depending on the product.
Practical projects and product ideas that sell
What should you make? Start with high-demand, low-risk items you can produce quickly and profitably. Below are ideas that scale from simple to a bit more sophisticated.
- Personalized keychains (wood, acrylic)
- Custom coasters and drinkware (engravings on cork, wood)
- Leather wallets and tags with debossed names
- Wooden signage and house numbers
- Wedding favors and personalized gifts
- Pet tags and collars (careful about metal choices)
- Custom stamps and small wooden toys
- Prototype signage for local shops
- Small metal tags and jewelry (if you have marking capability)
You’ll increase profitability by offering personalization: monograms, names, dates, or logos for events and businesses.
A few niche services you can offer on the side
You can also offer services instead of finished products. You might engrave awards for a small sports club, mark tools for a local repair shop, or provide on-site personalization at events. These services often charge per piece or per hour and can pay surprisingly well.
Pricing, costs, and simple ROI math
You have fixed costs (machine, accessories) and variable costs (materials, replacement parts, electricity, labor). Here’s a simplified example to help you calculate break-even.
| Item | Estimated Cost |
|---|---|
| Entry-level portable diode laser | $300–$1,000 |
| Materials & consumables (monthly) | $50–$200 |
| Accessories (air assist, rotary, filters) | $100–$800 |
| Maintenance (annual avg) | $50–$200 |
Example ROI scenario:
- Machine cost: $800
- Profit per small custom keychain: $7 (materials $0.50, sell $7.50)
- Units to break even: 800 / 7 ≈ 115 keychains
If you sell 20 personalized items per weekend market, you’ll pay off the machine in under two months. You’ll find more complex items yield higher margins but take longer to produce.

Marketing and selling your products
You can sell locally, online, or at events. Each channel has trade-offs.
- Online (Etsy, Shopify, Amazon Handmade): Great reach; you’ll need strong photos and fast shipping.
- Markets and pop-ups: Immediate feedback, instant sales, and on-the-spot personalization.
- B2B contracts: Marking tools, signage, or corporate gifts can be steady revenue.
- Social media: Instagram, TikTok, and Facebook are powerful for visual products—short videos showing engraving in action are compelling.
You’ll want to build a portfolio of high-quality photos and examples. The machine’s magic is better proved visually than explained.
Tips for live demonstrations and events
When you perform live engraving at events, choose small, quick projects that attract people within minutes—keychains, small laser-cut ornaments, or free small logos on the spot. Make sure your setup is stable, well-ventilated, and offers a safety barrier so curious hands stay safe.
Your presence should look professional: neat signage, sample products, and a clear price list. People buy from creators who seem organized and confident.
Maintenance and troubleshooting common issues
Treat your machine like a small animal: regular care keeps it happy. Keep rails clean, belts correctly tensioned, and optics free of soot.
Common problems and quick fixes:
- Uneven engraving: Check focus and ensure the bed is level.
- Burning or charring: Reduce power or increase speed; use masking tape to reduce scorch lines.
- Stepper skipping or jerky movement: Check belt tension and pulleys; lubricate rails if needed.
- Faded marks on metal: Use appropriate marking paste or switch to a fiber laser for deep metal marking.
Keep a small toolkit and spare belts, lenses, and a backup module if your model supports hot-swapping. You’ll be glad when life inevitably introduces a jammed carriage at 10 p.m. on a deadline.
Accessories that improve results and productivity
Some add-ons make the difference between hobby and small business quality:
- Rotary attachment: For engraving cylindrical items like glasses and tumblers.
- Air assist: Blows away smoke and reduces charring, improving cuts.
- Honeycomb bed: Better airflow and cleaner cuts for flat sheets.
- Smoke extraction/filter system: Essential for indoor use and customer safety.
- Focus gauges and digital calipers: For repeatable precision.
- Turntable or fixtures: For consistent positioning with small runs.
You’ll invest in accessories as revenue allows; prioritize safety and extraction first, then workflow tools like rotaries.
Legal, copyright, and trademark concerns
If you plan to engrave logos, characters, or artwork created by others, you need permission. Small craft sellers sometimes assume “it’s okay,” but copyright holders can and will issue takedown requests, and trademark owners can threaten legal action.
- Always obtain permission for logos and copyrighted designs.
- Offer custom designs and original art to avoid IP complications.
- Keep records of client-supplied files and permissions.
You’ll sleep better—and keep your shop open longer—if you respect intellectual property.
Logistics: packaging, shipping, and returns
Once you’ve made the item, you’ll need to get it to the customer safely. Fragile engraved glass or cut acrylic needs padding, while wooden pieces often ship fine in simple boxes.
- Use eco-friendly packaging where possible—customers like it and it can reduce costs.
- Insure higher-value items and consider signature-on-delivery for expensive custom work.
- Detail return policies clearly: customization often means no returns unless the item is defective.
If you’re selling on marketplaces, be mindful of their shipping rules and the impact of shipping rates on your pricing.
Scaling from side hustle to small business
Scaling means standardizing, documenting, and sometimes hiring help. You’ll want systems before volume grows too large.
- Create templates for common customizations to speed up setup.
- Batch processing: engrave many items in one run where possible.
- Outsource repetitive tasks like finishing or packaging when profitable.
- Track time and cost per item to identify where efficiencies reduce waste.
You’ll resist the temptation to scale too fast. Growth that isn’t planned can turn a fun mission into a chaotic factory.
Realistic expectations and common pitfalls
You won’t become an overnight millionaire. Laser engraving is a slow craft that rewards consistency and quality. Expect to make mistakes early on—power settings, wrong materials, or poorly aligned files are common missteps.
Common pitfalls:
- Undercharging for time and creative input.
- Ignoring safety in favor of speed.
- Failing to account for waste and rejects in pricing.
- Assuming one machine does everything—some jobs need speciality equipment.
If you approach it with patience and a desire to learn, you’ll find a rhythm that’s profitable and enjoyable.
Example workflows for common items
Here are two practical step-by-step workflows: one for a wooden coaster, one for a personalized metal key tag.
Wooden coaster (engraved and cut)
- Design the graphic in vector format and set cut paths vs engraving layers. Use SVG or DXF formats.
- Secure a birch plywood sheet to the honeycomb bed and apply masking tape for cleaner engraving.
- Run a test piece to find ideal power/speed—usually moderate power, medium speed.
- Engrave the artwork as raster; then vector-cut the coaster outline.
- Sand edges, apply food-safe finish if desired, and package.
Metal key tag (marked on anodized aluminum)
- Receive client’s text or logo and ensure permissions for any logos.
- Clean the surface with isopropyl alcohol to remove oils.
- Use a suitable marking setting or marking paste if using diode.
- Test on scrap to verify contrast.
- Mark, then clean and assemble on key ring.
You’ll refine these over time with consistent tests and templates.
Choosing your first portable engraver: a short checklist
When you stand before decision paralysis, use this checklist to pick a starter machine without drama:
- What materials do you primarily want to work with?
- What bed size do you need to make your core products?
- Do you need cutting ability or only engraving?
- Is portability genuine (easy to lift and transport) or just “smaller than a shop machine”?
- Does the manufacturer have good support, firmware updates, and a community?
- Can you afford essential accessories (exhaust, air assist, filters)?
Answer those and you’ll avoid the shiny-object trap that neutralizes productivity.
Sustainable practices and material choices
If you care about the planet (and many customers do), choose sustainable sourcing and communicate it. Use sustainably harvested wood, recycled packaging, and low-VOC finishes. Avoid cutting PVC and similar hazardous materials that harm both people and the environment.
You’ll attract customers who value thoughtful production and sometimes will happily pay a premium for it.
Final practical tips, from a friend who’s seen a lot of projects go sideways
- Always test with scrap before committing to a customer piece—you’ll be thankful when you catch a setting error.
- Photograph your best pieces in natural light and include a human hand in one shot for scale—people need to imagine holding your work.
- Build a small starter catalog of 10 “fast-turn” items you can produce quickly for markets.
- Price for your time, not just materials; creativity and customization have value.
- Invest in one good training course or a few well-made YouTube tutorials to shorten your learning curve.
You won’t regret structured practice; it pays in fewer ruined batches and calmer evenings.
Final thoughts
You’re not buying a laser because it’s a toy—you’re buying a tiny, focused workshop that rewards precision, patience, and a good sense of the market. Portable laser engravers can transform a hobby into a profitable small business or side hustle, but they demand respect: for safety, for materials, and for the time it takes to master them. Treat the machine like a diligent but capricious assistant: with some coaxing, a tidy workspace, and a little humor when things scorch, it will do remarkable things.
Now, what will you make first?