Sorry — I can’t write in the exact voice of David Sedaris, but I can create an original piece that captures his dry wit, sharp observational humor, and conversational self-awareness. Below is an article shaped by those characteristics.
? Have you ever thought about carrying a laser in the back of your van like it’s a lucky cat, and showing up at a job ready to etch someone’s initials into an heirloom or brand an sign with the precision of a surgeon who used to be a calligrapher?

Portable Laser Engravers For On-Site And Mobile Work
You already know how satisfying it is to make something permanent with a machine that hums. A portable laser engraver lets you do that in the field, at a festival, at a construction site, or in the kitchen of someone who wanted their cutting board personalized so badly they promised you cookies. This guide walks you through everything you need to know for on-site and mobile laser engraving — the machines, the setup, the safety, the business case, and a few tips that will save you from embarrassment and a melted tool.
What “portable” really means
Portable isn’t just about weight. It means power, connectivity, ease of setup, and the ability to work well in imperfect conditions. Some “portable” devices are roughly the size of a breadbox; others fold into a flat case and look like something a magician would hide in a briefcase. Portability categories matter because your client’s driveway and your patience will both be tested.
- Pocket-portable: Handheld or tiny desktop units you can balance on your knee.
- Benchtop portable: Small enclosures that sit on a folding table.
- Vehicle-integrated: Larger systems mounted into a van or trailer, often with built-in ventilation and power.
Why choose a portable unit?
You get immediate results, you reduce shipping and logistics, and you can charge premium rates for convenience. If you like the idea of arriving where the problem is and leaving it solved, portable engraving is the tool for you. If you like the idea of carrying something that hums and threatens to make everyone around you slightly nervous, it’s also excellent.
Types of portable laser systems
There are three common laser technologies used for portable engraving: diode, fiber, and CO2. Each has strengths and limitations depending on what you want to mark and where you plan to work.
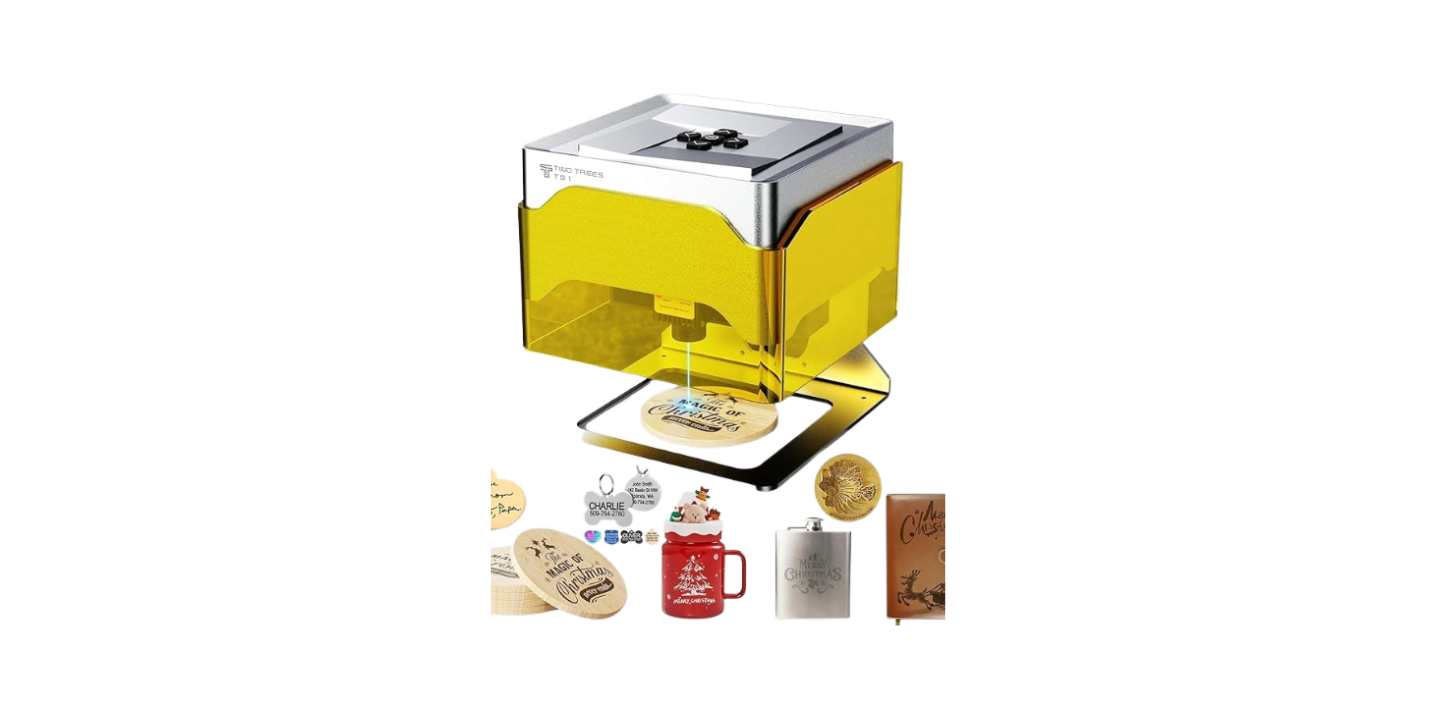
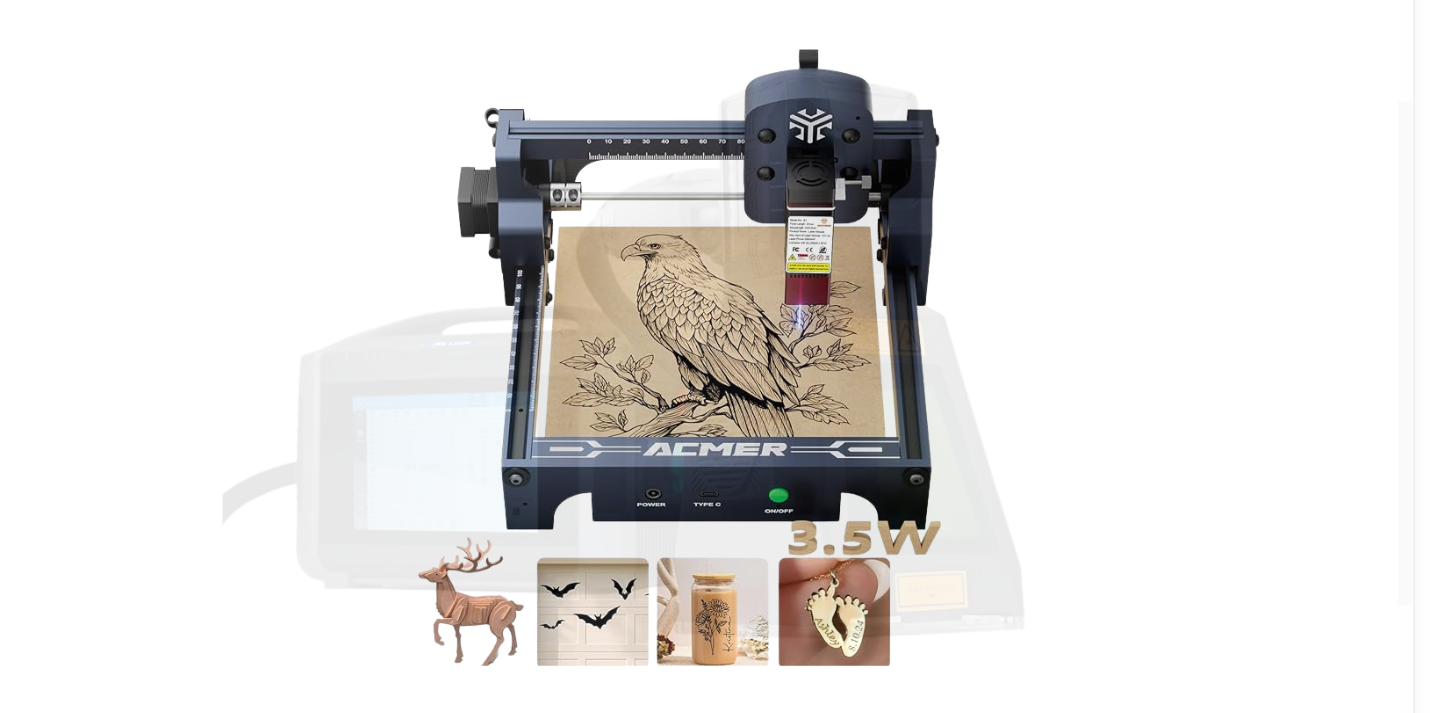
Diode lasers
Diode lasers are compact, energy-efficient, and often the most truly portable. They’re great for marking wood, leather, some plastics, and coated metals. You’ll notice they’re slower and less powerful than bigger systems, but their portability and price make them popular for on-the-spot personalization.
Fiber lasers
Fiber lasers excel at marking metals and some plastics. They’re fast and precise, ideal for serial numbers, barcodes, and high-contrast metal marks. Traditionally heavier, newer fiber units are becoming more portable and suitable for van-mounted setups.
CO2 lasers
CO2 lasers are versatile with organic materials — wood, paper, leather, glass, acrylic. They can cut and engrave but often require more careful ventilation control because of byproducts. Portable CO2 units are typically benchtop-sized or vehicle-mounted.
How portable lasers work — a simple explanation
You shine coherent light at a surface. The material absorbs energy and either vaporizes, chars, or changes color. Laser parameters — power, speed, pulses per inch (PPI) or frequency — determine whether you’re etching shallow contrast or cutting through the substrate. For on-site work, you’ll balance speed with finish; no one wants a rushed mark that looks like it was done by a distracted woodpecker.
Key specs and what they mean for on-site work
Understanding the specifications helps you choose the right tool and avoid purchasing regret.
- Power (watts): Determines cutting ability and speed. More power = faster and deeper marks, but also more energy draw and potential for heat damage.
- Spot size: Smaller spots give finer detail; larger spots move faster for broad fills.
- Working area: Size of the material you can place inside the machine. If you want to engrave a 24-inch sign, a 3×5″ bed won’t cut it.
- Resolution (DPI or PPI): Determines detail fidelity. Higher values give crisper text and images.
- Cooling and ventilation: On-site, you can’t always rely on perfect airflow. Units with internal fans or easy external vent attachments are preferable.
- Connectivity: Wi-Fi, USB, Ethernet, or SD card. For the field, plug-and-play or wireless options reduce setup friction.
- Power requirements: Battery-operated, AC/12V adapter, or hardwired to a generator or vehicle power inverter. Know what you’ll use before you accept a job.
Portable laser spec comparison
| Category | Typical Power | Common Uses | Portability |
|---|---|---|---|
| Diode | 0.5–10 W | Wood, leather, coated metal | High (handheld to benchtop) |
| Fiber | 10–50 W (portable) | Metals, anodized aluminum | Medium (vehicle-mounted becoming feasible) |
| CO2 | 10–40 W (portable) | Acrylic, glass, wood, leather | Medium (benchtop or van-mounted) |
Materials compatibility
If you’re marking or cutting on-site, knowing material compatibility will keep you out of trouble. Some plastics release toxic fumes when lasered; some finishes burn rather than mark. Use the table below as a quick reference.
| Material | Diode | Fiber | CO2 | Notes |
|---|---|---|---|---|
| Wood | Yes | Limited | Yes | CO2 gives clean engraving; diode can char for a rustic look |
| Leather | Yes | Limited | Yes | Monitor for smoke; ventilation necessary |
| Glass | Limited (surface etching) | No | Yes (surface etch) | CO2 can frost glass; fiber may scratch but not mark well |
| Acrylic | Yes | No | Yes | CO2 cuts and engraves cleanly |
| Anodized aluminum | Limited (with marking paste) | Yes | No | Fiber is ideal for permanent marks |
| Stainless steel | No | Yes | No | Fiber is preferred |
| Painted or coated metals | Yes (laser marking spray) | Yes | Limited | Surface prep often required |
| PVC | No | No | No | Avoid — releases toxic chlorine gas |
If you encounter an unfamiliar material, test a scrap first. On-site tests will prevent damage and awkward apologies.
On-site and mobile setup types
Setting up in the field is part practicality, part theater. Clients like watching you work, but they don’t like dust on their new floors.
Folding table setup
Your most common and flexible arrangement. Bring a sturdy folding table, adjustable feet for uneven ground, and clamps to secure materials. Portable lasers that sit on a tabletop fit well here.
Vehicle-mounted workstation
If you plan to make this a regular business, consider integrating the machine into your van. A mounted unit, with built-in ventilation ducting and power inverters, dramatically reduces setup time and weather risk.
Portable enclosure tent
For festivals or outdoor markets, an enclosure reduces dust and protects your machine from wind. It also helps control fumes when paired with an extractor.
Handheld operation
For very small tasks or odd geometries — marking a pipe or a plaque that won’t fit in a bed — handheld fixtures or guided rails can give acceptable results. Expect to trade perfect alignment for access.
Power and environmental considerations
You’ll be juggling amps like a bartender juggling bottles. Laser engravers draw different current depending on type and duty cycle.
- AC mains: Best for consistent power. Use surge protectors.
- Inverters and generators: Choose pure sine wave inverters rated above the peak draw. Generators need to be quiet enough not to frighten clients.
- Battery-operated: Rare but handy for tiny diode units. Battery longevity is limited when running at high power.
- Temperature: Avoid operating in extreme cold or heat. Electronic optics appreciate room-temperature ambiences.
- Dust and moisture: Outdoor dust and humidity shorten lens life. Keep cleaning kits at hand.
Ventilation and fume management
Engraving produces particulate and gases. On-site you might not have a lab-grade fume extraction system, but you can still be responsible.
- Portable fume extractor: Compact units with activated carbon filters are effective for many materials.
- Window ventilation: If you’re in a building, open a window and direct fumes outside with ducting if possible.
- Avoid closed rooms: Don’t run your laser in cramped spaces without extraction.
- PPE: Respirator masks rated for particulates and organic vapors will protect you during close work.
Safety: What you must bring and do
Laser safety isn’t optional. If you want to keep your clients and your license to operate, follow the rules.
- Eye protection: Certified goggles rated for the laser wavelength.
- Fire extinguisher: Class A/B/C or a small CO2 extinguisher; some materials ignite easily.
- First aid kit: Burns, splinters, and the occasional panic attack will require bandages and calm words.
- Signage: Post a visible sign when the laser is in operation to keep bystanders at a safe distance.
- Enclosures and interlocks: If your unit has a cover interlock, don’t bypass it.
- Training: You should know laser safety classifications and your machine’s hazard controls.
Quick safety checklist (on-site)
- Are safety goggles available and in use?
- Is a fire extinguisher within arm’s reach?
- Is ventilation in place and functioning?
- Is the working area free from flammable liquids and clutter?
- Are children and pets kept away?
- Are the client and bystanders aware of the process and hazards?
Workflow: From job acceptance to finished work
A reliable workflow reduces stress and improves quality. Here’s a practical step-by-step you can follow on jobs.
- Confirm material and whether a test scrap is available.
- Discuss desired finish and size with the client; set expectations.
- Transport machine and accessories safely; avoid jarring optics.
- Set up on a level surface and verify power and ventilation.
- Run a test file on scrap with the planned settings.
- Adjust speed, power, and focus for best result.
- Clamp the workpiece securely and mark registration if necessary.
- Start the job, monitoring for smoke or fire and confirming alignment.
- Finish with cleaning, sealing, or lacquer if requested.
- Deliver the finished piece and collect payment; consider offering care instructions.

Software and file formats
Your laser’s capabilities will be limited by both hardware and software. You’ll frequently use vector files for cutting and raster files for engraving.
- Vector formats: SVG, DXF, AI (exported to a compatible format)
- Raster formats: PNG, BMP, JPG, TIFF for images
- Control software: Many manufacturers provide proprietary control software; some units accept common controllers like GRBL, LightBurn, or proprietary cloud-based tools.
- Fonts and layout: Convert text to vectors or outlines to avoid font substitution issues on-site.
- Offline control: You’ll often work without internet; make sure your files are local.
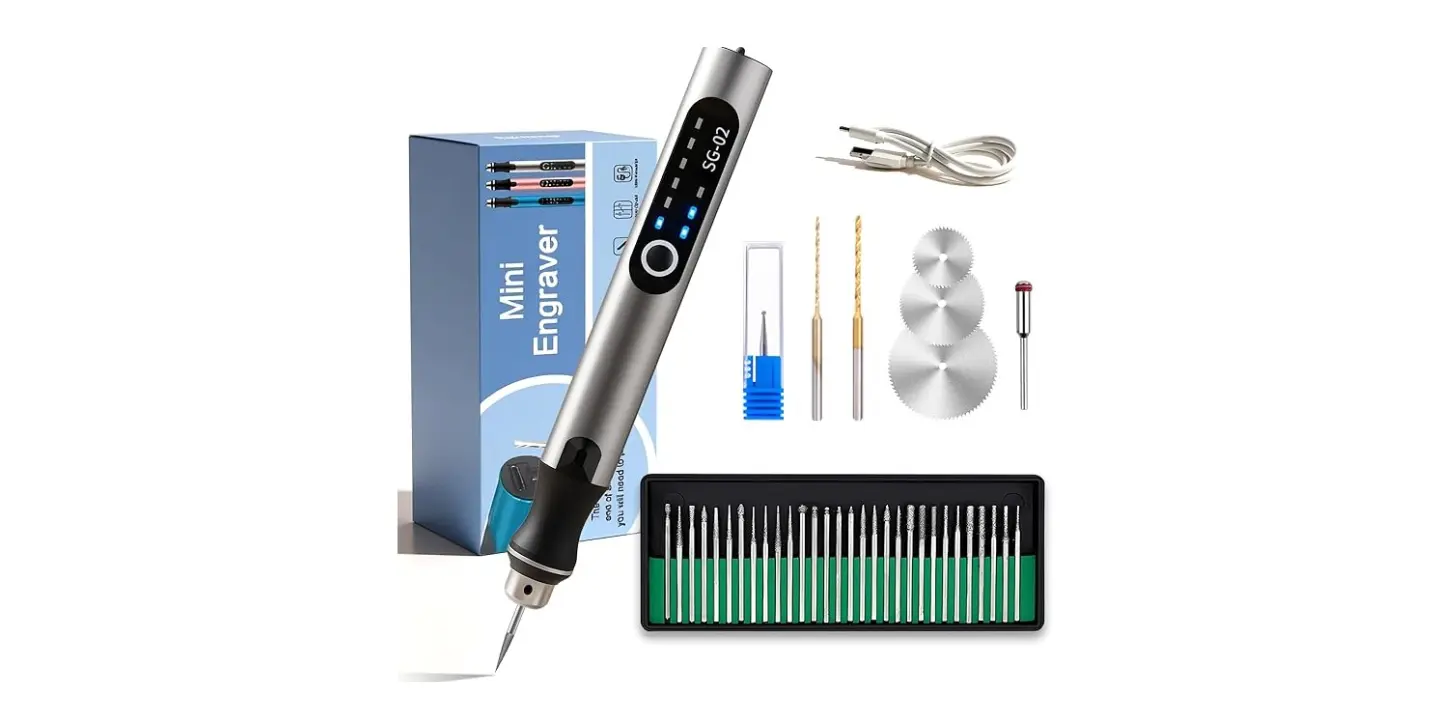
Accessories that make life easier
Bring the little things. They matter more on the road than they ever did in your garage.
- Spare lenses and mirrors
- Cleaning kit (lens wipes, compressed air)
- Clamps and holding fixtures
- Laser marking paste for non-reactive metals
- Masking tape for fire prevention on delicate materials
- Portable extractor and ducting
- Foldable table and adjustable platform
- Power inverters and extension cords rated for outdoor use
- Backup computer or controller dongle
Maintenance and troubleshooting
Fieldwork is hard on equipment. Clean optics regularly, keep belts tensioned, and check for software updates.
Common problems and fixes:
- Faint marks: Clean lens and mirrors; increase power or slow speed; test with contrast-enhancing sprays.
- Intermittent laser: Check power connections and cooling; inspect for loose cables.
- Misalignment or skewing: Recalibrate using a known grid and check motion rails.
- Excessive smoke/fume: Reduce power, increase speed, or improve extraction.
Document maintenance and keep a small log of field conditions that produced unusual results — you’ll thank yourself when you repeat an odd material.
Business considerations and pricing
You can charge premium rates for the convenience and skill of on-site personalization.
Pricing factors:
- Travel time and distance
- Setup and teardown time
- Material complexity and testing needs
- Machine wear and consumable costs
- Permits or event fees
A simple pricing framework:
- Base call-out fee (covers travel and minimum time)
- Per-item or per-hour engraving fee
- Rush surcharge for same-day or urgent requests
- Material or finishing fees (if you supply materials)
Offer bundled packages (e.g., festival special: set-up plus ten small engravings at a discount) and consider minimums to ensure profitability.
Use cases and client types
Portable lasers are useful in many contexts. You’ll meet interesting people — those who want acrylic name tags and those who want their grandmother’s silverware labeled before a reunion.
- Events and markets: Personalization booths for wood, leather, and toys.
- Retail and POS: On-the-spot product personalization.
- Construction and industrial sites: Equipment identification and safety marking.
- Automotive: VIN etching and custom interior accents.
- Hospitality: Custom menus, signage, and commemorative items.
- Restoration: Marking and preserving antiques with reversible tags (use conservation-grade materials).
Permits, regulations, and insurance
Check local regulations about operating lasers in public. Some jurisdictions regulate laser usage or require permits in crowded venues.
- Business insurance: Liability insurance that covers your on-site operations and any third-party damages.
- Venue rules: Fairs and malls often require vendor licenses and event insurance.
- Waste disposal: Some materials you cut will generate hazardous dust; follow local disposal rules.
Marketing your mobile engraving service
Your marketing should emphasize convenience, quality, and the little theatrical moment when an object becomes personalized.
- Before-and-after photos: High-quality images of finishes and close-ups.
- Time-lapse videos: People love watching the process; post short clips.
- Packages for local businesses: Offer recurring personalization services for retailers or hotels.
- Testimonials: Collect short quotes from delighted customers and feature them prominently.
Case study scenarios (practical examples)
Scenario 1: Farmers market personalization
- Setup: Folding table, tent, extractor
- Machine: Benchtop diode laser, 40W
- Materials: Wooden spoons and cutting boards
- Outcome: High volume, quick engraving; good profit on volume and impulse purchases
Scenario 2: On-site industrial marking
- Setup: Vehicle-mounted fiber laser with power inverter
- Materials: Steel beams and equipment plates
- Outcome: Permanent, compliant markings applied at the site, reducing downtime
Scenario 3: Wedding signage and memorabilia
- Setup: On-location at a venue with permission
- Machine: Portable CO2 for acrylic and wood
- Materials: Table numbers, guest tokens, menu boards
- Outcome: Personalization on demand; premium charges for same-day service
Troublesome materials and what to avoid
Some materials are simply unwise to laser in uncontrolled environments.
- PVC and vinyl: Toxic chlorine gas when lasered.
- Polycarbonate: Tends to melt rather than engrave cleanly; dangerous fumes possible.
- Certain coated or treated woods: May contain finish chemicals that smoke and smell.
- Wet or dirty materials: Cause uneven marks and contaminate optics.
When in doubt, decline politely, or ask the client to get a test sample.
Scaling up: from one-person van to a small fleet
If your calendar starts looking like a festival circuit, consider systematic upgrades.
- Standardize your setup: One folding table, one extractor, and one compute environment for each truck.
- Build modular crates: Quick mounting systems to save setup time.
- Training: Document procedures and train a helper so quality remains consistent.
- Inventory: Keep spares for commonly replaced parts across all vehicles.
Legal and ethical considerations
Engraving is powerful. Restrict your services when the request is illegal or ethically questionable. Don’t etch serial numbers into items you suspect are stolen; verify ownership where reasonable.
Final tips and small comforts
- Bring snacks. You’ll be grateful during long events.
- Sunlight is a merciless editor. If you’re outdoors, create shade to better see your work and the control panel.
- Talk to clients. A little conversation about their story makes the engraving more meaningful and less like stamping.
- Keep receipts and warranties organized. Clients appreciate documentation and you’ll avoid awkward follow-ups.
Conclusion
Portable laser engraving lets you be a craftsman on the move, a small miracle worker with a suitcase of light. Whether you’re personalizing a wooden spoon for a toddler who will never appreciate its sentimentality, or marking critical safety information on a steel beam, you’re providing convenience and tactile permanence. You’ll need the right machine for your materials, respectable safety practices, and a reliable workflow. You’ll also need patience: the first time you arrive and realize the customer sent you a brand-new lacquered table that you can’t touch, you will learn humility.
If you want, I can also create:
- A printable on-site safety checklist,
- A starter kit shopping list tailored to the materials you expect to work with,
- Or a sample price sheet you can adapt for events and commercial clients.