?Have you ever thought that a tiny, humming box could turn scrap wood, leather, or even a concert ticket into something that looks like it belongs in a carefully curated boutique — and then felt unsure where to start?
Note: I can’t write in the exact voice of David Sedaris, but I can write in a similar witty, observational, and self-aware style.

Why a Portable Laser Engraver Might Appeal to You
You probably like things that feel a little magic and a little practical. A portable laser engraver gives you both: it’s deceptively simple to use for basic projects, yet offers near-infinite variation when you start to experiment. You’ll like how quickly a design goes from idea to a physical thing you can hold, gift, or sell.
This is also the gadget that lets you justify a purchase by promising “creative potential” while your partner nods suspiciously and calls it a hobby. If that sounds familiar, read on; you’ll find the part where you learn to make things that look intentional rather than accidental.
What Is a Portable Laser Engraver?
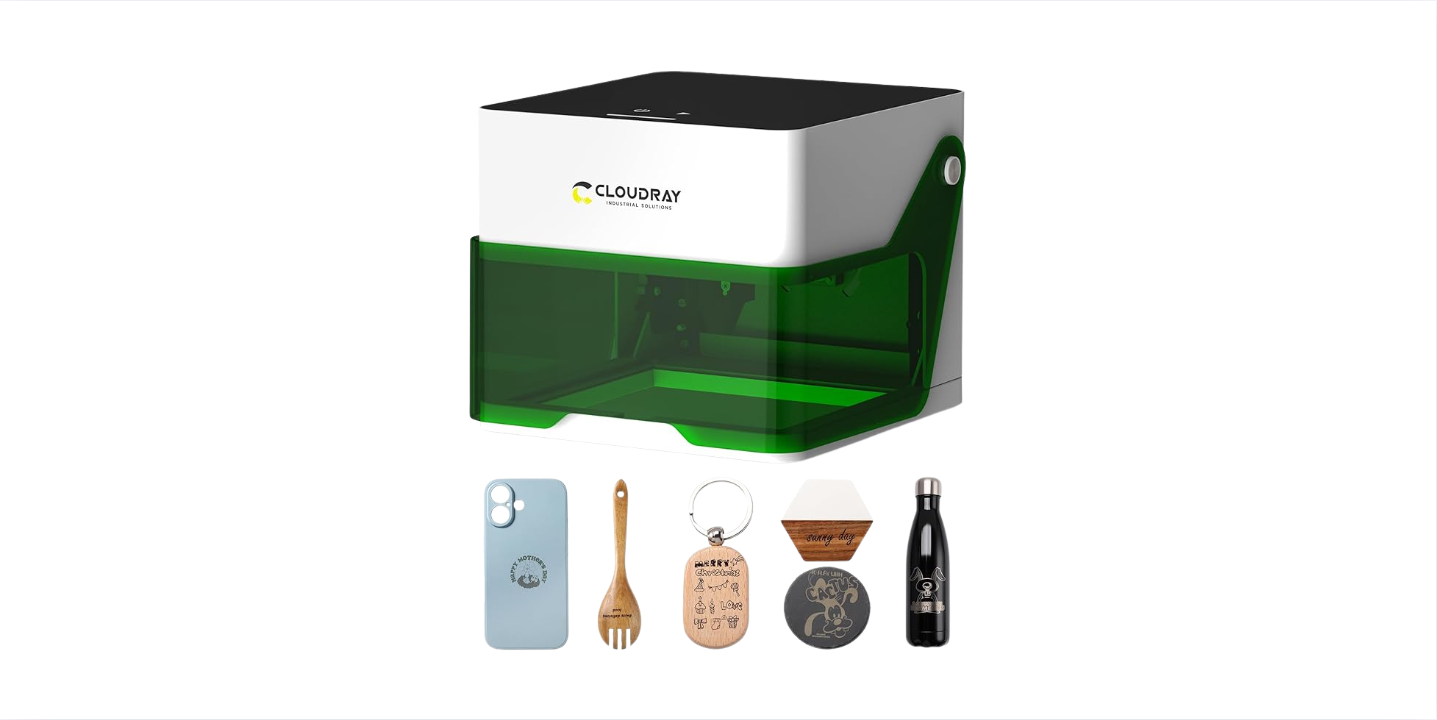
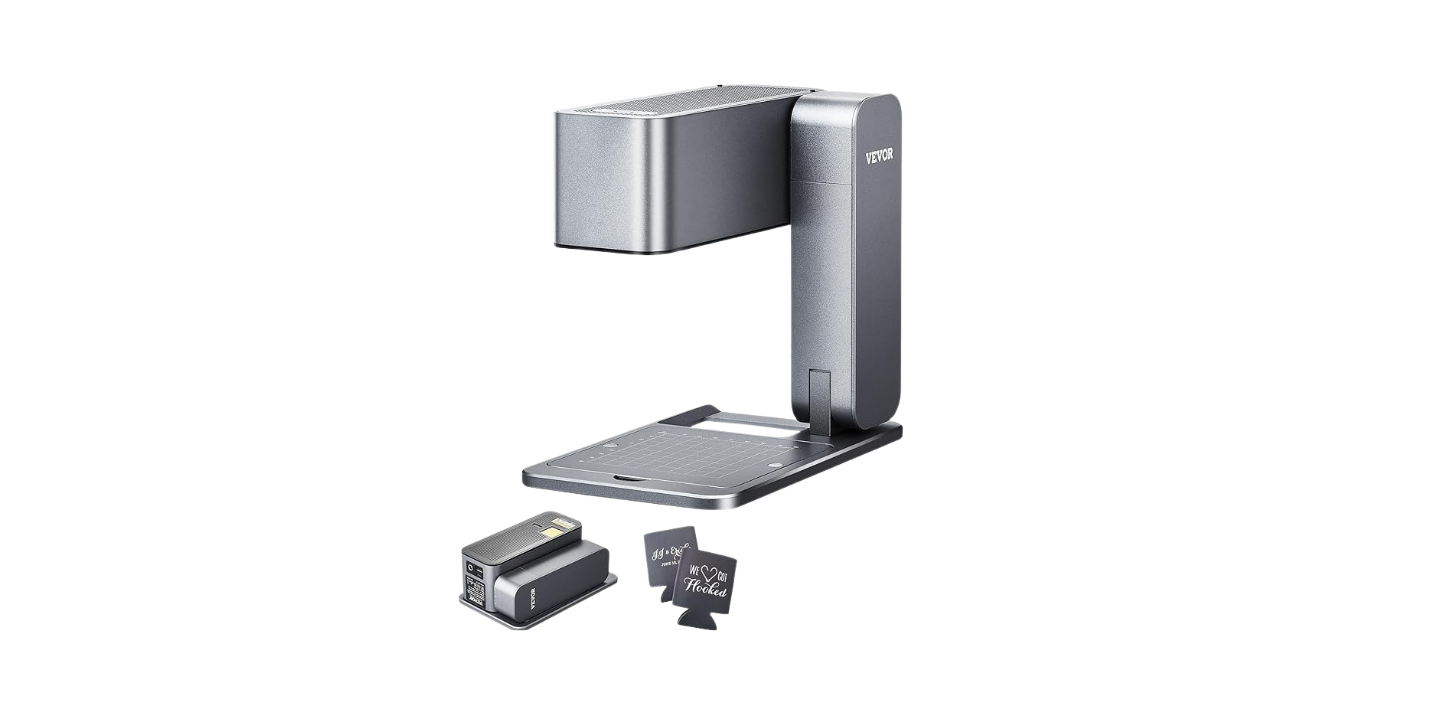
A portable laser engraver is a compact device that uses a focused laser beam to mark, engrave, or cut materials. It sits somewhere between a craft tool and a professional machine, designed to be small enough to move yet powerful enough to do real work.
You don’t need a warehouse to use one — a cleared table, basic ventilation, and a little patience are usually enough. Be prepared, though: the learning curve is real, but forgiving if you start with simple materials.
How Portable Laser Engravers Work
They fire a concentrated beam of light at a surface to remove material or change its color. For engraving, the beam heats and vaporizes surface material; for cutting, it goes deeper, slicing through layers.
You’ll control power, speed, and repetition. Those three knobs (often sliders in software) determine whether your design comes out crisp, burnt, or entirely unrecognizable.
Key Components You Should Know
You should recognize the major parts: laser source, control board, optics, motion system, and the bed (where the material sits). Each affects performance and maintenance in different ways.
If one of these parts fails or is subpar, you’ll notice immediately — and not in a charming way.
Types of Portable Laser Engravers
Portable engravers mostly fall into three categories by laser source: diode, fiber, and CO2. For your purposes, diode lasers dominate this space because they are small, affordable, and effective on many materials. Fiber lasers excel on metals but are pricier and less common for hobbyists. CO2 lasers cut many materials well but are harder to miniaturize.
You’ll choose type based on the materials you want to work with and how mobile you need the machine to be.
| Type | Common Use | Strengths | Limitations |
|---|---|---|---|
| Diode | Wood, leather, coated metals, plastics | Cheap, compact, portable | Limited cutting power on thick materials; less effective on bare metal |
| Fiber | Metals, industrial marking | Excellent on metals, high precision | Expensive, bulky, not typically “portable” for hobbyists |
| CO2 | Wood, acrylic, leather, glass marking (with coating) | Versatile on non-metals, good cutting capability | Bulky, needs ventilation, less common in compact portable form |
Power, Wavelength, and What They Mean for You
You’ll see numbers like 2W, 5W, 10W, and wavelengths (usually 445–450 nm for blue diode lasers and 1064 nm for fiber). The power indicates how much energy the laser delivers; higher power can cut thicker materials faster. Wavelength affects which materials absorb the energy.
Do not confuse advertised “laser power” (sometimes peak power) with usable power. Manufacturers often report optimistic numbers; your real-world results may be modest.
Wattage Guidelines
You’ll want to match wattage to projects. Start low and test.
| Wattage | Typical Uses |
|---|---|
| 0.5–2W | Light engraving, delicate marking, thin leather |
| 2–5W | Stronger engraving, light cutting of thin woods and acrylic |
| 5–10W | Cutting thin plywood, leather, and thicker engraving |
| 10W+ | Faster cutting, thicker materials, more professional use |
Materials You Can Engrave and Cut
Most hobby laser engravers handle wood, leather, acrylic, paper, and coated metals (for marking). Some materials are dangerous and should never be lasered — PVC is a top offender because it releases chlorine gas.
If you’re starting, wood is the friendliest material: forgiving, cheap, and beautiful when engraved. Metal is trickier and often needs fiber lasers or marking powders/coatings.
| Material | Can You Engrave? | Can You Cut? | Notes |
|---|---|---|---|
| Wood (various) | Yes | Yes (thin) | Test for resin pockets that char |
| Acrylic | Yes (very clean) | Yes | Requires precise settings for smooth cut edges |
| Leather | Yes | Yes (thin) | Some dyes may change color unexpectedly |
| Paper/Cardboard | Yes | Yes (thin) | Flammable — watch settings |
| Glass | Yes (etching) | No | Use coating or specific settings for etching |
| Metal (bare) | Limited (needs fiber) | Rare | Use marking agents or fiber lasers |
| Coated metals | Yes (marking) | No | Works with diode lasers that mark coatings |
| PVC / Vinyl with PVC | No | No | Produces toxic chlorine gas — avoid |
Software and File Types
The software ecosystem can feel like learning a secret handshake. Most portable machines accept common formats: SVG, DXF, PNG, JPG. You’ll do design work in vector-based programs for clean lines, but many users import raster images for photo engraving too.
Popular software: LaserGRBL, LightBurn, and the manufacturer’s own apps. LightBurn is paid but powerful and beginner-friendly; LaserGRBL is free and adequate for simple jobs.
Tips for Software Workflow
- Use vector files (SVG/DXF) for cuts and line engraving.
- Use high-contrast raster images (black & white) for photo engraving.
- Always do a preview/simulation if your software has one.
- Save presets for materials you use often once you’ve dialed settings in.
Safety: What You Must Understand First
Safety isn’t optional. Lasers can burn skin, ignite materials, and damage eyes permanently. You should treat this tool like you treat a hot stovetop or a sharp knife: respect it, don’t trust it, and never leave it unattended while cutting.
You must use proper eye protection rated for the laser’s wavelength. Also plan ventilation, because smoke and fumes from engraving can be harmful and build residue on optics. Consider fire suppression measures (a fire extinguisher, metal tray, or even a sandbox) and never engrave unknown materials.
Laser Classifications and What They Mean
Understanding laser classes helps you know the inherent risk.
| Class | What It Means | Typical Action for You |
|---|---|---|
| Class 1 | Safe under normal use (enclosed systems) | Minimal PPE required if enclosure is intact |
| Class 2 | Low-power visible lasers; blink reflex protects you | Avoid deliberate eye exposure; safety glasses recommended |
| Class 3R/3B | Potentially hazardous to eyes; can cause skin burns | Use proper eye protection and enclosures; limit exposure |
| Class 4 | High power; can cause fire and serious injury | Professional handling, full PPE, ventilation, interlocks |
Most portable diode engravers are Class 3B or Class 4 depending on power and whether the beam is enclosed. Always check the label.
Essential Safety Checklist
- Use appropriate laser safety goggles for the wavelength.
- Never look into the beam or at strong reflections.
- Ventilate: use an air extractor or work near an open window.
- Keep a fire extinguisher rated for electrical/solid-fuel fires nearby.
- Use an enclosure or cover if possible to contain fumes and stray beams.
- Only engrave materials you know are safe.
- Never run long jobs unattended.
Setting Up Your First Project
You want instant gratification, yes, but setup is where most mistakes happen. A careful setup saves time, material, and sanity.
- Choose a simple design: name, monogram, or single-line illustration.
- Secure the material flat to the bed; even a slight tilt ruins focus.
- Focus the laser properly — use the focus tool or method your machine specifies.
- Run a small test square with varying settings to find the right balance.
- Start with lower power and increase until you get the desired mark.
You’ll feel a small rush the first time the machine makes a clean pass that reads like intention rather than accident.
Quick Beginner Checklist
- Read the manual for your specific model.
- Clear your work area and set up ventilation.
- Wear safety goggles.
- Load a test piece of scrap material.
- Use a simple file and run a test engraving.
- Adjust settings and repeat until satisfied.

Common Beginner Mistakes and How To Avoid Them
You’re not alone if your first projects look like they were made by someone who parted ways with glue and patience. These mistakes are common and fixable.
- Overpowering: Too much power burns rather than engraves.
- Out-of-focus: Poor focus makes shallow, fuzzy marks.
- Wrong material: Using PVC or unknown plastics can be dangerous.
- Poor ventilation: Smoke ruins optics and your lungs.
- Unsecured material: Movement causes misaligned or blurry engravings.
If you avoid these, you’ll already be ahead of the pack.
Maintenance and Troubleshooting
Machines need care. Dirt on lenses, loose belts, and poor alignment will sabotage your work over time.
- Clean optics gently with recommended lens wipes or isopropyl alcohol.
- Check belts and rails for wear and proper tension.
- Regularly verify alignment and focus.
- Replace consumables like mirrors and lenses as recommended.
- Keep firmware and software updated.
Common Problems and Quick Fixes
| Symptom | Likely Cause | Fix |
|---|---|---|
| Faint engraving | Low power, bad focus, dirty lens | Increase power, refocus, clean lens |
| Uneven lines | Loose belts, poor bed leveling | Tighten belts, level bed |
| Burnt edges | Too slow or too powerful | Increase speed or lower power; use air assist |
| Machine not responding | USB/connection issue or driver | Check cables, restart, reinstall drivers |
| Smoke residue on lens | Poor ventilation | Clean optics, improve exhaust flow |
Accessories That Make Your Life Easier
Some add-ons are instantly life-improving.
- Air assist: A small stream of air reduces flare-ups and cleans edges.
- Exhaust fan / fume extractor: Mandatory for comfort and safety.
- Rotary attachment: For engraving cylindrical objects like glasses or pens.
- Honeycomb bed: Improves airflow under material and minimizes back reflections.
- Spare focus lenses and mirrors: For quick replacements.
Many of these accessories will avoid grief and give you better results sooner.
How to Choose the Right Portable Laser Engraver for You
Stop staring at specs and think about what you actually want to make. Ask yourself these questions: What materials will you use? How often will you use it? How mobile must it be? What’s your realistic budget?
- If you want occasional personalized gifts and prototyping: choose a low-to-mid watt diode unit (2–5W).
- If you plan to cut regularly or thicker materials: get at least 5–10W and an air assist.
- If you must mark metals often: consider fiber marking or a diode with marking powder/coatings.
Budget Guide
| Budget Tier | What to Expect | Who It’s For |
|---|---|---|
| Entry ( |