Have we ever wished we could take a fully functional laser workshop to a coffee shop without causing alarm or hiring a forklift?
 today.")
Why We Reached for the LONGER Ray5 mini 2.5W
We were curious, and we’ll admit a little skeptical. The name is a mouthful—LONGER Ray5 mini 2.5W Laser Engraver and Portable Laser Engraver, 0.04mm Laser Spot, 12000mm/min, Desktop Laser Engraver, Ideal for DIY Projects on Wood, Metal, Acrylic, Leather, and More (2.5W)—but the claim is simple: ultra-portable power with beginner-friendly tools. We wanted to see if this compact engraver could actually earn a permanent spot on our crowded desk instead of becoming another gadget we apologize to while shoving it back into a closet.
LONGER Ray5 mini 2.5W Laser Engraver and Portable Laser Engraver, 0.04mm Laser Spot, 12000mm/min, Desktop Laser Engraver, Ideal for DIY Projects on Wood, Metal, Acrylic, Leather, and More (2.5W)
$89 In Stock
What’s in the Box and First Impressions
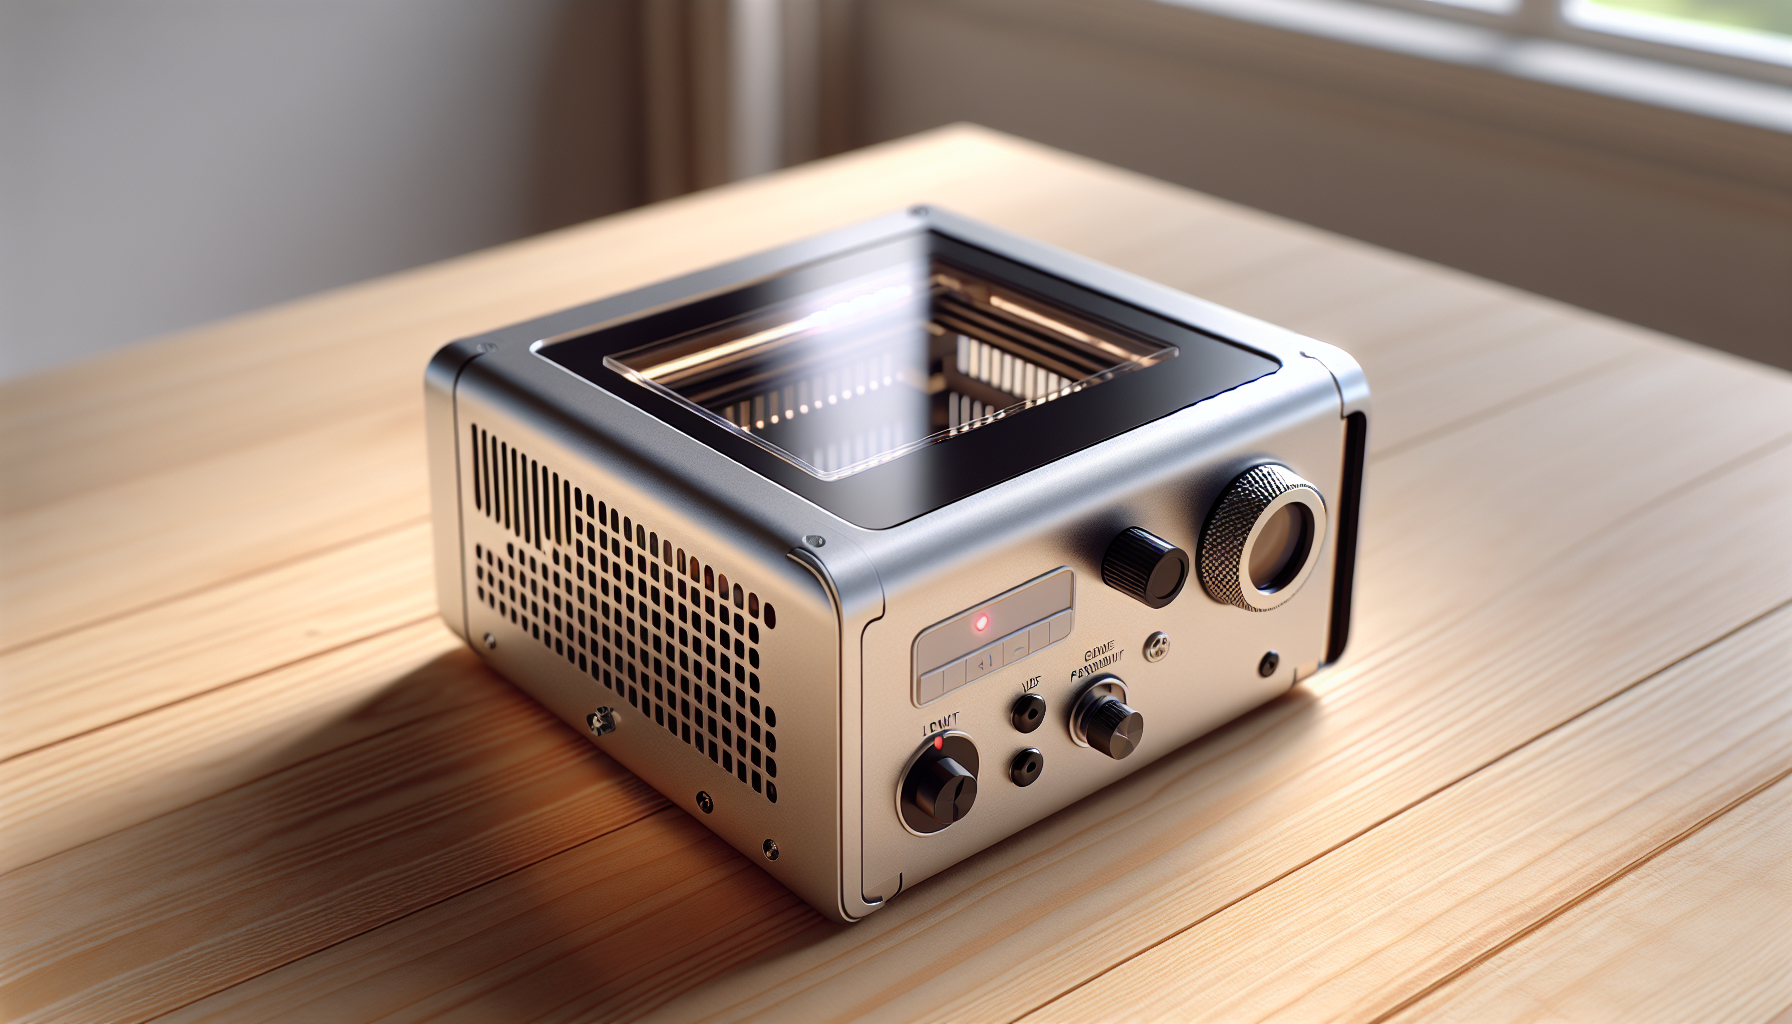
We lifted the Ray5 mini out of the box the way we’d lift a large sandwich—carefully and with gratitude. It arrives pre-assembled, which saved us from an afternoon of deciphering pictures of bolts. The packaging includes safety goggles, a power supply, USB cable, quick-start materials, and a clear set of manuals. The machine itself looks neat and serious, like a tiny CNC that values punctuality.
Our first thought: this thing is small. Our second thought: this thing is not a toy.
Setup Experience: From Cardboard to Carving in Minutes
We didn’t need heroic patience or advanced engineering credentials. We followed the step-by-step guide, watched a quick tutorial video, and had a test pattern burning into scrap wood before our tea cooled down. Because it’s pre-assembled, we didn’t panic about belts, squaring frames, or the sneaky existence of a second Allen key. We plugged it in, connected via USB, and sent a simple design from LaserGRBL. That was it. No setup drama, no tool confetti on the floor.
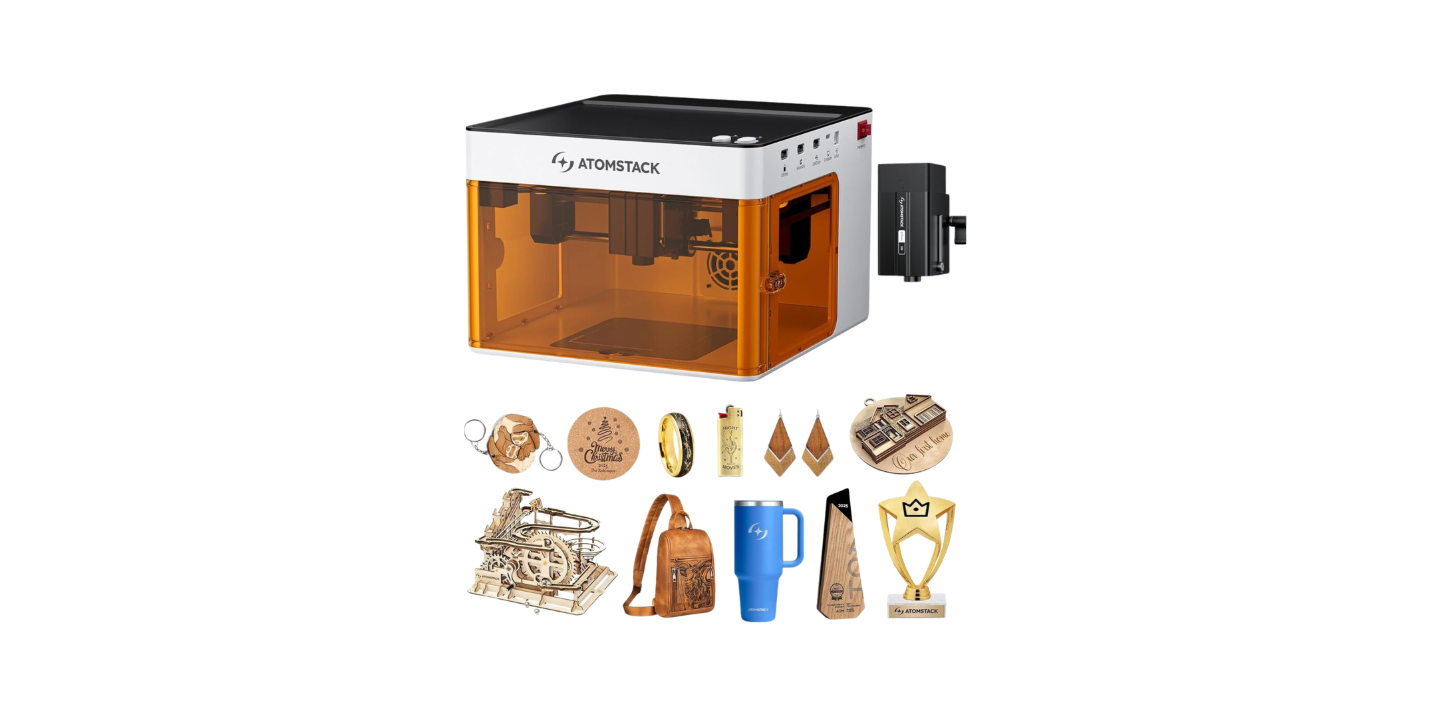
Design and Portability: Tiny Machine, Big Ambitions
The Ray5 mini is compact in the best possible way. It preserves desk real estate like a frugal librarian reserves book covers. With a 130×140mm engraving area, we can process multiple small items in a single batch—bookmarks, tags, jewelry blanks—without moving to a larger machine. The lightweight frame and tidy footprint made us think of it as a traveling studio. We tucked it into a tote, walked three blocks, and set it up at a friend’s kitchen table like it was the most normal thing in the world.
It’s also stable. We didn’t feel like the 2.5W module was overpowered for the frame; it’s well-matched, so precision doesn’t fall apart when we use faster scanning speeds.
Specs at a Glance
We find it helpful to have a quick cheat sheet when comparing gear. Here’s how the core specs line up.
| Feature | LONGER Ray5 mini 2.5W |
|---|---|
| Laser Module | 2.5W diode (0.04mm x 0.04mm spot) |
| Max Engraving Speed | Up to 12,000 mm/min |
| Engraving Area | 130 × 140 mm |
| Control Options | USB, WiFi, App control |
| Software Compatibility | LaserGRBL, LightBurn, LaserBurn |
| Materials | 300+ including wood, leather, metal, acrylic, and more |
| Safety | Emergency stop, motion protection (auto shutdown), X/Y limit switches, goggles included |
| Setup | Pre-assembled; beginner-friendly manuals and video tutorials |
| Support | 24/7 customer service, lifetime technical support |
This balance of portability and capability is where it shines. We get a lot of the best features from larger rigs without the logistical headache.
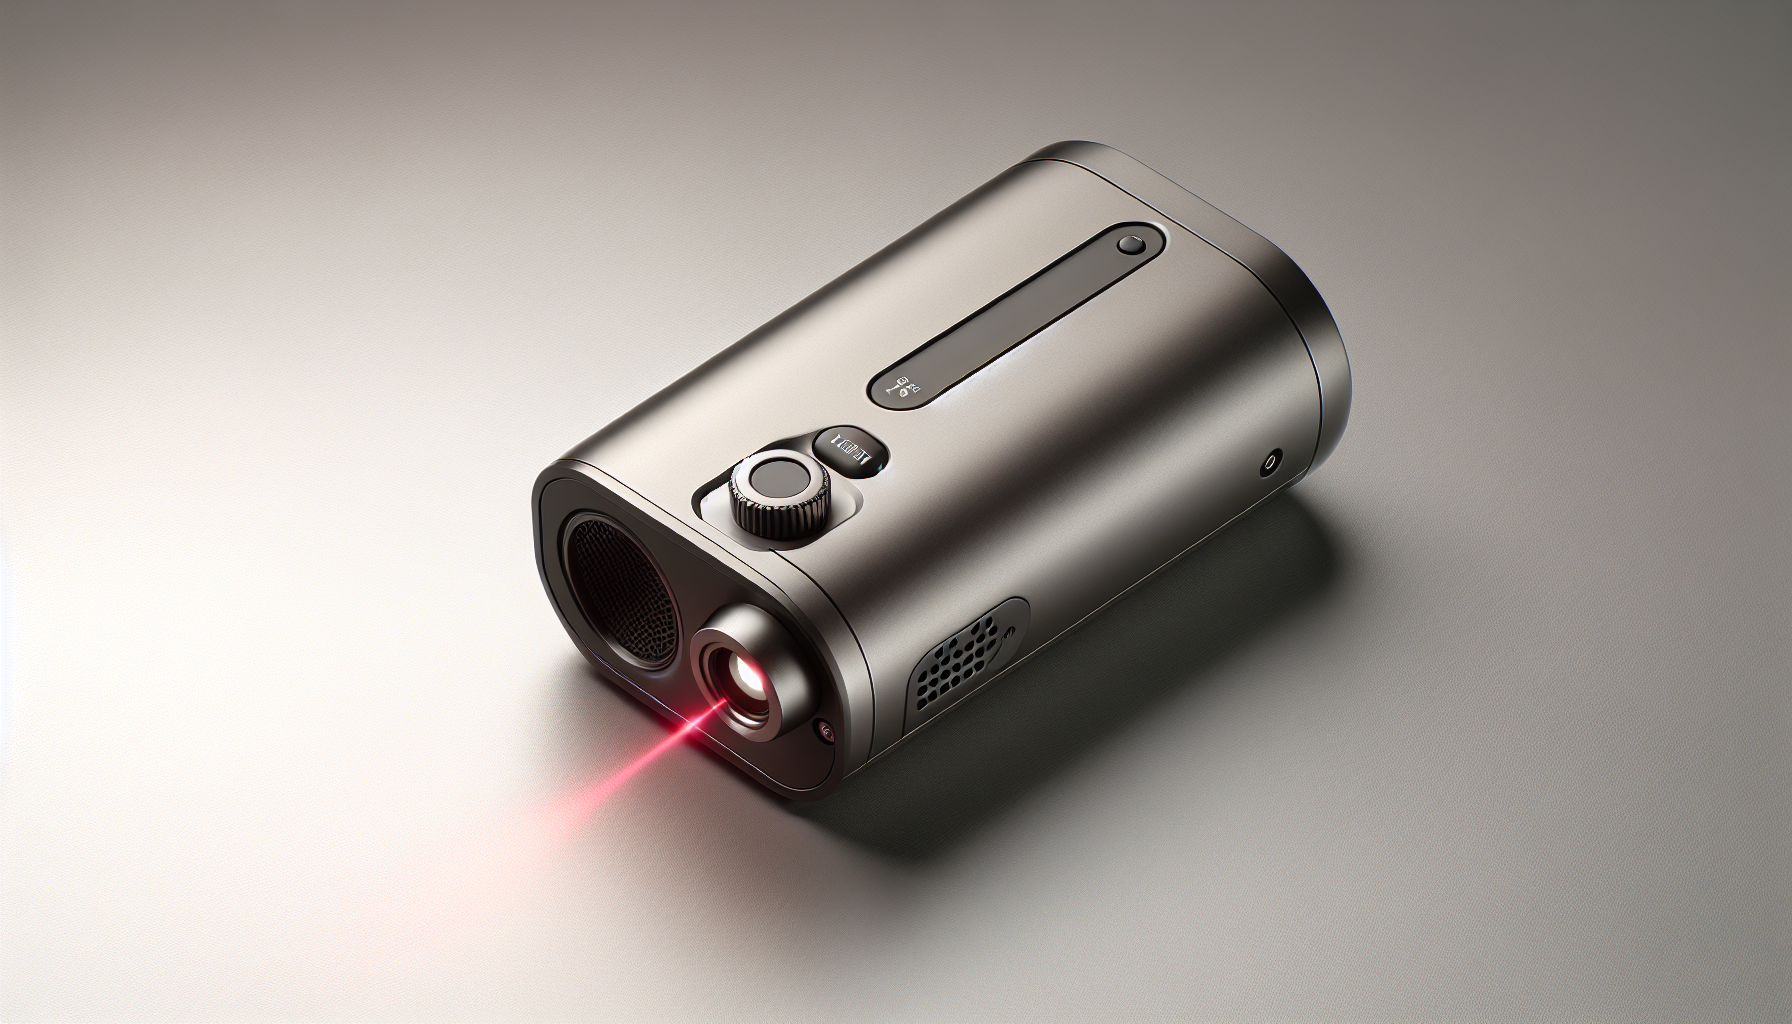
Performance: Speed, Precision, and Beam Quality
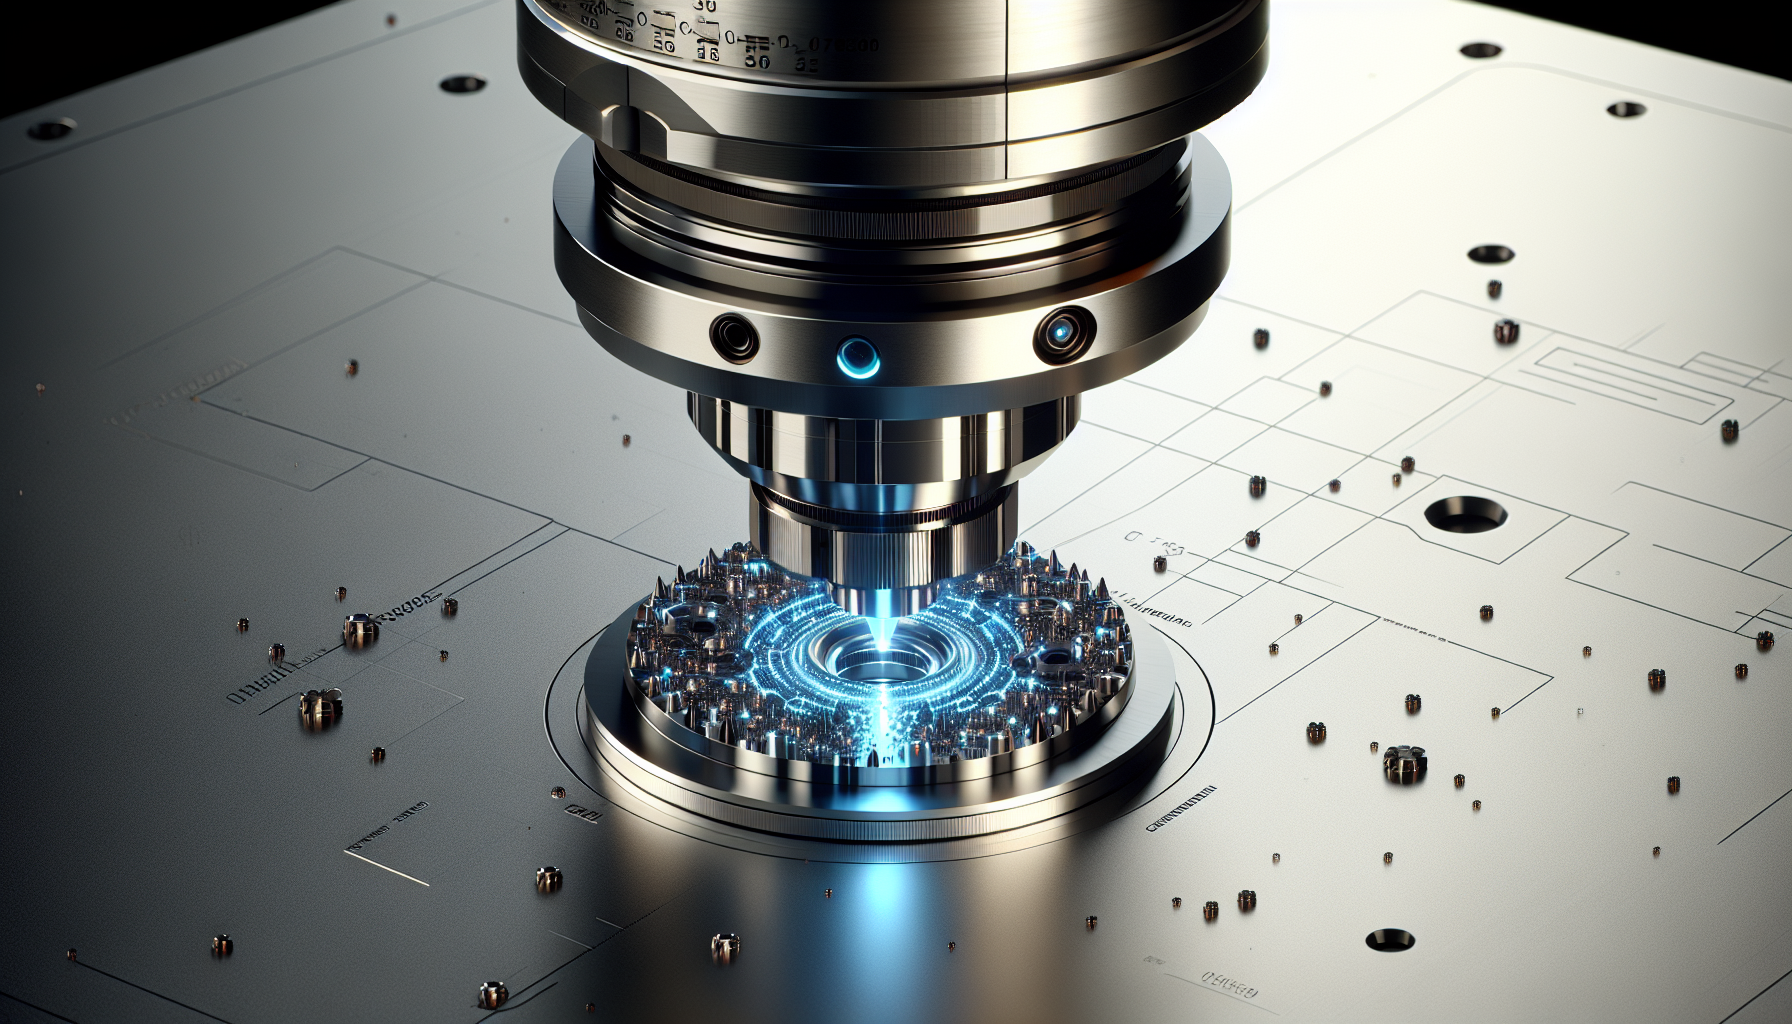
The machine’s confidence rests on its laser module and motion system. In short, we were pleasantly surprised. The 2.5W diode with a 0.04mm x 0.04mm spot lets us engrave intricate details—fine lines, small text, tight hatching—without muddying edges. It doesn’t pretend to be a 40W cutter, and we didn’t ask it to be. Instead, it does what a portable engraver should: reliable precision at reasonable speed.
Laser Spot and Detail
That 0.04mm spot matters. It’s the difference between “this looks handmade” and “this looks hand-drawn by a talented ant wearing bifocals.” Engraving micro text on anodized aluminum tags came out crisp. Shading on leather looked subtle and consistent. Even intricate line art with cross-hatching held up at small scales.
We adjusted focus with minimal fuss, and the beam profile felt consistent across the work area. For photo engraving on wood, we got nicer tonal transitions when we bumped up image contrast and used dithering in LightBurn.
Engraving Speed and Throughput
“Up to 12,000 mm/min” is the speed headline, and while that doesn’t mean everything should run at full tilt, it gives us room to tune. For coarse raster engraving on plywood, we ran 8,000–10,000 mm/min with lighter power and got reliably legible results. For fine work, we slowed to 3,000–6,000 mm/min to keep detail clean and minimize scorching. On anodized aluminum, faster speeds still produced sharp results due to the surface interaction.
Batch work benefits from the generous small-area format. We nested six leather tags and ran them in a single operation. It felt efficient without being a production line.
Accuracy and Repeatability
We care about whether the first piece matches the tenth. Squares came out square. Circles resembled circles, not ovals in disguise. The X/Y limit switches help the machine home repeatably, so multi-pass alignment stayed accurate when we experimented with cutting thin materials in multiple passes.
Materials We Tried and Real-World Results
We always keep a small stash of scrap materials. It’s our version of a spice rack. Here’s a snapshot of how the Ray5 mini 2.5W handled a range of materials in our tests. Settings vary by color, density, and finish, but this paints a practical picture.
| Material | Engrave | Cut | Our Notes |
|---|---|---|---|
| Basswood (1–2 mm) | Clean, high contrast | Yes (multi-pass) | Good for small ornaments and tags; minimal charring with proper air assist or lower power. |
| Birch Plywood (3 mm) | Good detail | Limited (multi-pass; depends on glue) | Engraves beautifully; cutting depends heavily on ply and adhesive. |
| Walnut/Maple | Excellent detail | Limited (thin veneers) | High-contrast engraving; cutting hardwoods is possible only when very thin. |
| MDF | Dark, consistent | Possible (thin sheets) | Engraves well, but creates more smell—ventilation is key. |
| Leather (Veg-Tan) | Superb shading | Yes (thin pieces) | Gorgeous results for wallets, key fobs; test for burn marks and mask if needed. |
| Felt/Fabric | Good | Yes (thin) | Clean cuts; adjust power to avoid wool singe. |
| Paper/Cardstock | Excellent | Yes | Fast, crisp stencils; keep power minimal. |
| Acrylic (Black/Colored Opaque) | Good | Yes (thin) | Diode lasers handle opaque colors better; clean edges at slow speeds. |
| Acrylic (Clear/Transparent) | Limited | Not recommended | The wavelength passes through clear acrylic; use opaque for best results. |
| Anodized Aluminum | Very crisp | N/A | Great for tags and nameplates; creates a bright contrast. |
| Stainless (coated/painted) | Good | N/A | Engraving on painted/coated steel works; raw stainless needs marking spray for contrast. |
| Slate/Ceramic Tiles | Good | N/A | High-contrast results on slate; ceramic yields sharp text with correct settings. |
This engraver is a champ at marking and engraving. For cutting, we stayed within practical bounds: thin woods, leather, felt, paper, and opaque acrylic. If our goal is to slice through thick hardwood, we’d consider a higher-power machine; for portable engraving and light cutting, this 2.5W module hits the sweet spot.
Software and Connectivity: USB, WiFi, and App Control
We appreciate when a tool lets us work our way. With USB, WiFi, and App control, we weren’t tethered to a single setup. The machine played nicely with both our studio PC and the laptop we found under a stack of notebooks.
LaserGRBL, LightBurn, and LaserBurn
We tested with LaserGRBL (a stalwart for Windows) and LightBurn (cross-platform and intuitive). Both handled jobs reliably. LightBurn’s layout and image tools made it easy to nudge vectors, tweak DPI, and batch-run multiples. If we already own LightBurn, we’ll feel right at home; if not, LaserGRBL gets us up and running without cost. The Ray5 mini is also listed as compatible with LaserBurn, which some users prefer for certain workflows.
Our advice: settle on one software that suits our rhythm, and create a few material profiles. That way, moving from leather to wood to anodized aluminum is painless.
Offline Use and Workflow
The Ray5 mini supports offline workflows, which we love. We sent files over WiFi, unplugged, and let it run. For hobby setups and small craft booths, not being chained to a cable is more than convenience—it’s sanity. We also liked that we could pause if the cat decided to audition for foreman.
Safety Features That Actually Matter
Laser safety isn’t optional, and this machine takes it seriously without turning it into a lecture. The emergency stop button sits prominently where we can smack it if something goes sideways. Motion protection means that if the machine is jostled or lifted mid-job, it shuts down automatically, which is comforting if we live with curious roommates or fidgety pets.
Emergency Stop and Motion Protection
We tested the emergency stop (gently). It killed power to the laser, as expected, and saved our test piece from a dramatic scorch line. Motion protection behaved as advertised; accidental bumps didn’t become unemployed-welder stories we’d have to retell at dinner.
Limit Switches and Eye Protection
Limit switches on X and Y prevent over-travel and help with precise homing. This improved alignment during multi-pass cuts and reduced the “where did zero go?” moments. The included safety goggles were a welcome addition—no need to hunt for our own before first use. We still kept the laser covered and warned family members away, because safety should not depend on our memory.
Noise, Smell, and Ventilation
This isn’t a rock concert. The motors hum, the fans whir, and the smell of toasted wood or leather arrives like a polite guest who stays just long enough. Ventilation is essential—especially for MDF, leather, and plastics. We set up next to a window fan and called it a day. If we plan to run it regularly indoors, a small enclosure with ducting will improve air quality and keep the environment comfortable.
Maintenance and Upgrades
Low-effort maintenance kept the Ray5 mini happy. We brushed dust off the frame, wiped the lens carefully with proper lens wipes, and checked belts now and then. Clean optics make a noticeable difference in engraving contrast and cutting efficiency. We used a scrap of thin paper for focus checks and called it our “ritual of precision.”
As for upgrades, an air assist can sharpen edges and reduce char on cuts. It’s not mandatory, but it’s a quality-of-life improvement. Keeping a dedicated, level surface also helps maintain alignment.
Who This Engraver Is For
We often get asked who should buy a portable engraver. Our short list:
- Beginners who want a zero-fuss, pre-assembled machine to learn with.
- Makers in small apartments who need a compact, quietish tool.
- Etsy sellers and craft fair regulars for customizing small items.
- Teachers and workshop hosts who need a classroom-friendly tool.
- Hobbyists who want a travel-friendly engraver they can run on a small desk.
If we want to do heavy cutting or large-format signage, this is not the machine. But if our favorite projects involve custom gifts, tags, coasters, jewelry, small plaques, and prototypes, the Ray5 mini is a well-tempered partner.
What It Won’t Do
Honesty helps us avoid crying in front of plywood. This 2.5W machine will not be our go-to for cutting thick hardwoods or fast-throughput production on dense materials. It won’t cut transparent acrylic cleanly, because of how the diode wavelength interacts with clear materials. And it won’t engrave bare, polished stainless steel with high contrast unless we use marking spray or a painted/coated surface.
In other words: it’s a nimble engraver first, a light-duty cutter second, and a tiny powerhouse as long as we keep expectations practical.
Comparisons: Ray5 mini vs. Bigger Machines
We tried to compare it to larger, higher-wattage machines—and that’s like comparing a city bicycle to a moving truck. Each has a job. Larger diode machines add more workspace and more cutting power, but they’re harder to toss in a bag and they demand more room. CO2 lasers run faster cuts on acrylic and wood and handle clear acrylic without drama, but they involve more maintenance, a bigger footprint, and a different budget.
The Ray5 mini works best for focused, small-format tasks that rely on accuracy and portability. For many makers, that’s the majority of actual projects: tags, ornaments, nameplates, custom gifts, templating, and personalized one-offs.
Tips for Getting Great Results
We learned these the easy way, which is to say we took notes while doing:
- Use material test grids. A small test saves a ruined batch. We keep one for wood, one for leather, and one for anodized metal.
- Focus precisely. That 0.04mm spot shines when we nail focus. Recheck when changing material thickness.
- Simplify artwork. Thin strokes and high-contrast designs pop. For photos, use dithering and adjust gamma/contrast.
- Mask when needed. Painter’s tape on wood reduces smoke staining. Peel after engraving for cleaner edges.
- Slow down for small text. Fine lettering on wood likes slower speeds with moderate power.
- Vent well. A simple window fan goes a long way. Venting improves results and lungs.
- Clean the lens. Every few sessions, gently clean. It’s the cheapest performance boost available.
- Consider air assist. If cutting thin woods or opaque acrylic often, air assist improves cut quality and reduces edge char.
- Batch items. Use the 130×140mm area to line up multiples; jig fixtures make repeats painless.
Troubleshooting Notes
Even the best sessions have little mysteries. Here’s what helped us:
- If engraving looks faint on anodized aluminum, increase power slightly and reduce speed; verify focus height.
- If edges char on wood, add air assist or reduce power and increase passes. Check that the lens is clean.
- If WiFi is spotty, fall back to USB for critical jobs; it’s the most stable connection.
- If circles aren’t round, check belt tension and verify that homing completes properly.
- If cuts don’t go through as expected, check the material’s glue or color; plywood adhesive differs wildly. Try slower speed and multiple passes.
Support and Warranty Experience
We tested the waters with a few support questions—half genuine, half nosy—and got prompt, helpful replies. Between the manuals, video tutorials, and 24/7 customer service with lifetime technical support, we felt covered. No one likes to admit confusion, but if we do, it’s nice when help arrives quickly and without judgment.
A Closer Look at Real-World Project Types
We like putting machines into categories based on what they handle best. The Ray5 mini fit into these:
- Personalized gifts: names on leather key fobs, custom tags, monogrammed notebooks.
- Small signs and badges: desk plates, magnetic name badges, QR code tags.
- Jewelry components: anodized aluminum blanks, wood earrings, slate pendants.
- Home accents: spice jar labels, coasters, drawer pulls with custom art.
- Education and prototyping: small-scale templates, jigs, alignment tools, classroom demos.
- Micro art: detailed line art on wood tiles, typography experiments, tiny maps for the cartographically obsessed.
We found ourselves gravitating toward projects that value detail over size. The engravings were crisp enough to turn simple shapes into stylish products.
An Easy Process for Our First Week
We landed on a consistent process that kept our sessions smooth:
- Day 1: Calibrate focus, create a set of test grids for wood, leather, and anodized aluminum.
- Day 2: Build simple jigs—a cardboard or plywood template to position items consistently.
- Day 3: Import favorite designs, and create a folder of presets in LightBurn or LaserGRBL.
- Day 4: Run a short batch of six or eight items to test repeatability and alignment.
- Day 5: Add air assist if we plan to cut opaque acrylic or thin wood regularly.
- Day 6: Make a maintenance checklist: lens check, belt tension, homing test.
- Day 7: Cement a “standard” workflow so future sessions feel like muscle memory.
We found that after a week, it felt second nature, and the tinkering parts shrank to the fun kind.
Practical Workspace Setup
Because portability is the point, we tried a few different setups:
- Kitchen table mode: Silicone mat under the machine, a small fan in the window, laptop nearby.
- Apartment studio mode: Compact shelf, a simple enclosure with a dryer hose to a window vent.
- Craft fair mode: Stable folding table, battery backup for brownouts, pre-cut blanks, and a jig board. WiFi handy, but USB as backup.
In each case, the Ray5 mini fit comfortably. We didn’t need to reorganize our entire life to accommodate it.
Power and Efficiency
We didn’t measure electricity draw with a tiny lab coat and clipboard, but a 2.5W diode system is energy-light compared to bigger lasers. That matters when we’re running longer engravings and don’t want to worry about tripping breakers or racking up costs. It’s also less heat-intensive, which our summer self appreciates.
When Speed Meets Quality
Pushing 12,000 mm/min is useful for scanning patterns where speed trumps detail. But most of our best results were in the 3,000 to 8,000 mm/min range, depending on material and design. Small text, delicate shading, and fine lines all improved when we let the machine take its time. We learned to treat speed like salt—use it generously when it suits the recipe, sparingly when we want nuance.
Our Favorite Test Projects
We always make a few “house specials” when meeting a new machine:
- Leather key fobs with coordinates of our favorite spot. The results were sharp and boutique-worthy.
- Slate coasters with line art of a city skyline. The contrast was pleasingly dramatic.
- Anodized aluminum tags with tiny serif fonts. We smiled at the legibility. Serif in miniature—what a world.
- Wooden bookmarks with a delicate botanical pattern. A bit of masking reduced smoke and made the design pristine.
- Opaque black acrylic earrings in geometric shapes. The edges looked tidy with a slow pass and air assist.
We kept them. We’re not ashamed.
Pros and Cons
There’s no such thing as perfect, but some things come close.
Pros:
- Ultra-portable and pre-assembled—fast from box to first project.
- Excellent detail with the 0.04mm spot; crisp lines and fine text.
- Flexible connectivity: USB, WiFi, and App control for online/offline use.
- Works with popular software: LaserGRBL, LightBurn, and LaserBurn.
- Safety features that matter: emergency stop, motion protection, limit switches, goggles.
- Solid engraving on wood, leather, anodized metal, slate, and more.
- Great value for small studios, classrooms, and mobile setups.
- 24/7 customer service with lifetime technical support.
Cons:
- 2.5W power limits cutting to thin stock; thick materials require patience or a higher-wattage machine.
- Clear acrylic isn’t a friend; opaque colors fare much better.
- Ventilation is a must, especially with MDF and leather.
- The smaller work area doesn’t suit large signs or big batch jobs.
Value for Money
We think of cost in two ways: the price we pay at checkout and the hours saved down the road. The Ray5 mini’s pre-assembled design, stable motion, and polished software compatibility reduced our early learning curve. The portability solves a real problem if we’re working from a small space or moving between locations. For makers focused on personalized goods, the quality-to-size ratio pays for itself quickly.
It’s also less intimidating than a big CO2 machine, both in upkeep and in the sound it makes when we turn it on. We got capable results without losing Sunday afternoons to tinkering.
Frequently Asked Questions We Asked Ourselves
We asked ourselves these so others wouldn’t have to.
- Can we run this without a PC connected? Yes. With WiFi or App control, we can send a job and run it offline.
- Is it safe for beginners? Safer than many, thanks to the emergency stop, motion protection, limit switches, and included goggles. Still, common sense applies: ventilate, supervise, and don’t engrave mystery plastics.
- Will it engrave bare metal? It marks anodized aluminum beautifully. For polished stainless steel, use marking spray or a coated surface for high contrast.
- Can it cut wood? Yes, thin woods and veneers, especially basswood. Expect multiple passes and patience on thicker stock.
- Does it work with LightBurn? Yes. It’s compatible with LightBurn, as well as LaserGRBL and LaserBurn.
- How big can we go? The working area is 130×140 mm. It’s designed for small-format projects.
What Surprised Us Most
We didn’t expect to love the portability as much as we did. Moving a laser engraver from room to room feels decadent—like bringing a library to bed. The Ray5 mini slipped into our routine with the gentlest learning curve. We appreciated how quickly we went from “let’s see if this works” to “we can sell that.”
We also liked the confidence of the safety features. Knowing that a bump cuts power isn’t just nice; it’s the kind of thing that makes us willing to use it more often.
Ideal Use Cases We Recommend
If we were guiding a friend, we’d recommend the Ray5 mini 2.5W for:
- Personalized product lines: leather tags, coasters, bottle openers, bookmarks, dog tags, and jewelry blanks.
- Classroom or workshop demos: where portability and safety are key.
- Small business prototypes: proof-of-concept runs without committing to a massive machine.
- Apartment-friendly creating: minimal footprint, low noise, and easy storage.
- Travel-based crafting: craft fairs, pop-ups, collaborative studios, and shared workspaces.
Little Habits That Made a Big Difference
A few low-effort moves elevated our results:
- We turned material scraps into labeled test coupons and kept them bound with a binder clip.
- We made a simple grid jig in LightBurn for repeatable alignment and etched it into a thin plywood board.
- We created profiles named “Leather Crisp,” “Basswood Clean,” and “Anodized Bold” to load quickly in software.
- We put a gentle reminder note on the machine: “Lens clean? Focus set? Vent on?” It saved us more than once.
The Portable Studio Dream, Delivered
We wanted a machine that doesn’t require an entire room, a special outlet, and a solemn promise to learn it before winter. We got a compact engraver that starts quickly, engraves beautifully, and encourages us to try new ideas. It didn’t overwhelm our space or our patience.
Final Verdict
We went looking for a beginner-friendly, ultra-portable engraver and found a genuine keeper. The LONGER Ray5 mini 2.5W balances small footprint, smart safety, capable software, and precise engraving with that 0.04mm laser spot. It’s quick to set up, easy to live with, and surprisingly versatile across wood, leather, anodized aluminum, slate, and more. Cutting is limited to thin materials, and clear acrylic remains a challenge, but those are well-known boundaries for a 2.5W diode machine.
If our creative life fits into a backpack and our projects favor detail over scale, this is a terrific choice. We felt confident putting our name on the pieces it produced, and that, for us, is the best measure of any tool.
Disclosure: As an Amazon Associate, I earn from qualifying purchases.