Are you tired of watching parts come off the machine with a margin of error that would make a Swiss watchmaker blush with disappointment?
How To Calibrate Your CNC Machine For 2026 Standards Of Precision
This article shows you how to bring your CNC machine into line with the accuracy expectations of 2026, when tolerances are tighter, inspection standards are stricter, and your customers will probably ask for data logs before they pay. You’ll get practical, step-by-step guidance, helpful checklists, and a few candid observations so you don’t feel like you’re the only one who once misread a micrometer as a particularly unhelpful paperweight.
Why calibration matters more than ever
Calibration is how you translate intent into reality — how a digital command becomes a metal part that won’t be returned. In 2026, the tolerance corridor narrows further, additive manufacturing blends with subtractive processes, and traceability becomes expected. If you skip calibration, you don’t save time; you spend it arguing over rejects.
What “2026 standards of precision” actually mean
This is not a legal code but a practical set of expectations: sub-0.01 mm repeatability on many machines, improved thermal compensation, better probe integration, and end-to-end metrology traceability. You’ll need measurement evidence, stable environmental control, and updated firmware or software that supports advanced compensation maps.
The mindset you need
Calibration isn’t a ritual you perform once and forget; it’s a relationship you cultivate with the machine. You’ll be patient, precise, slightly neurotic about temperature readings, and willing to accept that sometimes the problem is your fixturing, not the servo motors.
Tools and equipment you’ll need
You can achieve high precision with basic tools if you use them correctly, but for 2026-level work you’ll want high-quality instruments and traceable calibration.
| Tool | Purpose | Suggested specification |
|---|---|---|
| Laser interferometer | Measure linear axis accuracy and straightness | Resolution ≤ 0.001 mm |
| Ballbar (circular test device) | Assess servo performance and backlash | Compatible with your controller |
| Electronic indicators / dial gauges | Quick checks for runout and flatness | 0.001 mm resolution preferred |
| Precision telescoping gauges / bore gauges | Internal feature inspection | Matched to bore sizes |
| Probe styli and calibration artifacts | Probe accuracy and repeatability | Traceable reference spheres |
| Temperature/humidity data logger | Environmental compensation | ±0.5°C, 2% RH |
| Torque wrenches, spanners, feeler gauges | Mechanical adjustments | Factory recommended sizes |
| V-blocks and surface plates | Benchmark references | Grade 0/00 plate where possible |
| Reference balls and test artifacts | Geometry verification | Traceable to national standards |
| Software tools (compensation maps, servo tuning) | Implement corrections | Latest controller firmware |
Pre-calibration checklist
Before you touch a dial, make sure prerequisites are handled. This reduces wasted effort and helps you isolate variables.
- Clean the machine thoroughly: chips, coolant and oil films alter measurements.
- Warm up the machine: run axes at low speed for 30–60 minutes to reach thermal steady-state.
- Verify utilities: stable mains power, grounded electronics, and uncorrupted controller firmware.
- Secure tooling and fixtures: loose holders create motion artifacts that mimic servo issues.
- Record baseline values: note current positions, backlash, and spindle runout for comparison.
Environmental control and why it’s not optional
Temperature and humidity silently wreck precision. You can tune servos and map compensation, but if the shop swings 6–8°C over a shift, your parts will wander like gulls.
- Aim for stable temperature within ±1°C for best results.
- Keep humidity under control to minimize material expansion and corrosion.
- Use local shielding or enclosures for thermal isolation when possible.
- Log environmental conditions during calibration to correlate anomalies.
Understanding machine geometry and error sources
Every error belongs to a family: geometric, thermal, control, or tooling. If you misidentify the family, you’ll be fixing the wrong thing and blaming the wrong person.
- Geometric errors: straightness, squareness, flatness, and concentricity.
- Thermal errors: axis expansion, spindle growth, ambient drift.
- Control errors: backlash, servo lag, interpolation inaccuracies.
- Tooling errors: spindle runout, toolholder deflection, probe misalignment.
Step-by-step mechanical calibration
Mechanical checks are your first solid step because they remove the obvious. You’ll be checking alignment, tightening fasteners, and verifying bearings.
Clean and inspect
Wipe the machine, inspect rails, leadscrews, and ball screws for wear, and look for loose mounting bolts. A tiny chip lodged on a guideway can create millimeter-sized headaches.
Check and adjust gib and preload
Ensure axis guides have consistent preload. Too loose invites vibration; too tight causes heat and stick-slip. Adjust to factory spec and retest movement smoothness.
Verify ball screw and linear guide wear
Measure backlash and axial runout. Replace or regrind components that show excessive wear; shimming and re-torquing can only patch so much.
Adjust spindle bearings and check runout
Measure spindle runout with an indicator and correct bearing preload if adjustable. For high-precision work, consider a spindle rebuild or replacement if runout exceeds spec.
Calibration of feedback devices
Encoders, scales, and resolvers are the machine’s eyes on motion. Calibrating them gives you trustworthy data for compensation.
Verify encoder indexing and resolution
Make sure encoder counts match commanded moves. If your 1 mm move registers as 1.0007 mm, create a correction factor or replace the encoder.
Linear scale check
If your machine has linear glass scales, verify their output against a laser interferometer. Scales are excellent but must be aligned and clean.
Rotary encoder and indexer calibration
On rotary tables, check leads and backlash using a dial indicator or laser-based angular measurement. Even a small angular error creates large positional deviations on longer tools.
Using a laser interferometer: the gold standard
A laser interferometer quantifies linear accuracy, straightness, and squareness with very high resolution. It’s the single most powerful instrument for creating correction maps.
- Set up the interferometer along the axis and use stable fixtures.
- Perform incremental moves across the axis range, logging errors every 50–100 mm.
- Create a compensation table (error map) that you’ll upload to the controller.
Table: Typical interferometer test results and actions
| Symptom | Typical measurement | Likely cause | Action |
|---|---|---|---|
| Linear error ramp across axis | 0.05–0.2 mm over travel | Ball screw pitch error | Generate correction table; consider screw replacement |
| Sinusoidal error pattern | Periodic variation | Ball screw thread error | Use interpolation compensation; replace if severe |
| Sudden jumps | Localized step | Debris or damaged guideway | Inspect and clean; repair damaged guide |
Ballbar testing for dynamic performance
The ballbar test helps you understand how your servo systems behave under circular interpolations. You’ll learn about backlash, velocity lag, and eccentricity.
- Run circular tests at different feedrates.
- Compare ellipse eccentricity to baseline; large changes indicate servo issues or mechanical play.
- Use results to tune servo gains and inertia settings.
Backlash measurement and compensation
Backlash is a relationship breaker between commanded motion and actual position. You’ll measure it and decide whether to compensate in software or correct mechanically.
- Measure backlash by commanding small reversals and comparing actual position change.
- If backlash > spec, adjust nuts or bearings; if within small limits, program compensation.
- Remember compensation works best when backlash is stable; variable backlash indicates wear.
Squareness and orthogonality checks
Axes should be orthogonal within tolerance, or your prismatic part dimensions will skew. You’ll use squares, test bars, or laser methods.
- Test with a granite square or test bar; measure both directions to detect hysteresis.
- Use laser squareness tests for highest accuracy.
- Implement axis mapping to correct consistent angular errors.
Spindle calibration and balancing
The spindle is the heart of your machine. Spindle issues affect surface finish, dimensional accuracy, and tool life.
Measure spindle runout
Use a high-quality indicator on a reference bar to measure runout; replace taper or retainers if runout exceeds spec.
Check spindle bearing condition
Listen for roughness and measure thermal growth under run. Replace bearings if noise, vibration, or growth is out of tolerance.
Dynamic balancing
If vibration shows up at certain speeds, balance the spindle or tooling assembly. Unbalanced tools create eccentric forces that ruin small-detail precision.
Probe and tool setter calibration
Probes and tool presetters provide the feedback that ties your CAM model to real space. If their calibration is off, the best CNC will happily make perfect parts in the wrong place.
- Use reference spheres and calibration cubes to test probe repeatability.
- Check stylus length offsets and replace worn styli.
- Validate probe cycles in the part program and record probe uncertainties.
Thermal compensation and prediction
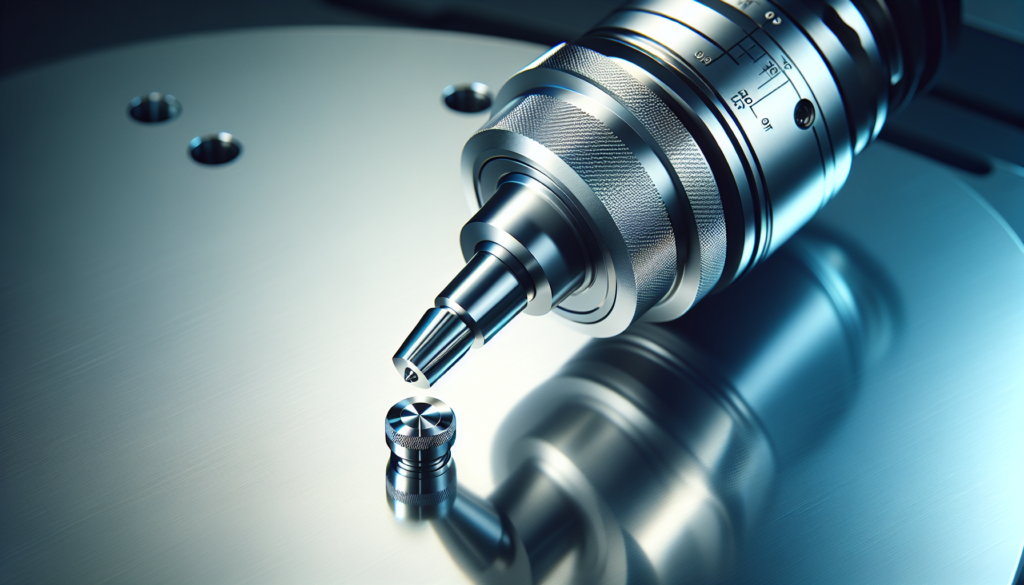
Temperature changes cause predictable but complex dimensional shifts. You can measure and compensate for them.
- Create thermal drift curves by logging position changes versus temperature.
- Use spindle thermometer and ambient sensors to feed dynamic compensation.
- Some controllers support full 3D thermal maps; consider implementing them on critical machines.
Controller settings and compensation maps
Your controller is where many fixes get applied. Learn its compensation capabilities and record changes.
- Upload linear error arrays derived from interferometer tests.
- Configure backlash compensation values if mechanical fixes are not feasible.
- Implement dynamic feed-forward and look-ahead to smooth motion.
Servo tuning and control loop optimization
Servos are software-tuned; mechanical fixes can only go so far. You’ll tune proportional, integral, and derivative settings, as well as notch filters and inertia compensation.
- Start with conservative gains and increase until you see oscillation, then back off.
- Use manufacturer-recommended procedures and ballbar feedback to quantify improvements.
- Document all settings so you can revert if a change causes problems.
Tooling and fixture calibration
A perfectly calibrated machine with sloppy tooling still makes bad parts. Verify toolholders, collets, fixtures, and vices.
- Check runout of each toolholder and replace worn collets.
- Verify fixture flatness and repeatability; use dowel pins where possible.
- Tighten torque to spec and record torque wrench serial numbers if traceability is needed.
Workholding and part stability
Part movement during cutting is one of the most common reasons for dimensional errors. You’ll design for rigidity.
- Use multiple clamps, supports, and vacuum tables when necessary.
- Avoid cantilevers and unsupported spans that magnify deflection.
- Measure deflection under load and compensate toolpaths if required.
Measurement and inspection: verifying results
Calibration is validated through measurement. You’ll use CMMs, optical comparators, and in-process probes to confirm.
- Develop an inspection plan that includes critical dimensions and datums.
- Use statistical process control (SPC) to track drift.
- Keep calibration certificates and measurement logs for traceability.
Table: Suggested verification steps after calibration
| Step | Instrument | Acceptance criteria |
|---|---|---|
| Linear axis accuracy test | Laser interferometer | Within specified error map |
| Circularity and dynamic test | Ballbar | Ellipse eccentricity |
