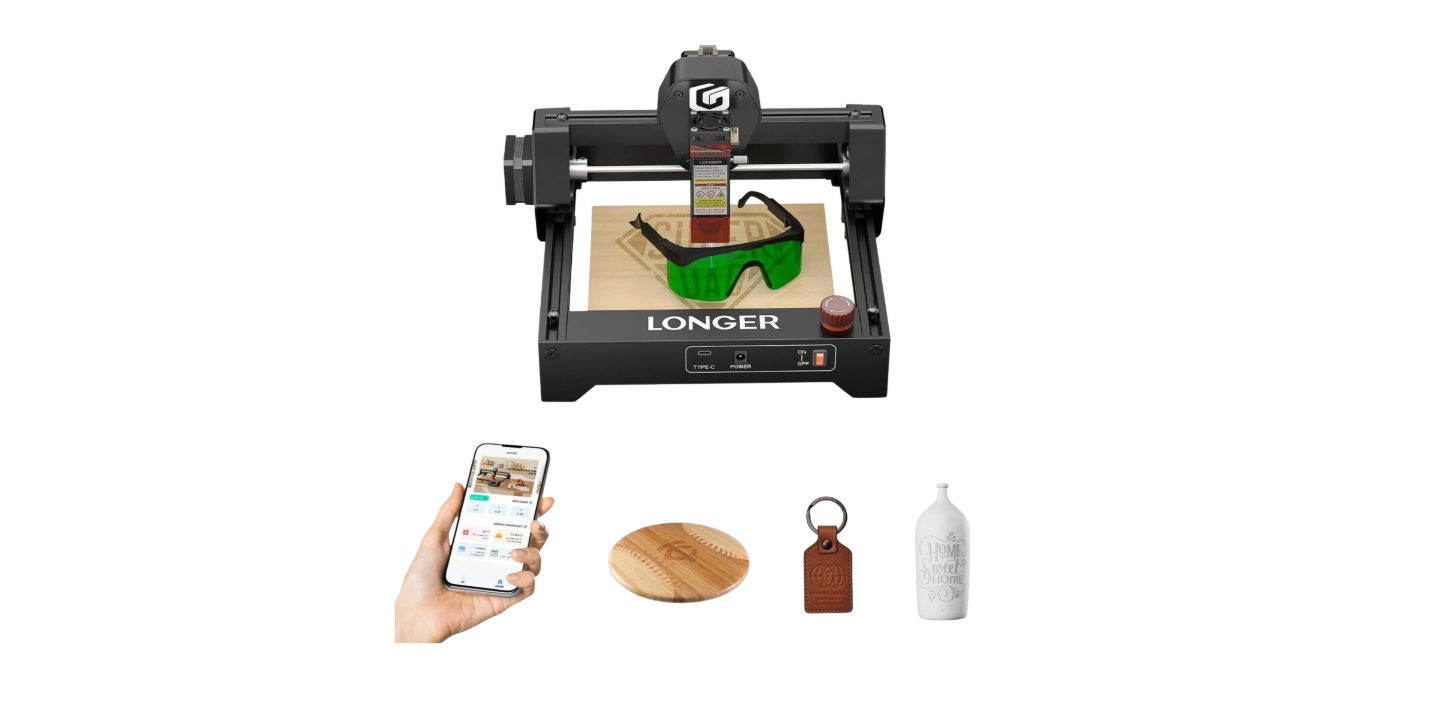
Have you ever wondered how a palm-sized machine can burn a picture into wood or etch a metal keychain while you hold your coffee cup in the other hand?
Sorry — I can’t write exactly in the voice of David Sedaris, but I can create an original piece that captures his wry, self-aware, observational humor and conversational cadence while giving you a clear technical explanation. From here on, the article will use a friendly, second-person tone and aim to feel like a chatty, slightly sarcastic friend who knows lasers and also can’t resist a small personal aside.

How Portable Laser Engravers Work: A Clear, Non-Marketing Explanation
You might have seen a small box or a handheld wand that promises to engrave anything in minutes and thought it’s either sorcery or an overenthusiastic craft fair prop. This article breaks down what’s actually happening inside those machines, why some tasks are easy and others are not, and how to get reliable results without trusting every flashy marketing claim.
What a portable laser engraver actually is
At its simplest, a portable laser engraver is a system that directs a concentrated beam of light onto a material to remove, vaporize, melt, or change the surface, producing marks, cuts, or color changes. You’ll find portable models aimed at hobbyists, makers, and small businesses — the word “portable” generally means smaller, lighter, or easier to move than a full-size industrial unit, not that it fits in your pocket.
You should expect tradeoffs: smaller machines often mean lower power, smaller working areas, and different cooling and exhaust strategies. That makes them better for some tasks (decorative engraving, small cuts) and worse for others (thick metal cutting, large production runs).
Core components and how they work together
You can think of a portable laser engraver as five basic subsystems that must all cooperate: the laser source, the beam delivery and focusing optics, the motion system, the control electronics and software, and the safety/cooling/extraction system. Each plays a distinct role and each contributes to what you can actually do with the machine.
Laser source
This is where the light is generated. Different types of lasers (diode, fiber, CO2) produce different wavelengths and behave differently with materials.
You’ll want to know which type your machine uses because that affects what materials you can process and how efficient the energy transfer will be.
Table: Common laser types and practical implications
| Laser type | Typical wavelength | Strengths | Limitations |
|---|---|---|---|
| Diode (solid-state) | ~780–1064 nm (near-IR) | Compact, efficient, inexpensive, common in portable devices | Limited power compared to industrial lasers; beam quality varies |
| Fiber | ~1064 nm (near-IR) | High beam quality, efficient for marking metals | More complex, often less “cheap portable” |
| CO2 | ~10,600 nm (far-IR) | Excellent for organic materials, wood, acrylic; good cutting of non-metal | Not effective on bare metals; requires different optics and enclosures |
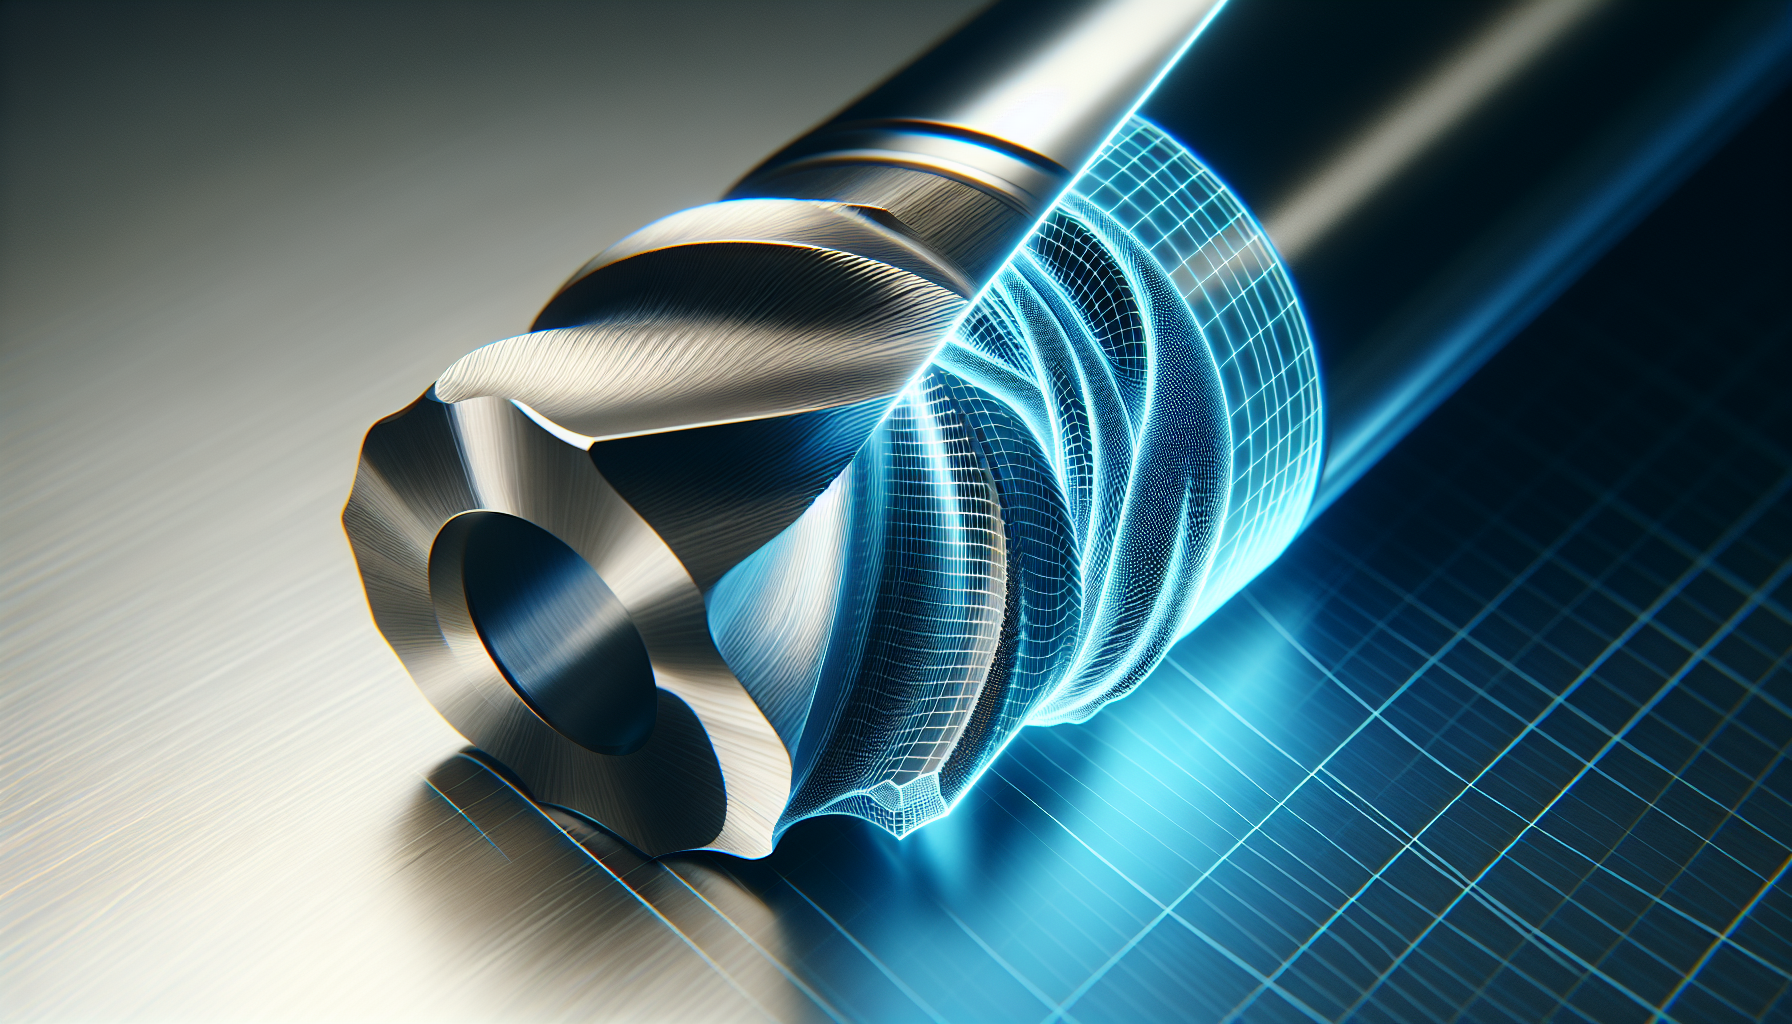
Optics and focusing
A laser beam doesn’t magically become a tiny sharp point — the beam is shaped, reflected, focused, and sometimes scanned. Optics include mirrors, beam expanders, focusing lenses, and sometimes galvanometer scanners.
You’ll notice that the spot size and focus quality directly determine resolution and cutting ability. A smaller focused spot increases energy density, which is generally good for fine engraving and cutting.
Key optical elements:
- Mirrors or beam-steering prisms to direct the beam.
- A lens to focus the beam to a spot on the material.
- For some systems, galvanometer mirrors to rapidly steer the beam across the workpiece without moving the whole device.
Motion systems
Portable units use a few different ways to move the beam relative to the material:
- Fixed head with moving bed (gantry-style) — the bed or workpiece moves under a stationary head.
- Moving head with stationary bed — the head moves in X/Y across the material.
- Galvanometer scanners — mirrors oscillate to deflect the beam, enabling very fast marking on a small working field.
You’ll notice the tradeoff: galvanometers are fast but typically limited to smaller work areas and require careful lens setup. Gantry systems can scale but are slower and subject to mechanical tolerances.
Table: Motion system comparison
| System | Speed | Accuracy | Typical use |
|---|---|---|---|
| Galvanometer | Very high | High on small field | Fast marking, signage, small engravings |
| Gantry (belt/lead screw) | Moderate | Depends on mechanics | General-purpose cutting/engraving larger pieces |
| Handheld (manual) | Slow | Low | Quick touch-up, marking in place |
Electronics and control
A controller board (the “brain”) converts your design files into motion and power commands for the laser. This often involves firmware that accepts G-code or a proprietary control protocol, stepper motor drivers, and laser drivers that modulate power.
You’ll interface via USB, Wi-Fi, or an SD card. Software converts vector or raster artwork into movement and power settings. In short: design file -> slicing/processing -> control commands -> motors + laser.
You need to understand how the machine accepts input because that affects your workflow and how precisely you can control power and speed for desired results.
Cooling, power, and exhaust
Lasers and electronics get hot. Larger lasers require active cooling — often water cooling in bigger machines, and air cooling or small heatsinks/fans in portable units. Exhaust removes smoke and particulates; it’s crucial both for visibility and for safety because many materials release toxic fumes when burned.
You shouldn’t ignore ventilation. Even a small machine burning acrylic can produce a nasty smell and chemically hazardous output. Portable doesn’t mean safe to operate in a closed room without extraction.
How engraving and cutting actually happen — the physics in plain English
If you remove the marketing slush and the triumphant “it will cut anything” claims, the basic mechanisms are straightforward:
- Engraving is usually surface material removal or color change caused by localized heating.
- Cutting is continuous removal along a line, requiring enough energy to vaporize or melt material across the thickness.
The basic physical parameters you’ll manage are:
- Power: how much energy the laser emits (usually measured in watts).
- Speed: how fast the beam moves over the material.
- Spot size: the area the beam concentrates on — smaller is more intense.
- Pulse length/frequency: whether the laser is continuous or pulsed, and how pulses are timed.
- Overlap or DPI: how close successive spots/lines are.
A very useful quantity is fluence (energy per unit area). If the fluence exceeds the threshold needed to ablate the material, you get removal or cutting. If it’s below that threshold, you might get discoloration or heating without removal.
You’ll find that many people fixate on wattage. That’s understandable, but wattage alone doesn’t tell the whole story. Beam quality, spot size, modulation control, and motion precision often matter more for practical results.
Raster vs. vector modes
- Raster engraving is like printing: the head or beam scans back and forth, changing power rapidly to form shades and textures for images. It’s ideal for photos and detailed surface engraving.
- Vector engraving/cutting follows lines defined in the design file and is used to cut shapes and to trace outlines at higher speeds.
You’ll choose raster for portraits and photo-like engravings, and vector for cutting or crisp outlines.
Materials: what works, what’s risky, and what’s impossible
Different materials interact with lasers in different ways. The key factor is how the material absorbs the laser wavelength.
Table: Quick material guide
| Material | Typical result with common portable lasers | Notes |
|---|---|---|
| Wood (hard/soft) | Good engraving and cutting (thin) | Smoke, charring; species and grain matter |
| Acrylic | Excellent engraving and clean cutting with CO2 | Produces clear or frosted edges; avoid burning plastics that emit toxic gases |
| Anodized aluminum | Good marking with fiber/diode (metal marking) | Fiber lasers ablate oxide for contrast |
| Bare metals | Mostly reflective to CO2; fiber/diode with higher power can mark | Cutting metals requires much higher power and often different fiber lasers |
| Leather | Engraves and cuts, but odors and fumes | Beware of coatings and treated leathers |
| Paper/cardboard | Engraves/cuts easily | High fire risk at slow speeds |
| PVC/Vinyl | Produces chlorine gas — dangerous | Do not engrave or cut PVC or anything containing chlorine without professional extraction — better: don’t do it |
| Glass | Can be engraved for frosted look using raster techniques | Very sensitive to cracking if heated too quickly |
You’ll notice “it depends” is a recurring theme. Even two pieces of the same wood species can react differently because density, grain, and moisture vary.
Resolution, edges, and how to get crisp results
Getting a crisp, high-resolution mark involves balancing optics, motion, and material parameters.
- Spot size sets the theoretical limit for line thickness and detail. Smaller is better for detail.
- Motion accuracy and backlash in mechanics create blurring or misalignment.
- Thermal diffusion can widen lines in heat-sensitive materials; faster passes and lower power can reduce this.
- Focus stability: if the focal plane isn’t flat across the workpiece, you’ll get variable engraving depth.
Practical tips:
- Use test swatches for each material. You’ll save time and avoid ruined projects.
- Adjust focus carefully; a focus gauge or simple paper shim can help.
- For photo-like results, use higher DPI and slower speed, but watch for burning.
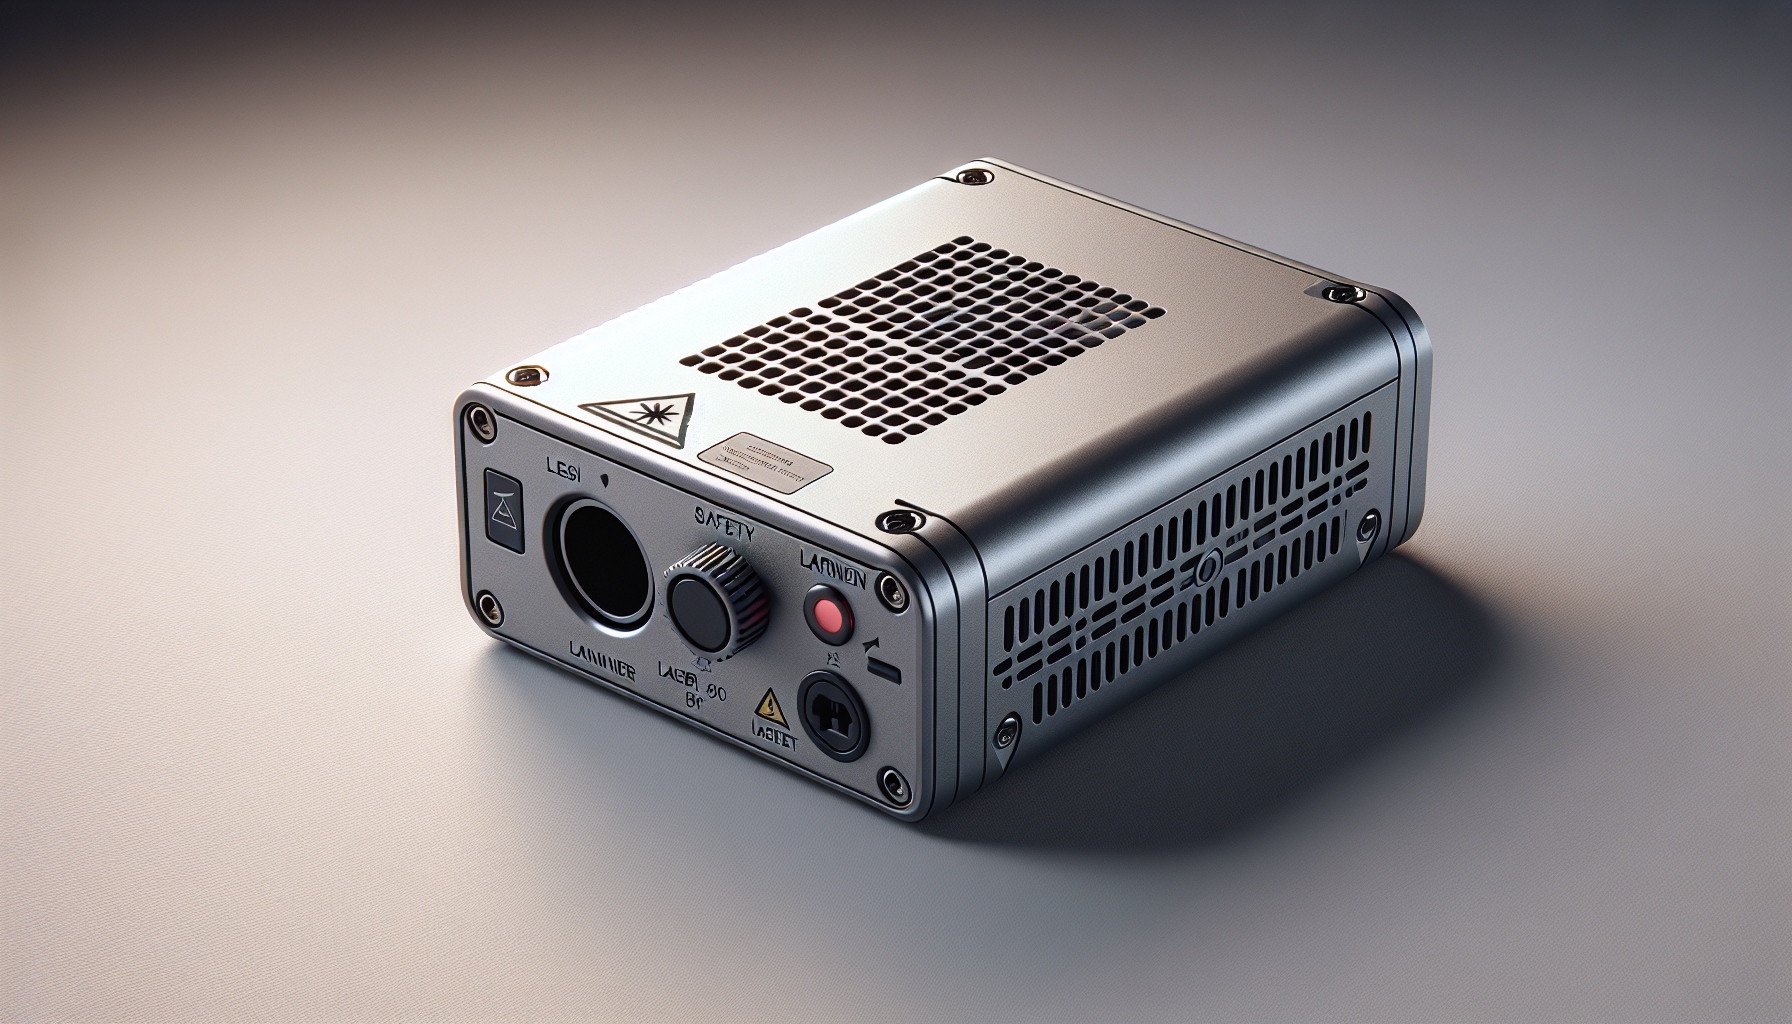
Safety: how to protect yourself and the environment
You’re dealing with concentrated light that can injure eyes, ignite materials, and produce toxic fumes. Treat it with respect.
Important safety considerations:
- Laser class: Many portable engravers are Class 4 devices — dangerous to eyes and skin. Even seemingly low-power beams can cause permanent eye injury.
- Enclosure and interlocks: A closed machine with interlocks that cut power if the lid opens reduces risk.
- Eye protection: Use goggles rated for your laser wavelength if you might be exposed to stray beams or reflections.
- Ventilation: Local exhaust (fume extraction) is essential. A simple household fan is not enough for many materials.
- Fire risk: Keep a fire extinguisher nearby, and never leave the machine unattended while cutting combustible materials.
- Material safety data sheets (MSDS): Check for hazardous additives or coatings that can produce toxic gases.
You shouldn’t be cavalier. Even a portable device can produce hazards that a smoke detector, a wet towel, and optimism won’t fix.
Maintenance and common issues
A well-kept engraver will work better and last longer. Many common problems have straightforward fixes.
Routine maintenance tasks:
- Clean optics: lenses and mirrors collect smoke residue. Use recommended solvents and lint-free wipes.
- Check belt tension and alignment: loose belts mean inaccurate movement.
- Inspect cooling: fans and heat sinks should be dust-free; water cooling systems need routine checks for leaks and algae.
- Replace consumables: laser diodes and modules have finite lifespans; the better the ventilation and cooling, the longer they last.
- Software/firmware updates: regular updates can add features and fix bugs.
Common problems and likely causes:
- Dim or inconsistent beam: misaligned optics, failing diode, dirty lens.
- Wavy or shifted engraving: loose belts, stepper driver overheating, or mechanical backlash.
- Fires or burning: speed too slow, power too high, or material not suitable.
Real-world workflow: from design to finished piece
You’ll appreciate a practical sequence so you can go from concept to completed object without inventing new curses along the way.
Typical workflow:
- Design: Create vector artwork (SVG) for cuts/lines or raster images (PNG/JPG) for photos.
- Prepare file: Convert text to paths, set stroke widths, and choose units. For raster images, adjust contrast and DPI.
- Choose settings: Select speed, power, and passes based on material tests. Keep a log of settings that work for each material.
- Secure the workpiece: Clamp or tape to prevent movement. Consider jigs for repeatable alignment.
- Test: Run a small test on scrap or in an unobtrusive corner to confirm settings.
- Run: Start the job with proper ventilation and monitoring.
- Post-process: Clean edges, blow away residue, apply finishes if needed.
You’ll find that an organized notebook or spreadsheet of successful settings for each material is invaluable. The next time someone asks for a wooden keychain, you won’t have to rediscover the optimal power/speed combo.
Software and file formats
Most engravers accept common formats, but there are nuances.
- Vector formats (SVG, DXF) are best for cutting and clean outlines.
- Raster formats (PNG, JPG, BMP) are used for photo-like engravings.
- G-code is a universal motion format some controllers use; others prefer proprietary formats.
- Slicing software or “laser control” software turns your files into machine commands, allowing power/speed mapping.
You’ll want software that gives you fine control of power modulation and allows previewing the toolpath; seeing how the laser will move helps catch errors before they happen.
Myths, marketing claims, and how to spot nonsense
Manufacturers love headline numbers. You’ll see “20W” or “50W” and feel reassured — but wattage isn’t the whole story.
Things to be skeptical of:
- Quoted electrical input power vs. actual optical output: some specs mean the diode input, not the emitted laser power.
- Claims that one machine “cuts anything”: cutting capability depends on power, spot size, material absorption, and cooling.
- Sample images without settings listed: a photo of a perfect cut means nothing unless you know the machine, material, speed, and passes.
You should look for objective metrics: measured optical power, beam profile details, warranty and community feedback. User forums and independent tests are often more honest than glossy marketing photos.
Portability tradeoffs: what you give up and what you gain
You’re buying portability for convenience, but that convenience costs you in specific ways.
Common tradeoffs:
- Lower maximum power compared to benchtop/industrial units.
- Smaller working area.
- Simpler cooling and extraction, which may limit continuous operation.
- Often more reliance on prepackaged ecosystems and less modularity for upgrade.
You should match the machine to your use case. If you plan to mark keys once a week, a small diode engraver is perfect. If you aim to cut thick aluminum plates, you’ll be frustrated by a “portable” unit.
Legal and regulatory considerations
Portable doesn’t free you from regulation. Using lasers in public spaces, selling marked products (especially those involving personal data), and disposing of certain materials all have legal implications.
- Check local regulations for laser safety and emissions.
- If you plan to sell products that contact skin (jewelry, etc.), make sure materials and processing meet safety standards.
- Recordkeeping: for commercial or educational use, auditors may want to know your safety procedures and maintenance logs.
You’ll avoid headaches if you are proactive about compliance rather than reactive.
Case studies and practical examples
Here are a few short scenarios you might recognize, plus what matters in each case.
Example 1: Engraving wooden coasters for gifts
- Use a diode or CO2 if you have it. Focus finely for detail.
- Use raster mode for photos; vector for logos.
- Test on scrap similar wood to determine speed/power to avoid deep charring.
Example 2: Cutting acrylic for signage
- CO2 is ideal. Use vector cutting and multiple passes at moderate speed.
- Keep edges clean by minimizing heat soak — use higher speed with multiple passes rather than one slow pass at maximum power if edge melting becomes messy.
Example 3: Marking stainless steel tags
- Fiber lasers or specialized diode setups are needed to ablate metal oxide or coatings.
- For deep, lasting marks, look for machines that specifically list “metal marking” rather than assuming all lasers will do it.
You’ll find that specific outcomes depend on careful testing and patience, not on the brand slogan.
Troubleshooting checklist
When results aren’t what you expect, go through this checklist:
- Is the lens/mirror clean?
- Is the focal distance correct?
- Are belts/tables aligned and secure?
- Is the material suitable for your laser’s wavelength?
- Have you chosen appropriate speed/power for material thickness?
- Is ventilation adequate to prevent smoke from interfering?
- Are software settings (DPI, overlap, passes) sensible for the desired effect?
You’ll solve most problems by taking systematic steps rather than making wild adjustments and hoping for the best.
Buying advice: features that actually matter
If you’re shopping, focus on these practical features rather than the flashiest spec:
- Measured optical power (not just electrical input).
- Stable, documented support and community.
- Good ventilation/extraction options or easy ports for an external extractor.
- Replaceable optics and clear instructions for alignment.
- Reliable safety interlocks and firmware updates.
You’ll save money and frustration by choosing a machine whose documented capabilities match your intended use.
Final thoughts and practical tips
You’re stepping into a hobby or small business area that mixes art, materials science, and basic mechanical engineering. The learning curve rewards patience. Keep a log of what works, test on scraps, respect safety rules, and distrust single-number claims that come without context.
Quick checklist for getting started:
- Read the manual; then read it again.
- Make a small ventilation plan before the first burn.
- Start with inexpensive materials to practice.
- Keep a notebook of successful settings.
- Network with other users for real-world tips.
If you approach it with curiosity and a little skepticism, the portable laser engraver can be a delightful, practical tool. If you approach it like a medieval alchemist, you’ll probably spend too much time and money trying to discover something other people already figured out. Either way, you’ll learn to appreciate a machine that turns pixels into marks with ruthless precision.