Have you ever wondered whether that cute, portable laser engraver on your workbench can match the accuracy of the hulking, floor-standing machine in a factory bay?

Introduction: portable charm vs industrial muscle
You like small things that do big things. Portable laser engravers promise convenience: lower cost, a tiny footprint, and the ability to work wherever you happen to be. Larger machines promise brute force, stability, and repeatable precision. This article walks you through what “accuracy” actually means, what determines it, how portable units typically perform versus larger machines, and how you can get the most precise results out of either type. I’ll be candid — sometimes portability wins for convenience and sometimes it loses for tolerance; but you can often bridge the gap if you know what to tweak.
What do we mean by “accuracy”?
When you hear “accuracy” in laser engraving, you need to think of several related but different concepts. Each matters in different applications, and conflating them will get you into trouble the way putting your coffee too close to your keyboard does.
Key accuracy terms
- Positional accuracy: how close the engraved feature is to the location you specified.
- Repeatability: whether the engraver can return to the same position multiple times with minimal variance.
- Feature resolution: the smallest feature the laser can reproduce (line width, font size, engraving detail).
- Edge quality: the crispness and fidelity of the cut or engraved edge.
- Depth control: consistency and predictability of engraving depth across a job or between jobs.
You’ll notice these terms reflect both mechanical and optical aspects. A machine can have a dreamy laser but lousy mechanics, or vice versa. Both will influence the final result.
Types of lasers and how they affect accuracy
The laser source is the heart of the system. It’s where the light originates, and if that light is incapable of precision, nothing else will redeem it.
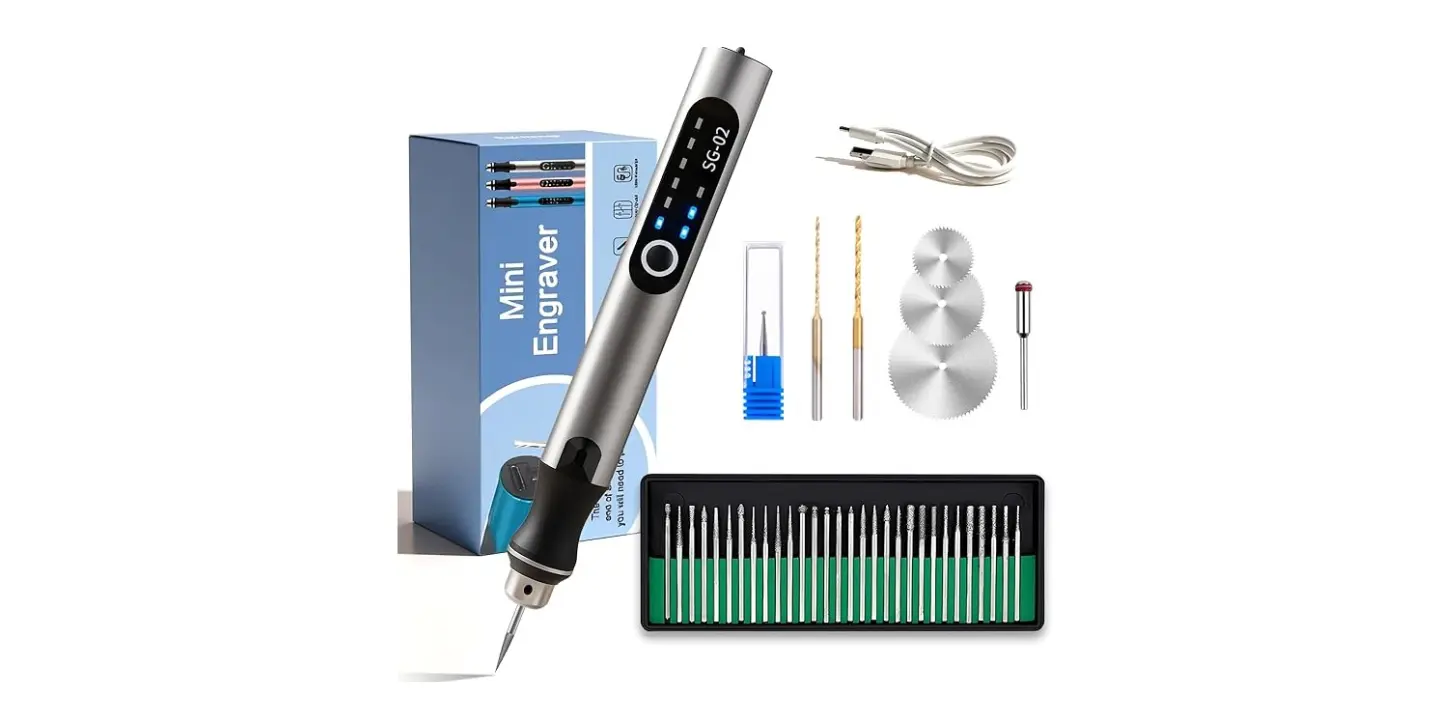
Diode lasers (common in portable units)
Diode lasers are small, efficient, and cheap. You’ll find them in many portable engravers.
- Strengths: low cost, compact size, low power consumption.
- Weaknesses: larger beam spot (often 0.2–0.4 mm), lower beam quality (M² factor higher), less consistent power stability.
These factors limit the smallest feature size and can cause variable edge quality, especially on reflective or thermally sensitive materials.
CO2 lasers (larger desktop to industrial)
CO2 lasers are common for cutting and engraving non-metal materials such as wood, acrylic, and leather.
- Strengths: good beam quality, can produce finer features than many diodes, higher power options.
- Weaknesses: larger overall machines due to gas tube or RF source and optics; less common for metal marking without additives.
A well-aligned CO2 system can give excellent edge quality and depth control.
Fiber lasers (industrial marking and cutting)
Fiber lasers are often used for metal marking and cutting in industrial settings.
- Strengths: very good beam quality, tiny spot size (down to tens of micrometers), excellent repeatability and long-term stability.
- Weaknesses: expensive, usually stationary, often overkill for hobbyists.
If you require micron-level repeatability or marking very fine text on metal, a fiber laser in a large, rigid frame will outclass a portable diode every time.
Mechanical and optical factors that set the limit
Accuracy doesn’t only come from the laser. The way the machine moves and the environment affects the outcome dramatically.
Motion system and frame rigidity
A larger machine typically uses heavier gantries, ball screws, linear rails, or precision rack and pinion with sturdy frames. That reduces vibration and backlash. Portable machines often use lightweight belts and less rigid frames to keep weight down, which increases positional error and vibration.
- Belt drives: cheaper, lighter, some elasticity → potential for backlash and slight position drift.
- Lead/ball screws, linear rails: stiffer and more accurate, but heavier and costlier.
Optics and focus
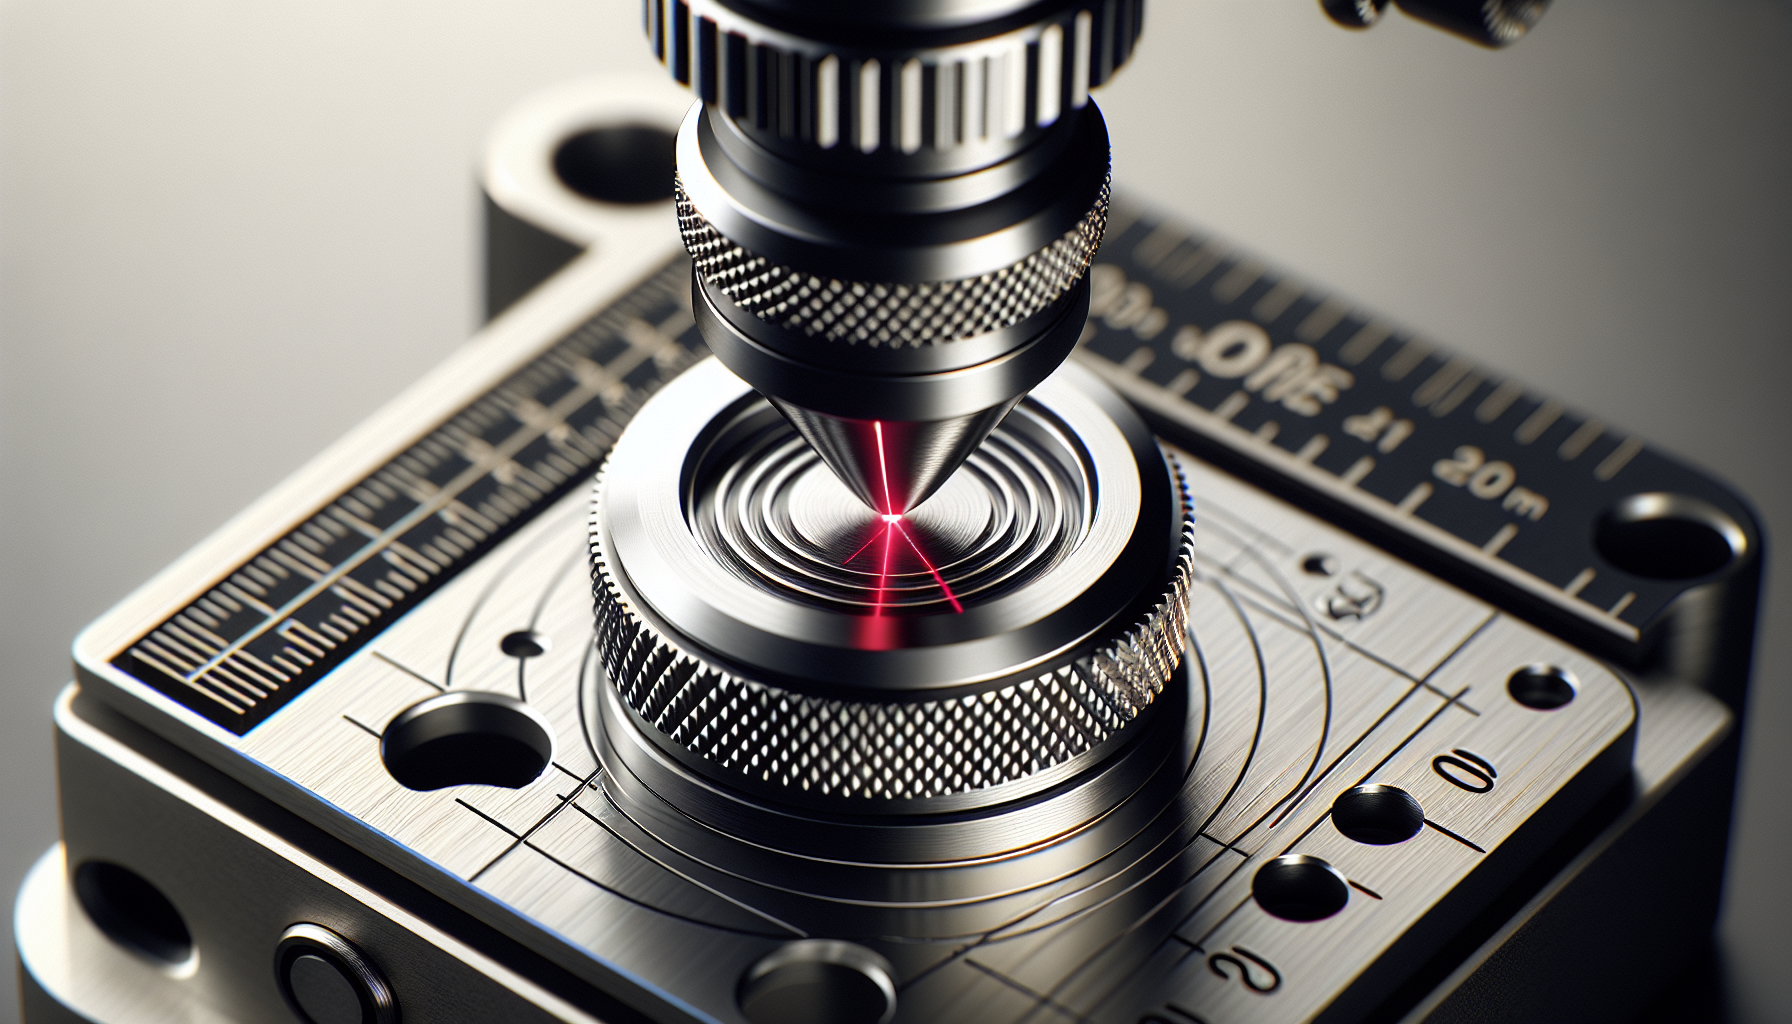
Focusing optics and beam collimation determine spot size. A portable machine may have a fixed-focus lens or a less precise focusing mechanism; large machines often have adjustable or auto-focus optics with higher-quality lenses.
Thermal stability and cooling
As the unit runs, heat affects electronics, optics, and mechanical parts. Larger machines often include more robust cooling and thermal management, yielding more consistent output across long runs. Portables may drift with temperature.
Controller electronics and firmware
Stepper vs servo motors, microstepping, motion controllers, and the firmware matter. High-end controllers offer smoother motion profiles, better acceleration handling, and closed-loop feedback on position — all improving accuracy and repeatability.
Material handling and fixturing
If the workpiece moves or warps, accuracy suffers regardless of the machine. Large systems often include vacuum tables, clamps, or fixtures. For portable systems you must rely on simple clamps or adhesives, which may not be as effective for precision work.
Quantifying accuracy: metrics and realistic expectations
If you want numbers, here’s how machines typically compare. Remember these are approximate and depend on specific models and configurations.
Typical ranges by machine type
- Portable diode engravers
- Positional accuracy: ±0.1–0.5 mm
- Repeatability: 0.05–0.3 mm
- Minimum feature size: 0.2–0.4 mm line width
- Desktop CO2 systems (mid-size)
- Positional accuracy: ±0.05–0.2 mm
- Repeatability: 0.02–0.1 mm
- Minimum feature size: 0.1–0.2 mm
- Industrial fiber/CO2 machines
- Positional accuracy: ±0.01–0.05 mm
- Repeatability: <0.01–0.02 mm< />i>
- Minimum feature size: 0.01–0.1 mm (fiber excels at the very small end)
These numbers are illustrative. High-end portable units can approach desktop performance, and budget desktop machines can be closer to portable class.
Table: Side-by-side comparison
| Characteristic | Portable Diode | Desktop CO2 (mid) | Industrial Fiber/CO2 |
|---|---|---|---|
| Typical positional accuracy | ±0.1–0.5 mm | ±0.05–0.2 mm | ±0.01–0.05 mm |
| Repeatability | 0.05–0.3 mm | 0.02–0.1 mm | <0.01–0.02 mm< />d> |
| Minimum useful feature | 0.2–0.4 mm | 0.1–0.2 mm | 0.01–0.1 mm |
| Typical power range | 0.5–12 W | 30–150 W | 20–1000+ W |
| Rigidity & frame | Lightweight | Medium | Heavy-duty |
| Best for | Hobby projects, wood, leather | Signage, craft, moderate precision | Micromarking, metal, high-precision cutting |
What affects accuracy in practice?
You’re not getting an independent party to grade your engrave; you’re doing the work, and many small factors will conspire to change the result.
Material properties
Different materials react differently: wood burns, metals reflect, plastics melt. Thermal conductivity, reflectance, and surface finish all change how the energy interacts.
- Soft, porous materials (wood, leather): easier to engrave with less precise optics, but grain and surface irregularities can affect crispness.
- Hard metals: require fiber lasers or marking additives; diode tools struggle or need long exposures that blur.
- Highly reflective surfaces: can cause inconsistencies; some lasers include anti-reflection strategies, but larger systems have better optics and beam conditioning.
Surface flatness and fixturing
If your material isn’t flat, a fixed-focus portable laser will produce inconsistent depth and width. A larger system with autofocus or Z-axis control keeps that under control.
Speed and power settings
You often trade speed for precision. Running too fast can produce under-etched lines; too slow can burn edges or widen features due to thermal spreading. Larger machines tend to have more consistent control over speed/power curves.
User skill and workflow
A skilled operator can coax excellent results out of a modest machine; an inexperienced operator can make pigs of premium equipment. Calibration, focusing technique, proper software settings, and the use of jigs matter.
Practical tests you can run to measure accuracy
You want to prove whether your portable unit is “accurate enough.” There are straightforward tests you can run.
1. Grid positional test
Engrave a grid of dots or small squares at known coordinates across the workspace. Measure deviations with calipers or a microscope.
- Purpose: checks positional accuracy across bed.
- How to evaluate: record deviations at corners and center; plot to see systematic skew or nonlinearity.
2. Repeatability test
Mark the same small target point multiple times without moving the workpiece or adjusting settings.
- Purpose: tests whether the head returns to the same spot precisely.
- How to evaluate: measure spread of marks; convert to standard deviation.
3. Resolution and line-width test
Engrave progressively smaller lines, fonts, or patterns until you hit the smallest readable feature.
- Purpose: determines minimum reliable feature size.
- How to evaluate: microscopic inspection or high-resolution photos.
4. Depth uniformity test
Engrave the same pattern across the bed and measure depth variations.
- Purpose: checks focus uniformity and Z-control.
- How to evaluate: measure in several spots, especially near edges.
5. Thermal drift/long-run test
Run a long job and periodically measure positional shifts or changes in feature size.
- Purpose: reveals thermal effects and power stability.
- How to evaluate: compare early and late sections for drift or widening.

How to measure what you’ve engraved
Accurate measurement matters. Without good measurement, you’ll be guessing.
- Calipers: good for overall dimensions and features down to ~0.01 mm if used well.
- Optical microscope: great for line-width and edge quality, especially for small features.
- Profilometer: measures depth profiles but is expensive.
- High-resolution camera with scale and software: usable for 2D inspection if you don’t need depth.
Bridging the accuracy gap: what you can do with a portable unit
You can get surprisingly good results from portable machines if you use careful technique and compensate for known limitations.
Calibration and alignment
- Regularly check and align optics.
- Use a known-good test file to verify XY scaling; adjust firmware steps-per-mm if necessary.
- Verify belt tension or backlash and adjust as allowed.
Improve fixturing
- Use glue stick, double-sided tape, or vacuum clamps where possible.
- Build simple fixtures or jigs for repeatable placement — a half-millimeter shift can ruin precision layouts.
Use appropriate lenses and focus techniques
- If your portable system allows lens swaps, choose a smaller spot-size lens for fine detail.
- Consider a manual or aftermarket autofocus if you often work on non-flat items.
Slow down and tune power
- Reduce speed and power to tighten lines; experiment with multiple passes for depth control rather than one high-power pass that spreads heat.
- Use raster strategies for engraving fine detail; vector for edges.
Environmental control
- Minimize drafts and ambient temperature swings.
- Let the machine warm up for consistent performance.
Material preparation
- Sand or grind surfaces to a consistent finish.
- Use coatings or marking compounds for metals if necessary.
Regular maintenance
- Clean optics, belts, rails; lubricate as recommended.
- Replace worn consumables like belts and pulleys to reduce slop over time.
When a portable cannot substitute a larger machine
There are situations where portability is fundamentally incompatible with the accuracy you need.
Micromarking and tight tolerances
If you need positional accuracy under 0.02 mm or reproducible microtext, portable diode units rarely meet that target. Fiber lasers and heavy-duty motion systems are required.
High-throughput industrial production
If you’re producing thousands of consistent parts per day, the stability, automation, and throughput of a larger system win. Portable units are for smaller batches.
Cutting thick materials or metals
Cutting thick metal or high-precision stainless components requires the power and beam quality of industrial systems. Diodes are simply underpowered for many such tasks.
Use-case guide: which machine class is right for you?
This section helps you match requirements to choices.
Hobbyist crafts, signage, small gifts
You probably want a portable or small desktop CO2 if you work with wood, leather, acrylic, or paper. You’ll appreciate the low cost and space efficiency.
- Required accuracy: ±0.1–0.5 mm typically acceptable.
- Recommended: portable diode or small CO2.
Small-business custom engraving (jewelry, plaques, small runs)
If you do jewelry or detailed metal marking, aim for a fiber laser or high-quality desktop unit and consider fixturing and marking compounds for metal.
- Required accuracy: ±0.05–0.2 mm for many items; sub-0.05 mm for jewelry details.
- Recommended: higher-end desktop or small industrial fiber laser.
Prototyping and part marking
If you’re making functional prototypes that need to fit or register with other parts, prioritize repeatability, good fixturing, and a machine with precise positional control.
- Required accuracy: depends on the assembly; often ±0.05 mm or better.
- Recommended: desktop CO2 with good motion system or larger industrial machine.
Industrial marking, microtext, critical parts
If your parts are safety-critical or must meet regulatory tolerances, choose industrial machines with documentation, calibration processes, and service support.
- Required accuracy: sub-0.01 mm sometimes required.
- Recommended: industrial fiber or CO2 systems.
Cost vs accuracy — the tradeoffs
Budget matters. You can spend a modest sum and get acceptable results, or you can spend a lot for marginally better performance depending on the task.
- Entry-level portable: $100–$1000 — good for basic crafts, not for precision.
- Mid-level desktop: $1,000–$10,000 — good balance of accuracy and capability.
- Industrial: $10,000–$100,000+ — high-precision, high throughput.
Often you’ll pay exponentially more for incremental accuracy improvements because the mechanical, optical, and electronic demands rise steeply.
Safety and quality considerations
Accuracy doesn’t mean a thing if someone gets burned or your optics catch fire. Laser safety is more important in portable units because they’re often used in uncontrolled environments.
- Enclosures and interlocks: larger machines often have full enclosures and safety interlocks; portable units may not.
- Eye protection: always use appropriate eyewear for the wavelength.
- Ventilation: fumes from burning materials can be toxic; use extraction.
- Material hazards: PVC produces hydrochloric acid fumes — don’t engrave it.
Checklist: Getting the best possible accuracy from your portable machine
- Calibrate steps-per-mm and check XY scaling.
- Confirm belt tension and carriage smoothness; replace if worn.
- Clean and inspect optics regularly.
- Use appropriate lens for feature size and material.
- Fixture parts securely with repeatable jigs.
- Run grid and repeatability tests to quantify limits.
- Adjust speed/power for minimal thermal spread; consider multiple passes.
- Let the machine thermally stabilize before critical jobs.
- Keep environmental conditions steady.
- Use measurement tools to verify outcomes and iterate.
Case studies: real-world comparisons
Here are a couple of practical scenarios that show how portable and larger machines behave differently.
Case A: Engraving fine text on walnut plaque
- Portable diode: With careful tuning, you can produce legible 6–8 pt fonts at about ±0.2–0.3 mm accuracy. You’ll need to slow down and use multiple raster passes for depth control. Edge crispness may show slight feathering.
- Desktop CO2: Produces sharper edges and more consistent depth at the same font size, and you’ll likely achieve ±0.05–0.15 mm accuracy without laborious tweaking.
Conclusion: For a one-off gift, the portable works. For a boutique business making dozens per week, the CO2 gives superior consistency.
Case B: Micro-marking serial numbers on stainless steel
- Portable diode: Likely impossible or unreadable without heavy surface prep and marking compound; positional repeatability insufficient for tight tolerances.
- Fiber laser: Crisp, high-contrast marks with ±0.01–0.05 mm repeatability.
Conclusion: Industrial fiber lasers are required for reliable metal micro-marking.
When a hybrid approach is best
You don’t have to choose one forever. Many shops use portable units for on-site or prototype work and then move to a larger system when production or tolerance demands increase. That flexible strategy lets you keep costs down while growing capability when needed.
Troubleshooting common accuracy issues
If your engraver is performing worse than expected, here are common causes and fixes.
- Distorted grid across bed: Check belt tension, pulley alignment, and steps-per-mm settings. Verify the frame is square.
- Drift over long job: Thermal expansion — allow warm-up time, improve cooling, or reduce continuous duty cycle.
- Inconsistent depths across workpiece: Focus issue or uneven material surface—use Z-adjust or improve fixturing.
- Blurry fine details: Beam spot too large or power overshoot—use smaller lens or lower power and slower speed.
Final thoughts: what to expect and how to decide
You deserve a machine that fits your goals. Portable laser engravers are marvelous for convenience, low cost, and sheer joy of making things in odd places. They’re not magic; they have limits in spot size, repeatability, and thermal stability compared to larger, more rigid systems. If your projects require tolerance under ±0.05 mm, fiber or well-built desktop machines are the safer bet. If you’re engraving gifts, signage, prototypes, or occasional custom parts, a portable or small desktop system will likely meet your needs with careful technique and proper setup.
If you want specific recommendations, specifications to aim for, or help designing a test protocol tailored to your machine and materials, tell me what unit and materials you’re using and I’ll guide you through measurements and tuning step by step. You might be surprised how far a few adjustments can stretch the accuracy of even the most portable of devices.