Have you ever bought a gadget that promised to engrave everything from your soul to your sandwich, only to realize it mostly engraved your patience?

What a portable laser engraver actually is
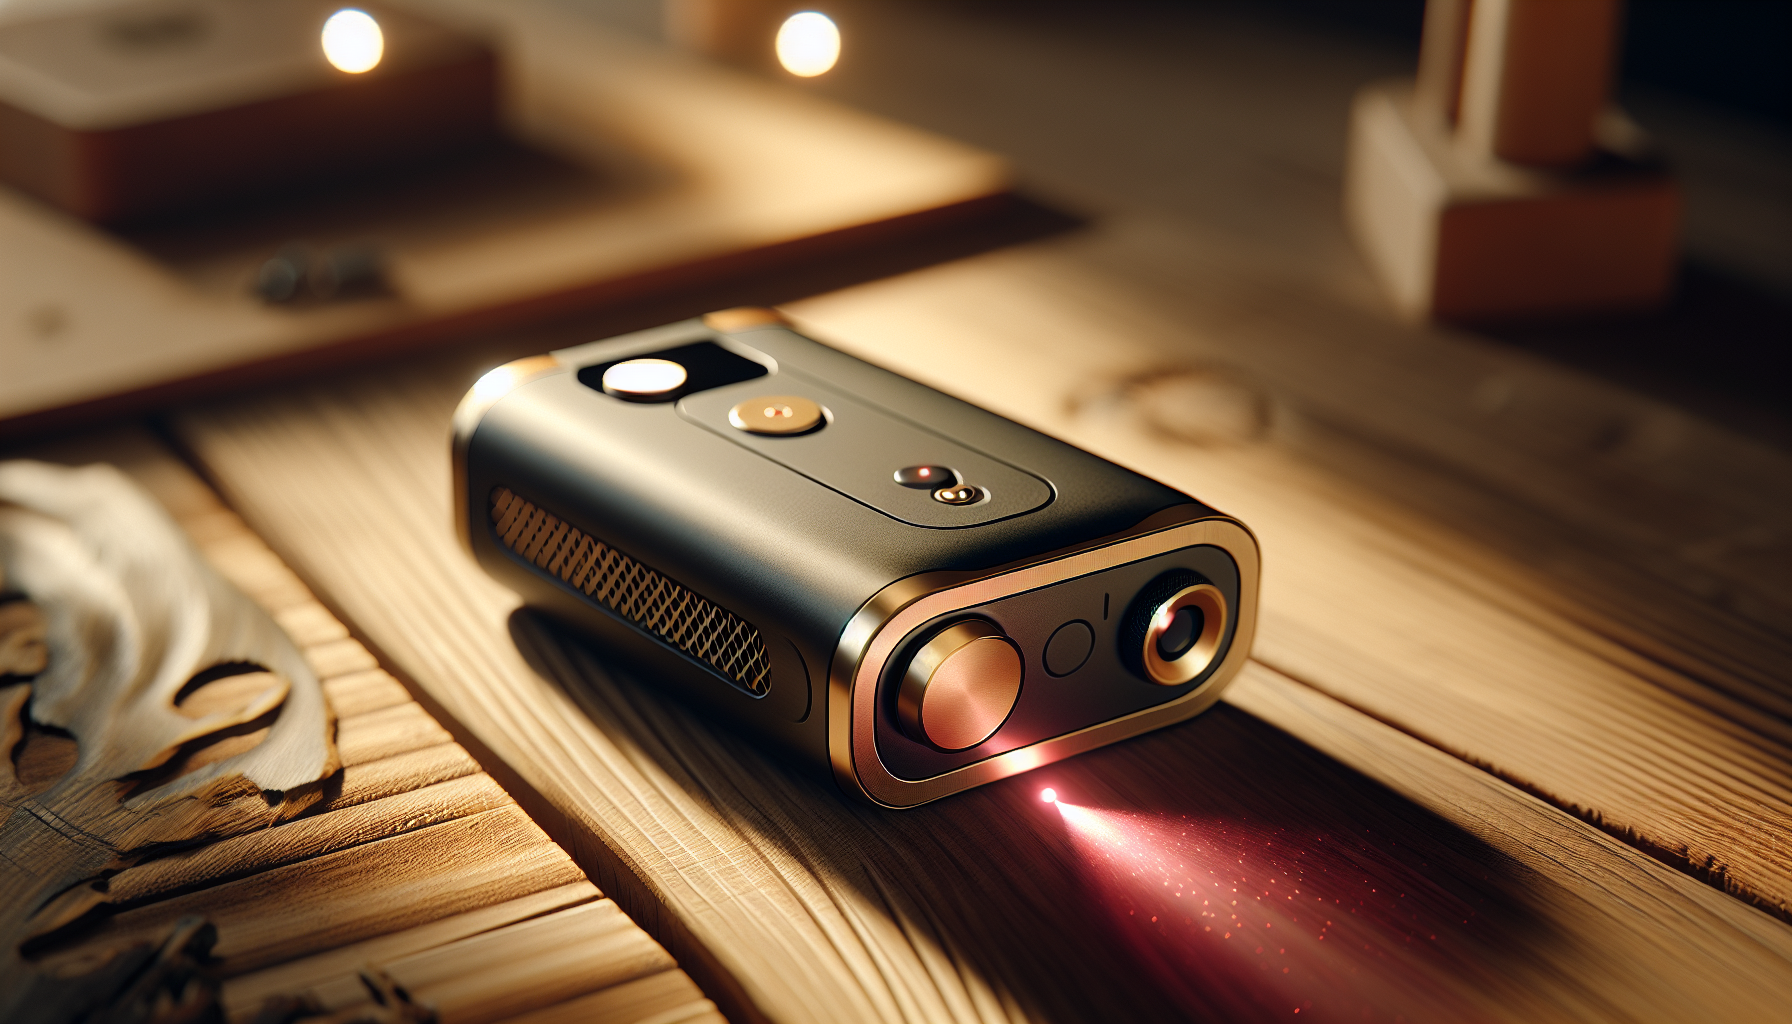
You might picture a tiny robot humming around your kitchen, etching motivational quotes on your avocado toast. In reality, a portable laser engraver is a compact machine — often diode-based or a small CO2 or fiber unit — designed to mark, cut, or etch materials without the footprint of an industrial shop. You get mobility, a smaller price tag, and the seductive idea that every wooden spoon in your house deserves your initials.
Why portability matters — and where it doesn’t
Portability means you can move the unit between a workshop, a market stall, or a friend’s garage. It doesn’t mean it’s effortless to use in a subway car or immune to wind and dust. You’ll gain convenience but often sacrifice some power, working area, or advanced safety features.
The most common mistakes new buyers make (at a glance)
You’re excited. That’s natural. But excitement makes people do things like buy shoes in fluorescent orange and, worse, choose a laser engraver without thinking beyond the pretty product photos. Here’s a quick list you’ll come back to:
- Confusing advertised power with useful power
- Ignoring material compatibility
- Assuming software will be painless
- Overlooking ventilation and safety needs
- Believing “portable” equals “toy”
- Skipping warranty and support checks
- Falling for inflated performance claims
- Neglecting spare parts and consumables
- Forgetting to factor in total operational cost
- Choosing appearance over ergonomics
You’ll want to read each of these in detail, because each one can turn a promising purchase into a pile of parts you regret while filing a return.
Types of portable laser engravers and how they affect your choice
Understanding the laser type will save you time and a couple of headaches. Portable machines tend to use diode, fiber, or small CO2 lasers. Each has strengths and limitations.
| Laser Type | Typical Use | Pros | Cons |
|---|---|---|---|
| Diode (blue/infrared) | Wood, leather, some plastics, anodized metals (marking) | Lightweight, low cost, good for small-scale hobby work | Limited cutting power, slower, less clean edges on some materials |
| Fiber | Metals, plastics (marking) | Excellent for marking metals, durable, fast | More expensive, less common in true “portable” hobby units |
| CO2 | Wood, acrylic, textiles, some plastics | Good cutting and engraving on organic materials and acrylic | Requires larger unit/venting, less effective on metals |
You’ll need to match the laser type to what you actually intend to engrave. It’s the difference between achieving beautiful results and learning new swear words.
Mistake 1 — Confusing advertised power with real-world performance
Many sellers plaster wattage figures across their listings like a badge of honor. The problem is that “laser wattage” can be misleading.
What wattage really tells you
Power affects cutting depth and speed, but a lot depends on optics, beam quality, pulse mode, and power delivery. A 10W diode with poor focussing will underperform compared to a well-tuned 7W unit.
How to avoid this mistake
Ask for test cuts and sample photos of finished work at various speeds and power settings. Request actual material results, not glossy marketing images. If possible, watch a demonstration — either in person or a live video where they run a standard sample you can verify.
Mistake 2 — Assuming the engraver works on every material
You may dream of engraving fragile porcelain, jewelry-grade stainless steel, leather, and foam, all with the same machine. That’s rarely the case.
Materials and realistic outcomes
Different materials respond differently: wood chars and looks rustic; acrylic melts cleanly and can cut; anodized aluminum marks well with diode or fiber lasers; raw stainless steel often needs a fiber laser or special marking paste.
Practical steps to check compatibility
Create a prioritized list of materials you plan to use and match each to the laser type. Ask the seller or manufacturer for verified sample images for each material on your list. If you’ll work with metals like stainless, look specifically for fiber or a diode unit that uses a marking compound.
Mistake 3 — Underestimating the importance of software and file formats
A shiny machine is only as smart as the software that runs it. You might be thinking the engraver will magically understand your 10-font script or that SVG from a forum.
Common software pitfalls
Proprietary control software can be clunky or Windows-only. Some devices use modified versions of open-source controllers, requiring steeper learning curves or offline tweaking. File format support (SVG, DXF, BMP, PNG) matters depending on where you design your art.
What to verify before buying
Ensure the engraver accepts common file formats. Confirm compatibility with your operating system. Ask about size limits, vector vs raster capabilities, and whether you can control power/ speed layers. If you use specific design tools (Illustrator, Inkscape, Corel), check for direct export compatibility or an easy import workflow.
Mistake 4 — Skipping ventilation and smoke handling
You might think: “It’s small — I can just run it in my living room.” That’s a fast path to indoor smoke, stinky resin fumes, and annoyed roommates.
Why ventilation matters
Burning plastics, adhesives, or treated woods releases toxic fumes. Even natural wood produces particulate matter and soot. A portable unit without proper exhaust or filtration can turn your workspace into a health hazard.
How to address ventilation
Plan ventilation before you switch it on. Look for units with built-in exhaust ports. Invest in a fume extractor or set up a dedicated external venting route. For hobby use, an activated carbon filter and HEPA prefilter can make a big difference. If local regulations limit open-air venting, factor that into your decision.
Mistake 5 — Thinking “portable” equals “no safety concerns”
Smaller size doesn’t mean lasers are less dangerous. They still cut, burn, and can damage eyes.
Safety features to prioritize
Interlocks that shut off the beam when the cover opens, emergency stop buttons, key switches, and reliable beam shielding are essential. Classifications like Class 1, 2, 3R, 3B, and 4 indicate potential harm — understand what you’re buying.
Practical safety steps
Wear appropriate laser safety goggles for the wavelength. Never bypass interlocks. Keep a fire extinguisher nearby and implement safe operating protocols. If you’ll use the machine around others, set up a defined, locked operating area.
Mistake 6 — Ignoring the working area and focus constraints
You may love the look of a tiny machine, but if your product idea is a 12-inch sign and your engraver only handles 4×6 inches, you’ll be resentful faster than a burned child toffee.
Understanding working area vs focal length
The bed size defines your maximum object footprint. Focal length and focusing mechanism define engraving precision and compatible object heights. For thicker objects, you may need adjustable z-axis travel or a large depth of focus.
How to choose the right size
Map out the biggest item you’ll ever realistically do, then add buffer space. Consider modular or pass-through designs if you plan long pieces. If you plan frequent work on curved or irregular objects, look for rotational attachments or adjustable focus solutions.
Mistake 7 — Falling for inflated specs and unrealistic speed claims
Sellers love to list “cuts per minute” or “5x faster” without context. You’ll quickly learn that speed claims are often cherry-picked.
Why advertised speeds may mislead you
Speeds are sometimes quoted at low power levels, minimal depth, or on ideal materials like paper. Real-world engraving on thick hardwood is a different race.
How to evaluate real speed
Request a standardized test: cut depth and time for a 3mm acrylic strip, or engraving a standard 50x50mm wood panel at specified settings. Compare results across vendors. Look for community progress videos and long-term user reports rather than polished marketing.
Mistake 8 — Neglecting maintenance and consumable costs
Buying the machine is only the beginning. Optics, lenses, mirrors, belts, and the occasional replacement diode can add up.
Typical maintenance items
Clean lenses and mirrors periodically, replace worn belts and bearings, and ensure ventilation fans and filters are maintained. For diode units, expect eventual power degradation.
Budgeting for upkeep
Ask for maintenance intervals and common replacement parts costs. Factor these into your total cost of ownership. If a seller offers extended support or replacement kits, that’s a plus.

Mistake 9 — Overemphasizing aesthetics over ergonomics
A sleek desktop machine that looks like a piece of modern art may be a nightmare to set up if the control panel is unintuitive or the material feed is fiddly.
Ergonomics to look for
User-friendly control panels, accessible work areas, clear labeling, and easy focal adjustments make daily use less painful. Portability that requires a cramped setup is a false economy.
How to evaluate ergonomics before buying
Watch setup videos, read user reviews focused on usability, or see the unit in person. If possible, test basic functions yourself. If a unit has a steep setup process, expect frustration.
Mistake 10 — Skipping warranty, support, and community research
That quirky seller on a marketplace might be charming in their messages, but if they vanish when your diode fries, charm won’t help.
Why warranty and support matter
Laser systems require calibration and occasional repairs. Good support means spare parts, firmware updates, and troubleshooting help when you need it.
What to check
Confirm warranty length and what it covers. Look for an active support channel (email, chat, phone). Search for community forums or Facebook groups; these often have real-world fixes and build mods that the manual won’t mention.
Mistake 11 — Overlooking legal and regulation issues
In some places, owning certain lasers or operating them in certain ways is restricted. Shipping rules can also be thorny.
Legal things to verify
Check local laws regarding laser ownership, required safety measures, and public use. If you’re operating commercially (selling engraved products), local business, zoning, and safety codes may apply.
Practical steps
Contact local authorities if unsure, and ensure any export/import paperwork is addressed if you buy from overseas sellers. Verify that the unit conforms to local electrical and safety standards (e.g., CE, FCC).
Mistake 12 — Underestimating learning curve and time required
The first few projects often look like scrap unless you’re unusually gifted or fortunate.
Expect a learning period
You’ll learn how materials react, which settings to use, how to focus correctly, and how to handle software quirks. It’s normal for the first dozen projects to be practice.
How to shorten the learning curve
Start with inexpensive scrap materials and follow community workflows. Keep a test log documenting settings for each material so you don’t repeat mistakes. Consider online courses or local maker spaces for hands-on coaching.
Mistake 13 — Not planning for transportation and stability
“Portable” doesn’t mean immune to bumps. Transporting a unit without protecting optics and alignments can ruin your day.
How transportation affects your machine
Vibrations and drops can misalign mirrors or shift belts. Some units are designed for transport; others are only “light enough to move within a shop.”
Best practices for transport
Use padded cases or original packaging for shipping. Recalibrate after moving and check optics. If you’ll transport frequently, choose a model designed for rugged use.
Mistake 14 — Forgetting consumables and fixtures like jigs, rotary attachments, and fixturing
You may not realize you need a rotary for mugs, honeycomb beds for thin materials, or clamps for irregular objects until you’re mid-project.
Common useful accessories
Rotary attachments, honeycomb workbeds, exhaust hoses, fume extractors, clamps, honeycomb slats, replacement lenses, focusing tools, and alignment lasers.
How to prepare
Identify accessories you’ll need for your product ideas, and factor their cost and compatibility into the purchase. Some sellers include cheap accessories that aren’t up to long-term use — plan to replace with quality parts.
Mistake 15 — Buying solely on price and ignoring total value
You’ll see tempting sub-$200 units. They can do simple marking, but if you expect precision, speed, and longevity, price often correlates with capability.
True cost vs sticker price
Consider setup time, repair costs, consumables, ventilation, and lost opportunity from downtime. A slightly more expensive, reliable unit with good support often saves money and stress in the long run.
How to evaluate value
Calculate expected monthly usage and estimate downtime costs. Consider the value of time saved by better software and support. Read long-term reviews; the initial price is rarely the final one.
Quick reference table — Questions to ask sellers before you buy
Use this table when you’re comparing options. Print it, keep it open in tabs, or commit it to memory like a short grocery list.
| Question | Why it matters |
|---|---|
| What laser type and wavelength is used? | Determines material compatibility and required safety goggles |
| What’s the certified output power and beam quality? | Real-world performance vs advertised specs |
| What materials have you tested, and can I see results? | Verifies real-world capability |
| What file types and OS are supported? | Ensures smooth design-to-machine workflow |
| What safety features are included? | Protects you and lowers liability |
| What warranty and support channels are offered? | Ensures help if things go wrong |
| What accessories come included? | Avoids surprise purchases |
| What’s the expected maintenance schedule and part costs? | Helps calculate total cost |
| Can I return it or see it in operation? | Reduces buyer’s remorse |
Practical buying checklist before clicking “buy”
If you want a short checklist to run before you commit, here it is. Think of it as your laser-buying ritual.
- Confirm material compatibility with examples.
- Verify the real-world output and optics quality.
- Check software compatibility with your OS and file types.
- Confirm required ventilation and safety gear.
- Read user reviews and community feedback.
- Verify warranty, spare parts availability, and support responsiveness.
- Compare total cost including accessories, filters, and replacement parts.
- Ensure working area suits your largest projects.
- Confirm transport and mounting needs if you’ll move it often.
Real-world scenarios and which mistakes they often reveal
Sometimes context helps. Here are common buyer profiles, the mistakes they make, and what they should focus on.
The crafters and Etsy sellers
You want to produce personalized jewelry and wooden signs. The mistake: Buying a diode engraver that can’t cleanly cut thick acrylic or mark raw metals. Focus: Choose a unit proven for your primary material, with easy-to-use software and rotary attachments if you plan cylindrical work.
The maker and prototyper
You build small functional items and prototypes. The mistake: Prioritizing portability over consistency and precision. Focus: Prioritize repeatability, good software, and modular accessories. Stability beats portability for prototypes.
The hobbyist and experimenter
You want to mark everything in sight and learn new things. The mistake: Ignoring ventilation and safety in a small apartment. Focus: Small, low-power diode models can be ok, but invest in fume extraction and eye protection.
The small business starter
You plan to produce at scale. The mistake: Buying the cheapest option and expecting production-level throughput. Focus: Choose a unit with proven long-term reliability, easy maintenance, and supportive warranty. Factor in replacement parts and downtime.
Maintenance routine you’ll want to adopt
You don’t have to become obsessive, but a few regular habits will keep the machine in shape.
- Daily: Clean debris, check for loose screws, wipe lenses gently if needed.
- Weekly: Inspect belts and bearings for wear, test exhaust and filters.
- Monthly: Check beam alignment and focussing mechanism, clean vents and fans.
- Quarterly: Review firmware updates and backup settings, reorder consumables if needed.
A simple log — date, material worked, settings used, issues encountered — will save you grief when you try to reproduce or troubleshoot.
How to evaluate seller credibility quickly
If you’re buying online, a few rapid checks help separate the good from the risky.
- Look for long-term reviews, not just five-star photo spreads.
- Check if the company has a stable website, contact address, and return policy.
- Search for user groups or forums discussing their models.
- Ask for real-time demo videos or live tests if buying remotely.
- Confirm certifications and compliance statements if you need them for business use.
Final tips — small choices that make your life easier
Here are practical nudges based on things people usually regret later.
- Choose machines with modular upgrades so you can add a rotary or larger bed later.
- Prefer units with documented sample libraries — they make getting started faster.
- Buy slightly above your current needs if you plan to grow; upgrading models is costlier than buying a better one initially.
- Keep a small toolkit and spares kit: Allen keys, spare belts, fuses, and a spare lens if available.
- Make a test card with favorite materials and preferred settings — treat it as your engraving fingerprint.
Conclusion — you’ll learn, and that’s okay
Buying a portable laser engraver is part art, part engineering, and slightly like entering a relationship: it will test your patience, reward your persistence, and occasionally require maintenance. If you avoid the common mistakes — treating advertised specs as delusions, ignoring ventilation and safety, over-prioritizing price, or assuming one machine does everything — you’ll be on a path to productive, satisfying use.
Your ideal machine matches the materials and projects you care about, comes with support you can rely on, and has safety and ventilation built into your plans. You’ll gradually assemble a small arsenal of accessories and a knowledge base that turns early frustration into consistently excellent results.
If you keep a sense of humor and a test log, you’ll save money, time, and a few burned prototypes — and you might even finish those personalized wooden spoons you imagined on day one.