Have you ever watched your portable laser engraver behave like a temperamental pet, flicking its beam at you one minute and sulking the next?

Troubleshooting Common Portable Laser Engraver Issues
This article is written so you can diagnose and fix the most frequent problems with portable laser engravers. You’ll get practical steps, checklists, tables, and a few stories about my own misadventures so you don’t feel like the only person coaxing a tiny furnace into cooperation.
Introduction
You bought a portable laser engraver because it promised precision, portability, and the illusion of competence. What you didn’t plan on was how quickly a small electrical hiss or a blurry line could ruin your confidence. This guide walks you through symptoms, likely causes, and solutions in plain language, so you can get back to making things that look like they were made on purpose.
Basic Safety Checks
Safety is boring until the machine decides to become an arsonist. Before troubleshooting, take a moment to confirm that your environment, personal protection, and machine safety features are ready. That way, when you poke at wiring or rearrange cooling lines, you won’t be inventing new and interesting ways to harm yourself.
Personal Protective Equipment (PPE)
You should always use appropriate eye protection, respiratory control, and gloves when working with lasers. Even a portable unit can produce fumes and fragments; treat it with the same respect you’d give a very bright toaster.
Power and Environment
Make sure your power source is stable and that the engraver is on a flat, non-combustible surface. Portable units are often used on kitchen tables next to mail and coffee; move the coffee, not the engraver. Keep the unit in a ventilated area and away from flammable clutter.
Laser Won’t Turn On
When the unit refuses to wake, it’s like a teenager who won’t get out of bed: straightforward causes, simple fixes, but you feel judged.
Check Power Supply and Switch
If nothing lights up, verify the mains outlet, adapter, and power switch position. Try a known-good outlet and test the adapter with a multimeter for the expected voltage.
- Common checks:
- Confirm the AC adapter voltage and polarity.
- Inspect the DC jack for loose connections.
- Try an alternate power cable or outlet.
Table: Quick diagnostic steps for “no power” symptoms
| Symptom | Likely Cause | Quick Fix |
|---|---|---|
| No lights, no fan | Power adapter failure | Test adapter with multimeter or swap |
| Unit dead after working | Blown fuse or internal protection | Inspect/replace fuse if user-serviceable |
| Unit powers but controller blank | Faulty control board or loose connector | Reseat connectors, check ribbon cables |
Controller and USB/Software Connection
If the engraver powers up but the controller doesn’t respond to your software, check communication paths. You may be dealing with drivers, a bad USB cable, or settings that insist your design belongs elsewhere.
- Steps to fix:
- Reboot computer and engraver.
- Use a different USB cable and port.
- Install or reinstall the correct drivers for your controller (GRBL, Ruida, proprietary).
- Confirm baud rate and COM port in your software.
Emergency Stop and Interlocks
Some units refuse to operate if an emergency stop is engaged or a lid switch is tripped. Make sure any mechanical interlocks are fully released. These features can save your skin; they’re also the kind of thing that will keep you from engraving until you wiggle the right lever.
Laser Fires But Doesn’t Engrave (Beam On but No Mark)
The beam can be present and still ineffective. It’s like having a chef who turns up at work but refuses to cook.
Focus and Working Distance
Misfocused beams create faint marks or no mark at all. Portable engravers usually need a specific focal distance between lens and material to work properly.
- How to check:
- Use a focus gauge or the paper-trick: lower or raise the head in small increments while running a short test line.
- Confirm the manufacturer’s focal length; measure from lens to material surface.
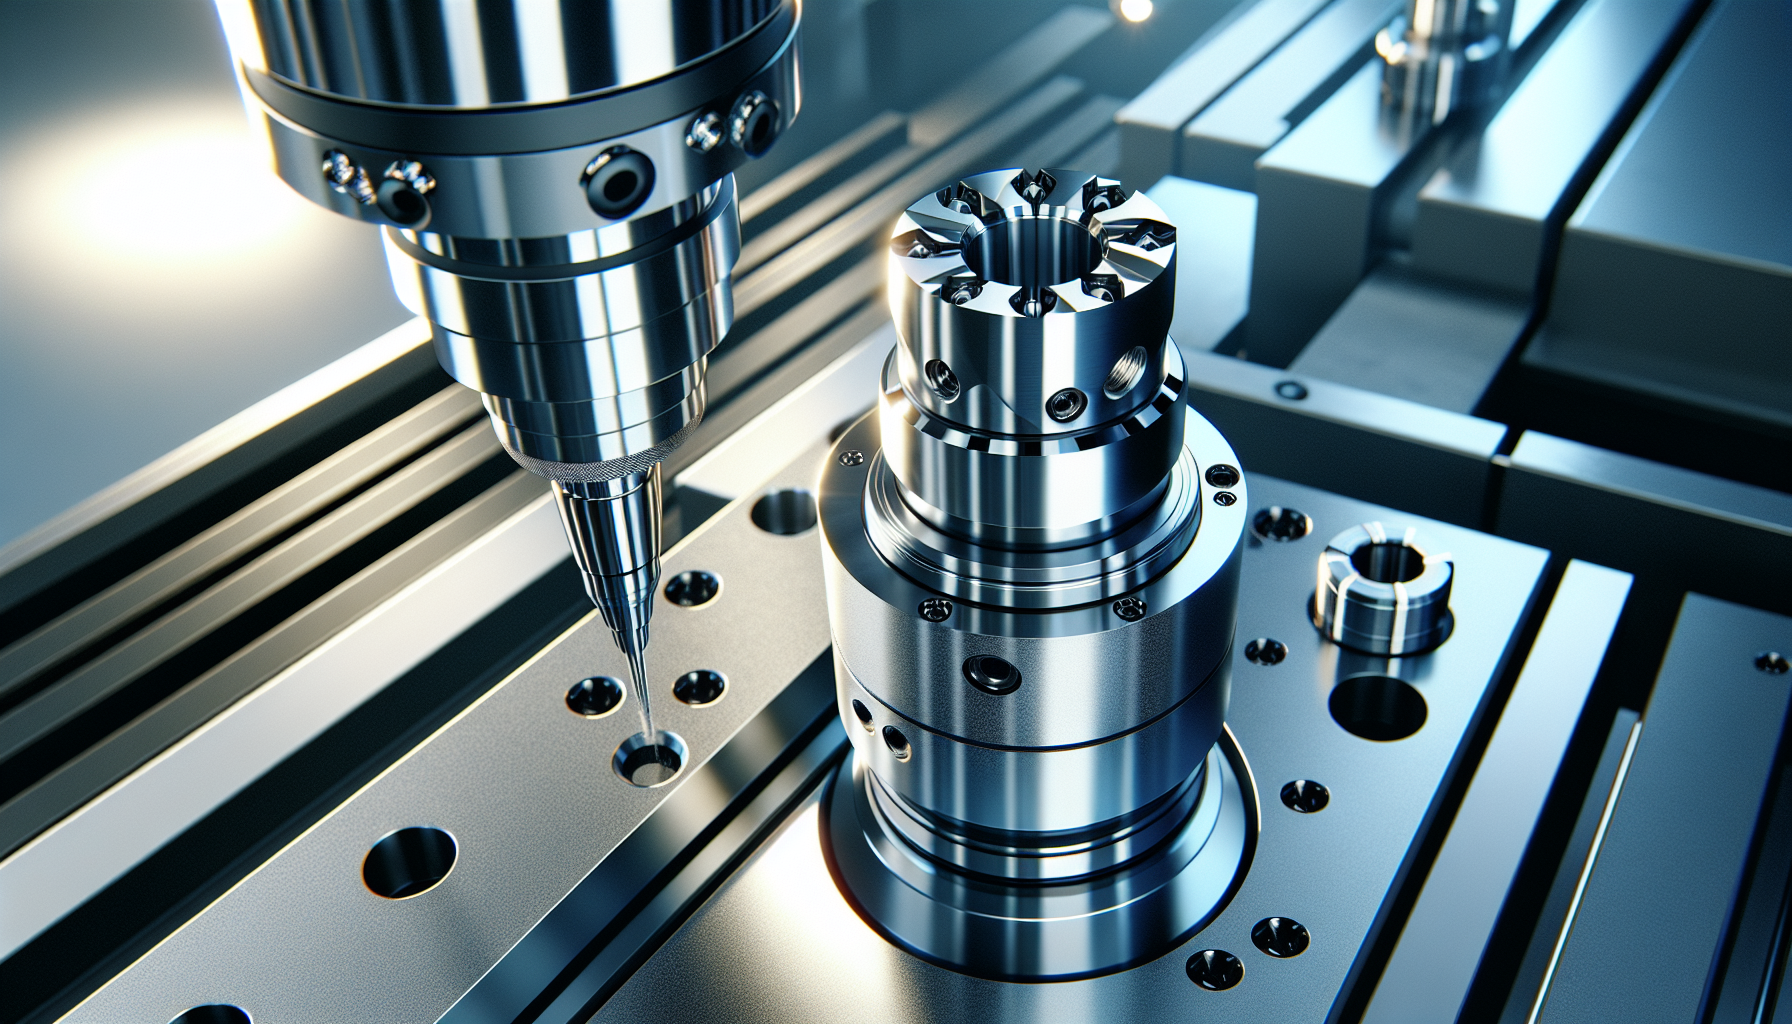
Lens and Nozzle Contamination
A dirty lens scatters light and reduces power on the work surface. Cleaning optics can feel delicate, but it’s necessary.
- Cleaning steps:
- Power off and cool the unit.
- Use lens-cleaning solution and lint-free wipes.
- Avoid touching optics with bare fingers.
Incorrect Settings or Material
If your settings are too low or the material is highly reflective or heat-resistant, the laser won’t leave a mark.
- Fixes:
- Increase power or reduce speed incrementally.
- Adjust DPI or PPI (pulses per inch) for raster work.
- Check material compatibility; stainless steel often needs a marking compound or fiber laser.
Table: Symptoms when beam is on but no mark
| Symptom | Possible Cause | Remedy |
|---|---|---|
| Dim lines, inconsistent | Out-of-focus or dirty lens | Clean lens, refocus |
| Beam visible in air but no mark | Wrong material or too low power | Increase power, change material |
| Fades after startup | Laser tube not warming evenly | Allow warm-up time, check power supply |
Poor Engraving Quality (Faint, Charred, Jagged)
When your output looks like the engraver had an argument with the material, you need to tune settings and address mechanical or optical issues.
Power, Speed, and Resolution (DPI/PPI)
You must balance power and speed. If you’re chipping away at something soft at high power and low speed, you’ll burn it. If you’re humming along at low power and high speed, you’ll produce faint lines.
- Rules of thumb:
- For depth increase: raise power or reduce speed.
- For cleaner edges: increase speed or reduce power slightly and use multiple passes.
- For finer detail: increase DPI/PPI but watch for banding.
Focus and Beam Diameter
A tightly focused beam yields detail but can vaporize material; a slightly defocused beam sometimes gives a smoother mark. Portable systems vary, and you can experiment with micro-adjustments.
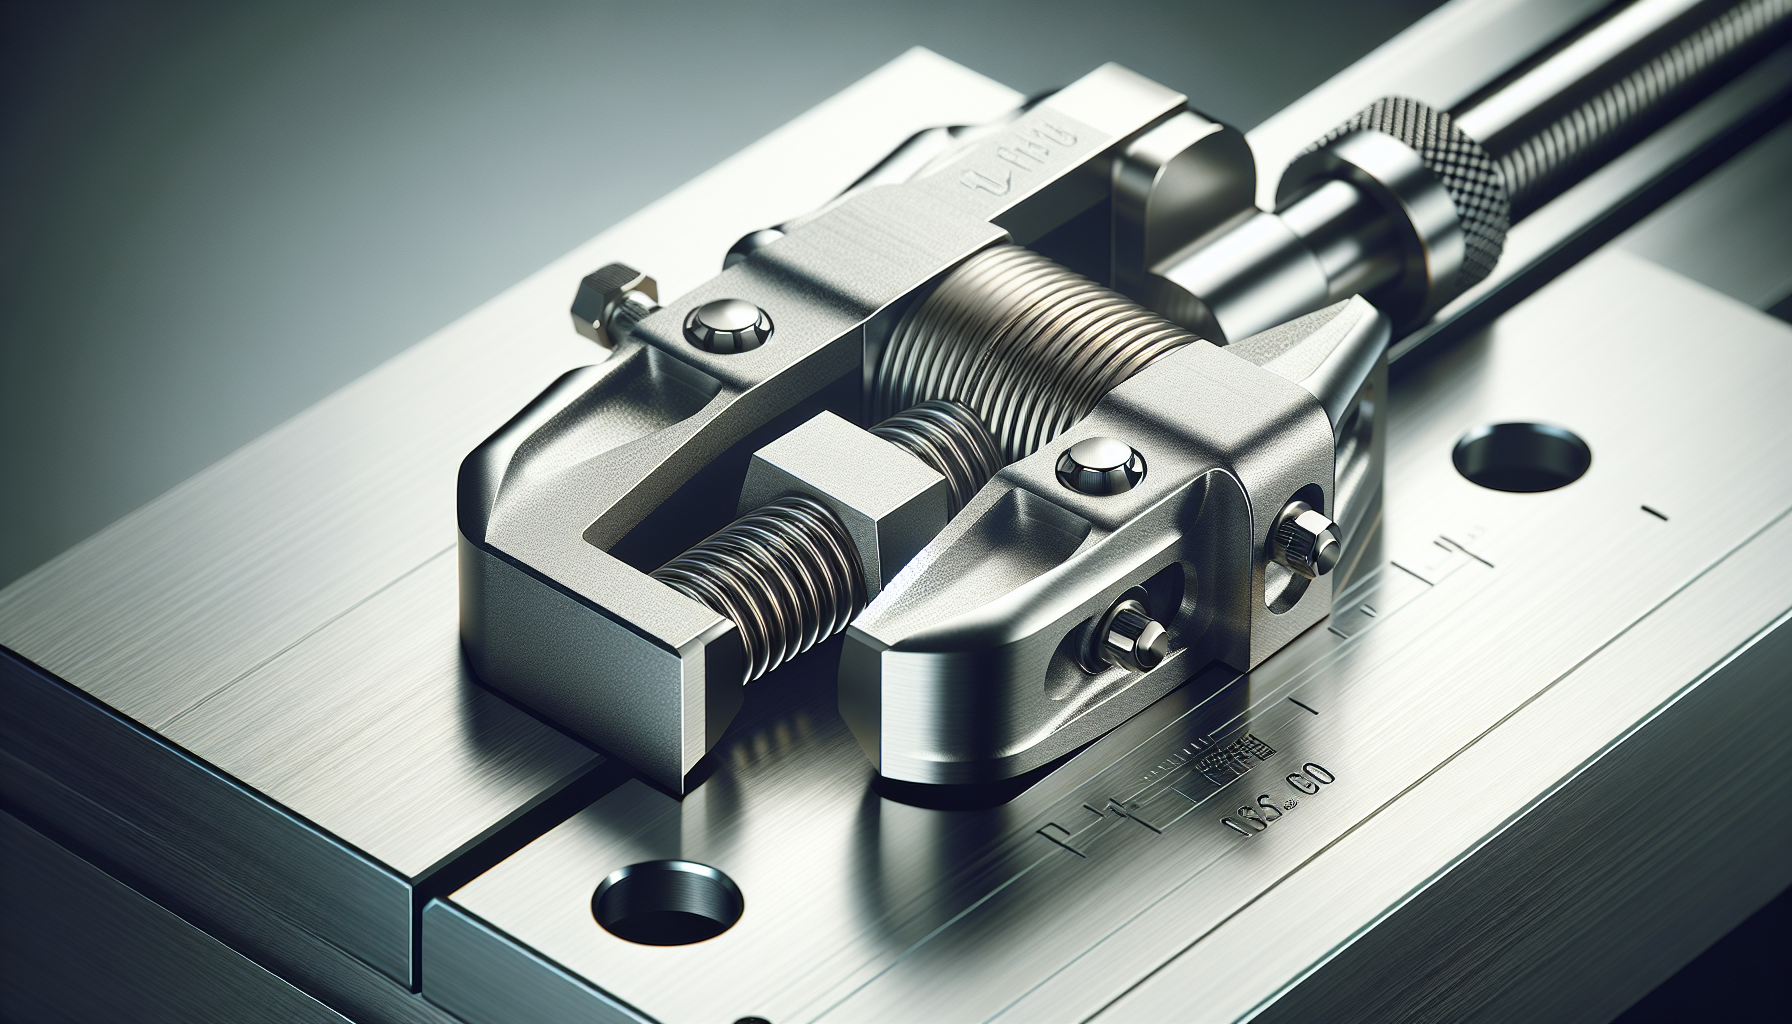
Beam Alignment and Optics
Misaligned mirrors or tilted optics cause asymmetric engraving and uneven intensity. If your machine was jostled in transit, this is likely the culprit.
- Alignment checklist:
- Use alignment paper or target spots to check beam path at each mirror.
- Secure mirrors and lens holders.
- Confirm beam hits the center of each focusing lens.
Material Issues and Contaminants
Some problems aren’t the machine’s fault. Material coatings, adhesives, or dirt can produce soot, chipping, or poor contrast.
- Troubleshooting:
- Clean material surfaces before engraving.
- Test a scrap piece.
- Use masking for fragile or coated surfaces.
Inconsistent Depth or Missing Sections
When your engraving has islands of nothingness or trenches of fury, suspect mechanical issues first, then electronics.
Mechanical Causes: Belts, Pulleys, and Slides
Slipping belts or loose pulleys cause lost steps and gaps in engraving. Portable engravers with lighter frames are particularly prone to this if moved mid-job.
- How to inspect and fix:
- Check belt tension and look for frayed teeth.
- Tighten pulley set screws (lock them with thread locker if appropriate).
- Ensure linear rails and rods are free of debris and properly lubricated.
Electronics: Stepper Drivers and Current
A failing stepper driver or incorrect current can cause skipped steps or shifting. If the motor is warm but weak, the driver could be limiting current or thermal throttling.
- Steps:
- Note symptoms: skipping typically happens at higher accelerations or when the machine is moving in one axis.
- Adjust current via potentiometer carefully (consult manual).
- Replace suspect drivers or swap them between axes for testing.
Software and G-code Issues
Corrupt or incorrectly generated G-code can produce unexpected moves. Verify your CAM settings and preview the path before sending it to the engraver.
- Tips:
- Simulate the job in your software’s preview.
- Use incremental test cuts to confirm behavior.
- Check for sudden extremely large moves in G-code (faulty origin or mismatched units).
Axis Not Moving or Skipping Steps
A silent or erratic axis is infuriating because it’s clearly trying but not succeeding. You’ll need to check both mechanical and electrical systems.
Wiring and Connectors
Loose motor or endstop cables will cause intermittent movement and skipped instructions. Cables in portable units flex a lot.
- Actions:
- Inspect all cable connections, and wiggle them while the machine is idle to find intermittent faults.
- Replace or reterminate frayed wires.
- Use cable chains or secure routing to minimize flex.
Motor and Driver Overheating
Stepper motors and drivers that overheat will reduce torque or shut down temporarily, causing missed steps. Feel (carefully) for excessive heat and watch for error messages.
- Solutions:
- Improve airflow or add heatsinks/fans to drivers.
- Reduce acceleration and jerk settings.
- Ensure driver supply voltage is within spec.
Mechanical Binding
Dirty or misaligned linear rails bind and cause motors to stall. Remove obstructions and check for smooth motion by hand (power off).
- Maintenance steps:
- Clean and lubricate rails.
- Replace bent rods or worn bearings.
- Confirm linear bearings are properly seated.
Laser Head Shaking or Excessive Noise
A wobbly head makes your work look drunk. Most often the solution is tightening or replacing hardware, but sometimes it’s the kind of tiny thing you’ll mock yourself for missing.
Loose Mounts, Screws, or Bearings
Vibration often traces back to loose fasteners or worn bearings. Take the time to find and correct the small defects before adjusting anything sophisticated.
- Checklist:
- Inspect every mounting screw and bracket.
- Tighten but avoid over-torquing plastic mounts.
- Replace any bearings that feel gritty or have play.
Belt Tension and Pulley Condition
Loose belts create slop and noise; overly tight belts can stress motors and bearings. Find the happy medium where there’s minimal play but no binding.
- Tuning:
- Adjust belt tension until it has slight give but no visible slack.
- Replace any belt with missing teeth.
- Ensure pulleys align with the belt path.

Overheating and Thermal Shutdown
Your engraver can get quite warm; when components exceed safe temperatures, the device may throttle or shut down to protect itself.
Cooling Systems: Fans and Water Cooling
Some portable units have small fans; others permit water cooling. Fans can clog with dust; water cooling can leak. Both need periodic attention.
- Inspection:
- Make sure intake and exhaust are clear.
- For water-cooled units, check hoses for kinks and fittings for drips.
- Ensure fans spin freely and replace noisy bearings.
Table: Typical temperature thresholds and actions
| Component | Typical Safe Range | Symptoms of Overheat | Immediate Action |
|---|---|---|---|
| Laser diode/tube | 15–40°C (varies by model) | Power drop, erratic mark | Stop job, allow cooldown |
| Stepper drivers | Up to 80°C (surface) | Skipping, shutdown | Improve cooling, reduce current |
| Control board | 0–70°C | Lockups, resets | Inspect ventilation, reboot |
Thermal Protection and Sensors
If a temperature sensor fails, the machine might not cool properly or could prevent operation. Check sensor connections and compare reported temps to ambient.
- Troubleshooting:
- Monitor temperature readouts in software if available.
- Replace sensors that read implausible values (e.g., 999°C).
- Verify firmware thermal limits.
Error Codes and What They Mean
Manufacturers often give cryptic error codes that sound like the machine is taunting you. A table of common codes and quick fixes will save you time and embarrassment.
Table: Common error codes and recommended actions
| Error Code | Meaning | Recommended Fix |
|---|---|---|
| E-stop (ESTOP) | Emergency stop engaged | Release E-stop, reset the machine |
| ALARM | GRBL alarm state (homing, limit) | Home the machine or clear alarm per manual |
| TEMP_ERR | Over temperature | Pause job, check cooling, inspect sensor |
| COMM_LOST | Communication lost | Check USB/serial cable and drivers |
| MOT_ERR | Motor driver fault | Check motor wiring and driver status |
Software and File Issues
Not all engraving problems are hardware. Often your software settings, file formats, or missing libraries are the culprits. You may have spent hours debugging a laser when the font was simply embedded as an outline.
File Formats and Compatibility
Use the right file format for your workflow. Vector files (SVG, DXF) are required for cut paths; rasters (PNG, JPG) for images. Mixing them without understanding layers will give odd results.
- Tips:
- Flatten complex files and convert fonts to curves for reliability.
- Use black-and-white or grayscale images for raster engraving depending on your software’s requirements.
- Confirm units (mm vs inches) before starting.
Origin, Coordinate Systems, and Homing
If your engraving appears shifted or mirrored, check origin settings and whether the machine is configured for absolute vs relative coordinates.
- Troubleshooting steps:
- Re-home the machine and set workspace origin.
- Verify that software origin matches machine origin (e.g., front-left vs rear-right).
- Check for inverted axes in firmware or software options.
Software-Specific Tips (LightBurn, LaserGRBL, etc.)
Each software package has quirks. Learn the preview and test-run features, and save profiles for frequently used materials.
- Practical advice:
- Use the simulation/preview function to catch unexpected paths.
- Maintain material and power/speed libraries.
- Keep software up-to-date but back up stable settings first.
Material-Specific Problems
Different materials behave like various temperaments; wood is moody, acrylic is sassy, metals are stubborn. Knowing material behavior will keep you from chasing non-existent machine problems.
Wood: Charring and Smoke
Softwoods char easily; denser hardwoods require more power. Smoke can redeposit soot, reducing contrast.
- Tips:
- Use a higher speed and multiple passes for cleaner edges.
- Mask thin veneers and remove residue with isopropyl alcohol.
- Consider air-assist to remove combustion products for cleaner cuts.
Acrylic: Melt and Flare
Acrylic can melt and produce cloudy edges if cut without proper settings.
- Recommendations:
- Use recommended power and speed tables for acrylic thickness.
- Use a sacrificial backing to avoid curling on thin sheets.
- Consider polishing edges after cutting for optical clarity.
Metals: Reflective and Hard
Metals usually require specialized lasers (fiber or high-power CO2 with marking compound). Trying to engrave stainless steel with a low-power diode is like trying to sunburn ice.
- Suggestions:
- Use marking spray or paste for non-fiber lasers when appropriate.
- Verify your machine supports metal marking; do not attempt high-power metal work without proper ventilation and eye protection.
Safety note: Never attempt to engrave PVC or other chlorine-containing plastics—they produce deadly gases.
Regular Maintenance Checklist
A well-maintained machine behaves like a well-trained dog; it still bites occasionally, but less often and for less dramatic reasons.
Table: Maintenance schedule for portable laser engraver
| Frequency | Task | Notes |
|---|---|---|
| Daily | Wipe down work area, check optics for soot | Quick check before use |
| Weekly | Inspect belts, cables, fan intakes | Tighten loose fasteners |
| Monthly | Clean or replace air filter, lubricate rails | Replace worn belts, check motors |
| Quarterly | Check driver temperatures, firmware updates | Run a full test cut and document results |
When to Contact Support or a Professional
You can fix many things, but sometimes you need help that comes with schematics and corporate patience. Contact support when you’ve exhausted basic troubleshooting, or when repairs involve sealed laser modules or high-voltage components.
What to Prepare Before Contacting Support
Have this information ready to speed up the process and reduce your chances of sounding like a character in a sad tech noir.
- Serial number and model of your engraver.
- Firmware and software versions.
- A detailed description of the problem and steps you’ve already taken.
- Photos or short videos showing the symptom and any error codes.
- Recent changes (moved the unit, updated software, new materials).
When to Hire a Technician
If the laser tube or diode requires replacement, or the control board shows smoke, you should seek a trained technician. High-voltage parts and sealed optics are not the place to flex your confidence.
Preventive Tips and Best Practices
Prevention is less dramatic than repair but far more satisfying. Keep a notebook, label cables, and treat your machine like a small, finicky pet with a leather collar.
- Keep a materials log with tested power/speed/DPI combinations.
- Label spare parts and keep an emergency kit (spare belts, fuses, cables).
- Use alignment targets and mark a baseline test pattern for calibration.
- Avoid moving the machine mid-job; if you must transport it, secure optics and motors.
Troubleshooting Flow (Step-by-Step)
When something goes wrong, having a structured sequence keeps you from repeating the same fruitless maneuvers.
- Observe and document the symptom.
- Check safety and power (PPE, switches, cables).
- Reproduce the issue with a simple test pattern.
- Isolate the problem: software, optics, mechanical, electrical.
- Apply the simplest fix and retest.
- If unresolved, escalate to component replacement or support.
Example Troubleshooting Scenarios
Here are a couple of real-world examples that show how the steps you just read translate into action. You might recognize your own panicked mutterings.
Scenario A: The Engraver Starts But Fails Mid-Job
Symptom: Engraver stops after ten minutes with no error and resumes other functions.
- Likely causes: thermal throttling, power drop, driver overheating.
- Steps you take:
- Check temperature logs or symptoms.
- Improve airflow or add a small fan to the driver board.
- Monitor power supply for voltage sag.
- Reduce continuous duty by splitting the job into sections.
Scenario B: Laser Marks but Lines Are Offset
Symptom: Engraving lines appear staggered and repeated.
- Likely causes: belt slip, pulley set screws loose, faulty stepper driver.
- Steps you take:
- Inspect belt tension and pulley set screws.
- Tighten and retest.
- Swap stepper driver with another axis to identify driver faults.
- Replace worn belt and realign axes.
Keeping a Troubleshooting Log
You don’t think you need one until you spend six hours repeating the same test because you forgot what you tried. A simple log with date, material, settings, observed issue, and fix will be your salvation.
- Log fields:
- Date/time, machine firmware, software version.
- Material type and thickness.
- Power, speed, DPI.
- Observed issue and resolution.
A Few Anecdotes (Because You Asked for Human Evidence)
The first time I used a portable engraver, I spent an afternoon trying to fix a “mysterious wobble.” Hours of belt tensioning and pulley alignment later, I realized the rubber band I had used as a temporary belt years earlier had come off and wrapped itself around the motor shaft. The moral: take shortcuts only when you enjoy creative troubleshooting.
Another time, I tried to engrave a tray that had been lightly lacquered. The machine left a lovely trench of caramelized finish that looked less like craftsmanship and more like the aftermath of a domestic crime. Test scraps, always test scraps.
Conclusion
Your portable laser engraver can be a prodigious ally or a small, incandescent nemesis. With methodical checks—power, optics, mechanical, and software—you can solve most problems yourself. Maintain the machine, document your trials, and treat the whole process as an ongoing conversation rather than a battle. If all else fails, gather your notes, take some photos, and call support before you decide the right response is a funeral for the instrument.
Now go open your manual, breathe, and approach the machine as you would a complicated friend: with patience, curiosity, and a box of spare parts.